Maker - Outdoor thermometer holder
This is part of a series of posts about things I have made. I include several photos showing the progress throughout the process and give some information about what I am doing, and sometimes why I am doing it.
For this first one I made a holder for an outdoor thermometer.
We had a weather station that gave us the several pieces of information about inside and outside. It stopped working so we got a new one. The outdoor thermometer did not have a great protective covering to help with misrepresenting the temperature due to direct sunlight.
I decided to take the one from the old setup and re-purpose it to work for the new one.
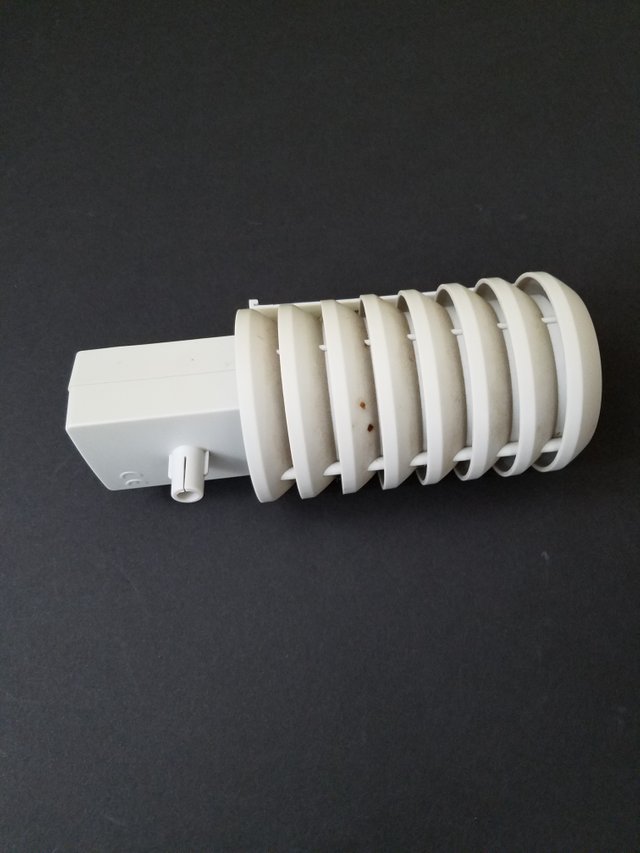
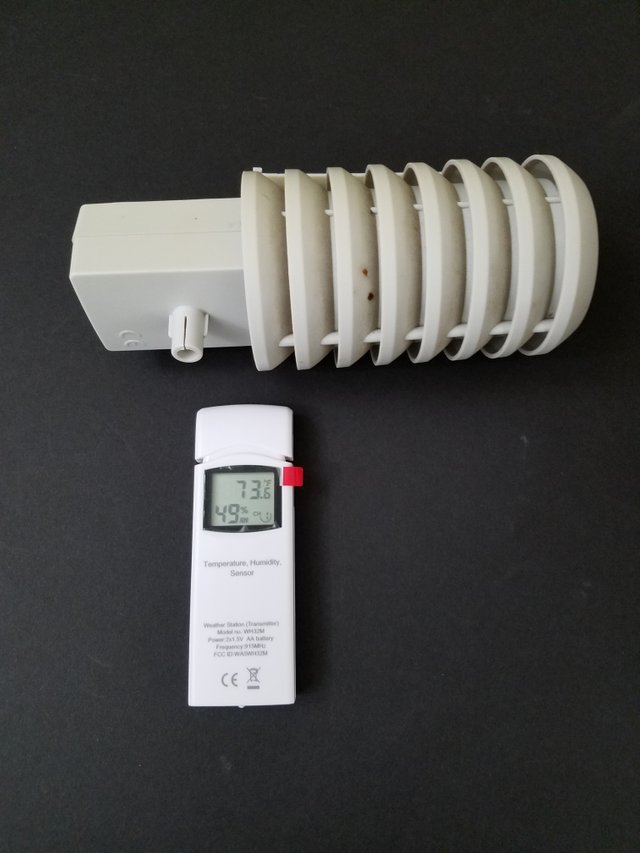
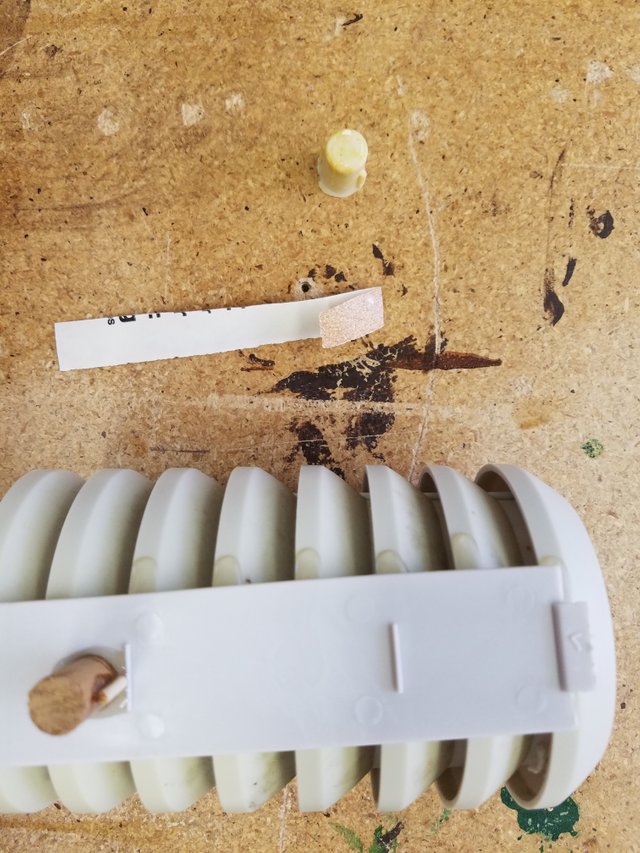
Here is the new sensor next to the old holder. Note the dowel looking piece sticking down towards the new sensor. That is how it was held onto the wall.
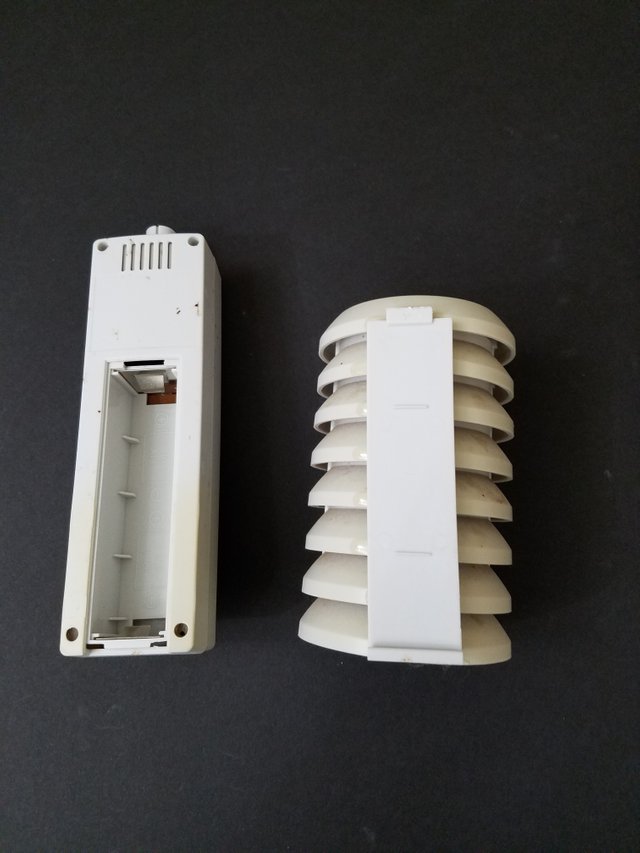
The old holder came apart into two pieces. The cover, and the battery compartment and old sensor. I took the battery cover off and it looked like it would fit on the back of the holder just right to give me a place to attach a new protrusion to hold it to the wall.
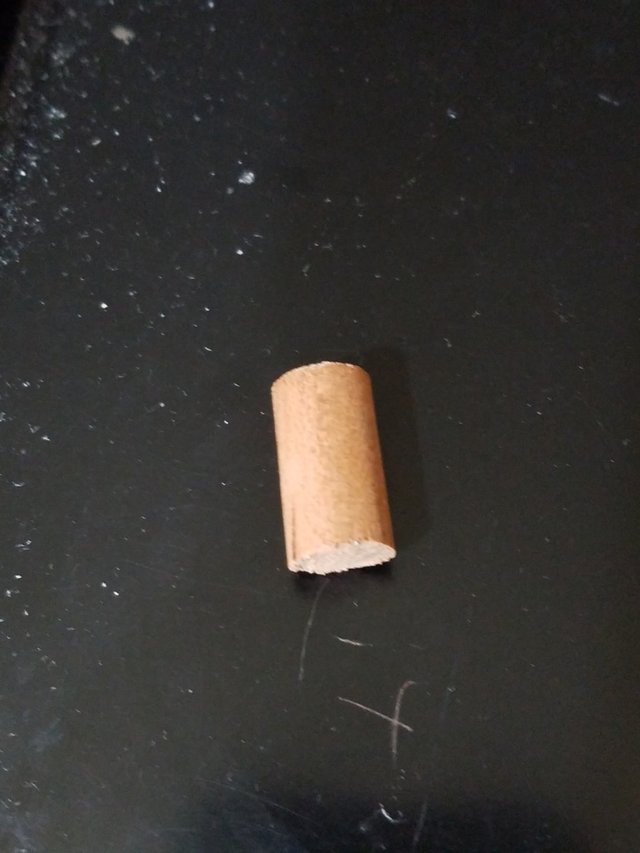
And here is the piece of dowel I decided to use for the protrusion.
The holder had an open bottom, so I needed some way to keep the new sensor inside it. I took a piece of plastic I had and cut off a piece.
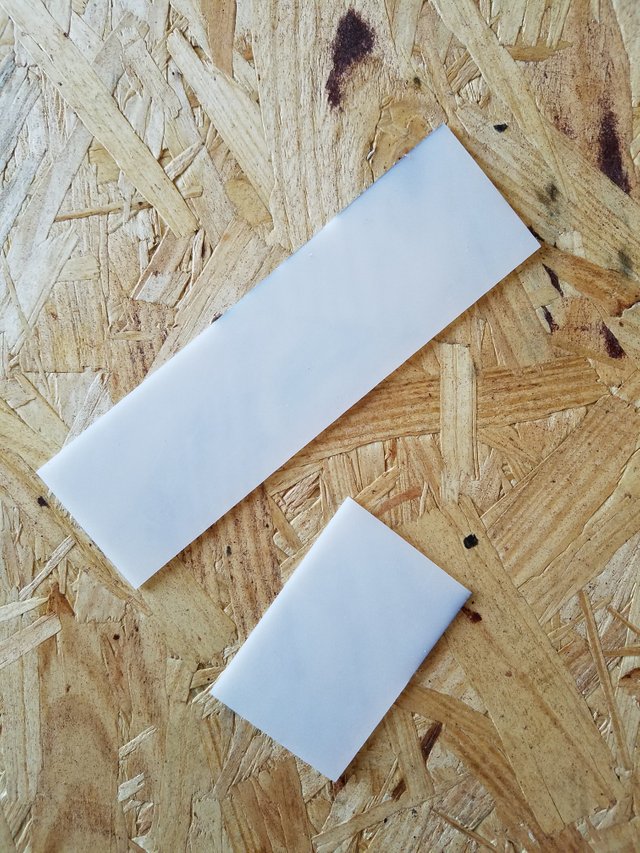
Then I drilled some holes in it and the bottom of the holder, and used some small screws to attach it.
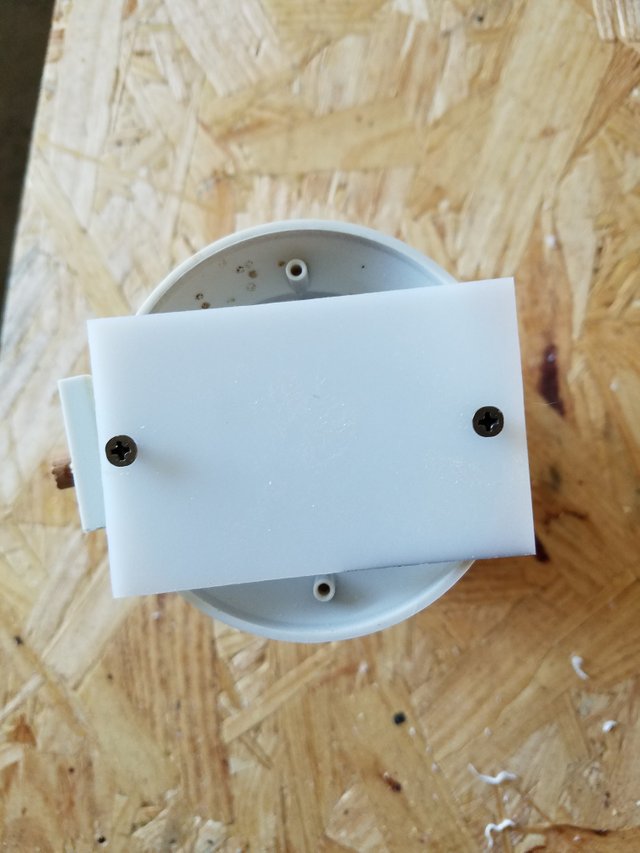
After gluing the old battery cover to the back of the holder and the dowel to the cover with some two-part epoxy, I put it up. It worked.
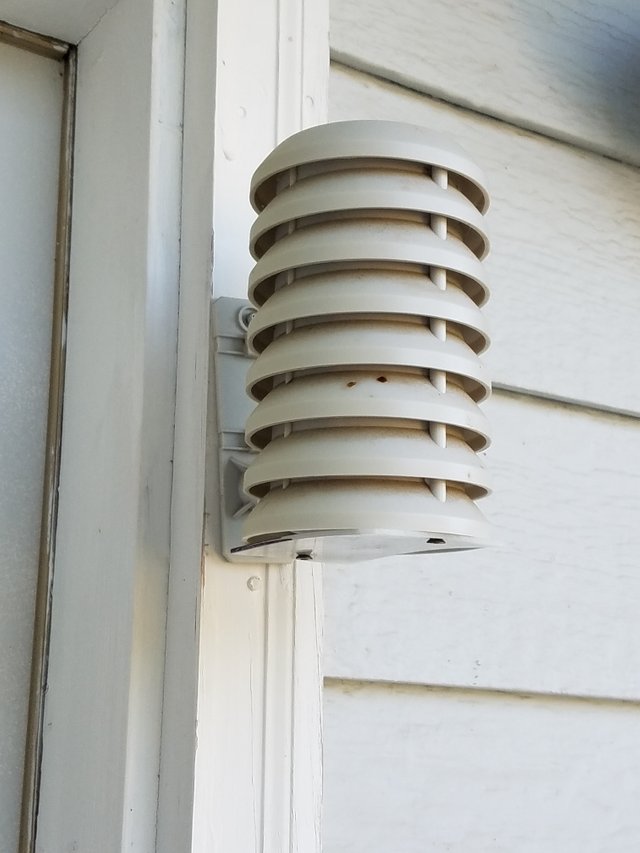
Well, almost. After a week it began to droop. The dowel was not quite big enough to hold it in correctly. I needed to come up with a different protrusion solution.
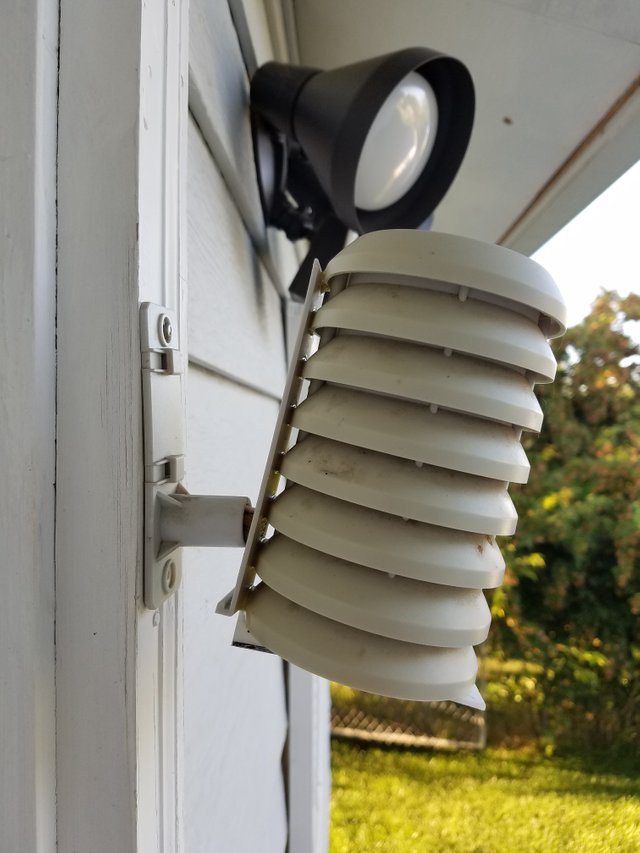
I decided to make a cast of the old protrusion so I could get a better fit. I started by filling in the hole in the old one with clay.
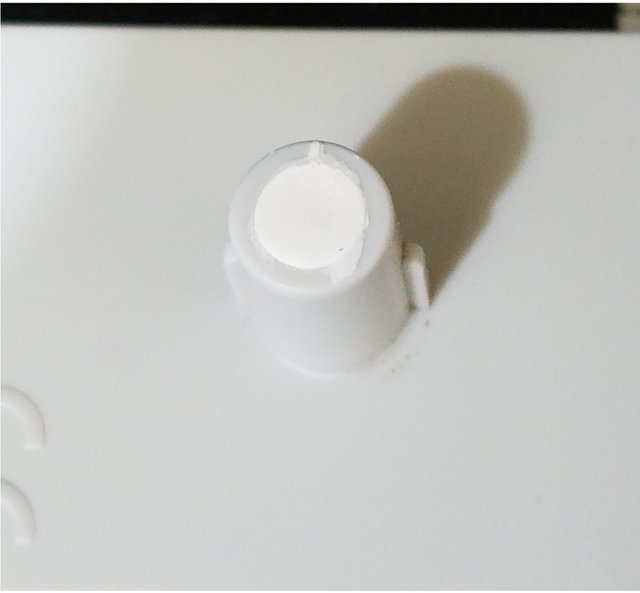
Then I built a structure out of Lego to hold the silicone for the mold of the old protrusion.
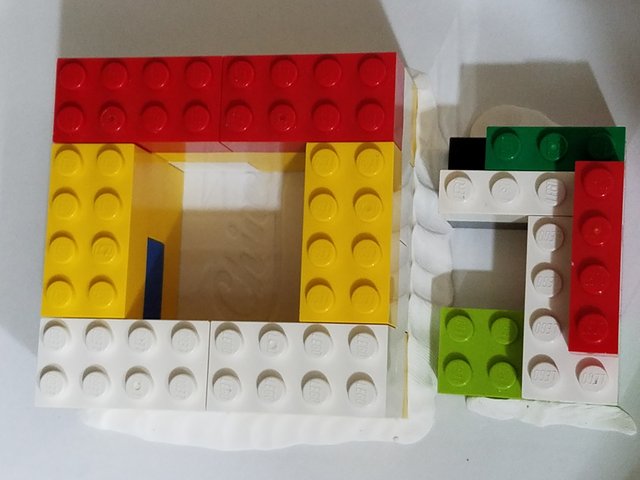
I filled the Lego structure most of the way with the silicone and put the original protrusion into it.
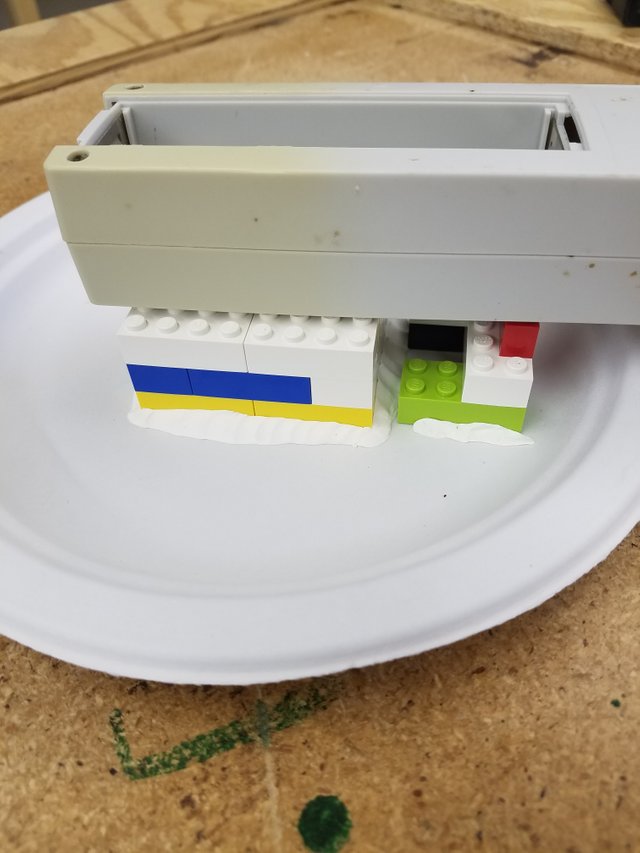
After it set I mixed up some resin and poured it into the mold.
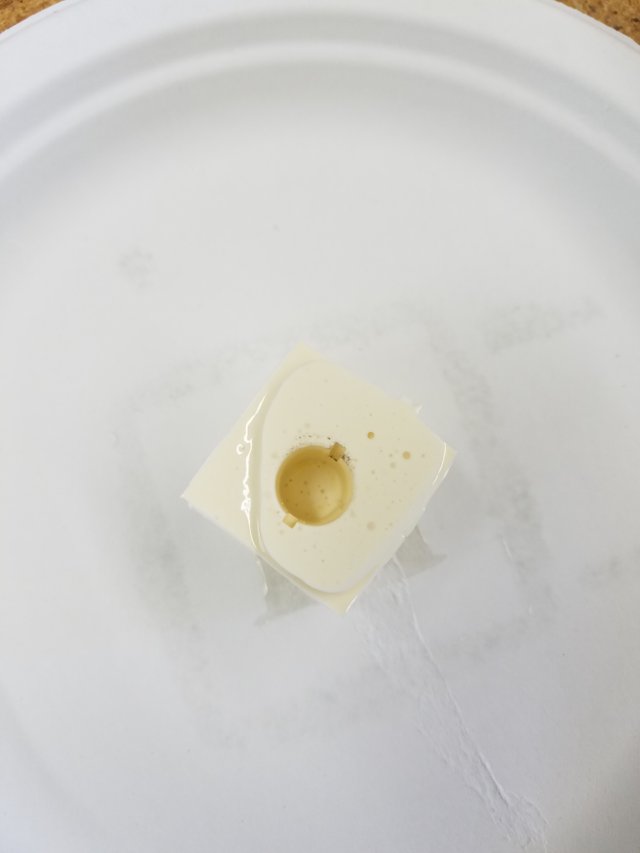
After it cured I extracted it from the mold. It okay-ish.
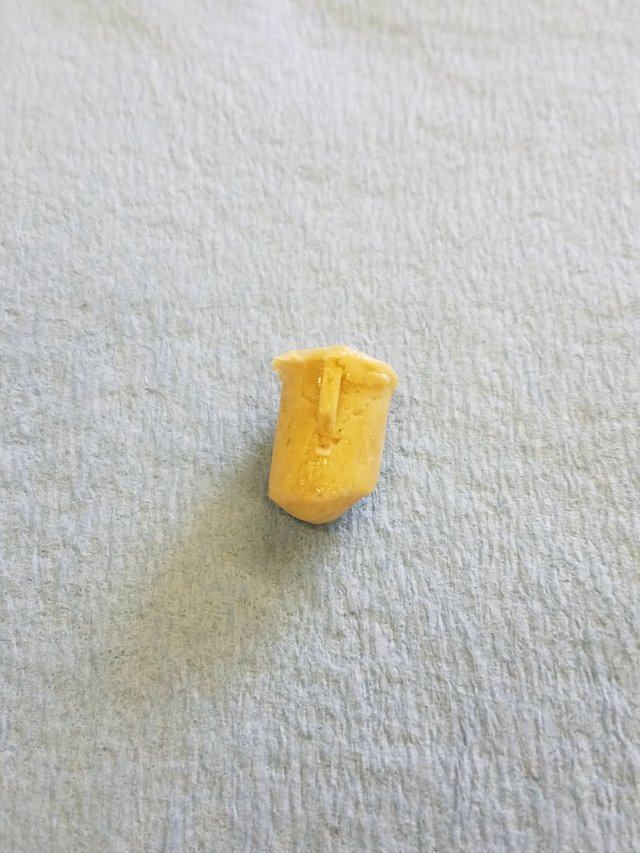
I turned it over and ... there was a large hole on the other side. That's not going to work.
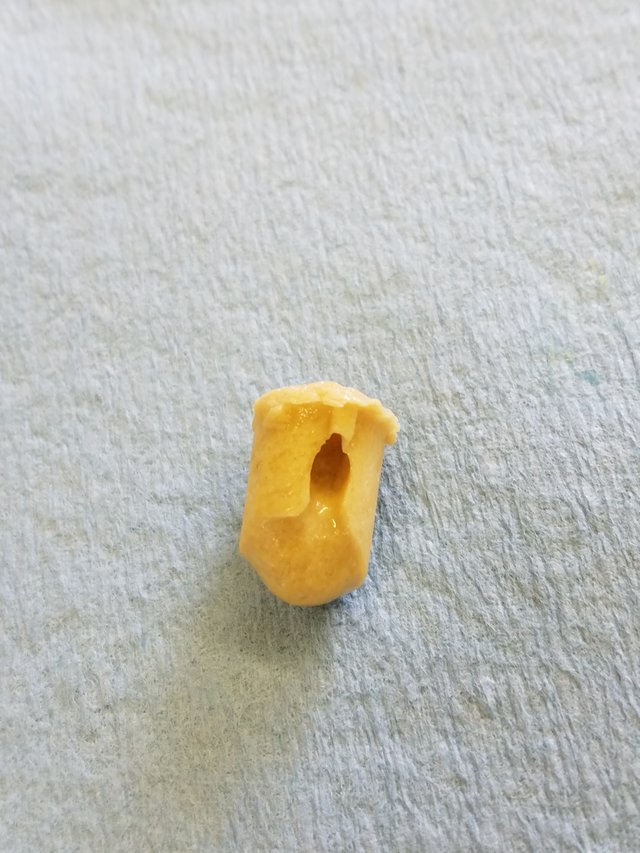
I poured another mixture of resin into the mold and tried again. This time all sides looked good.
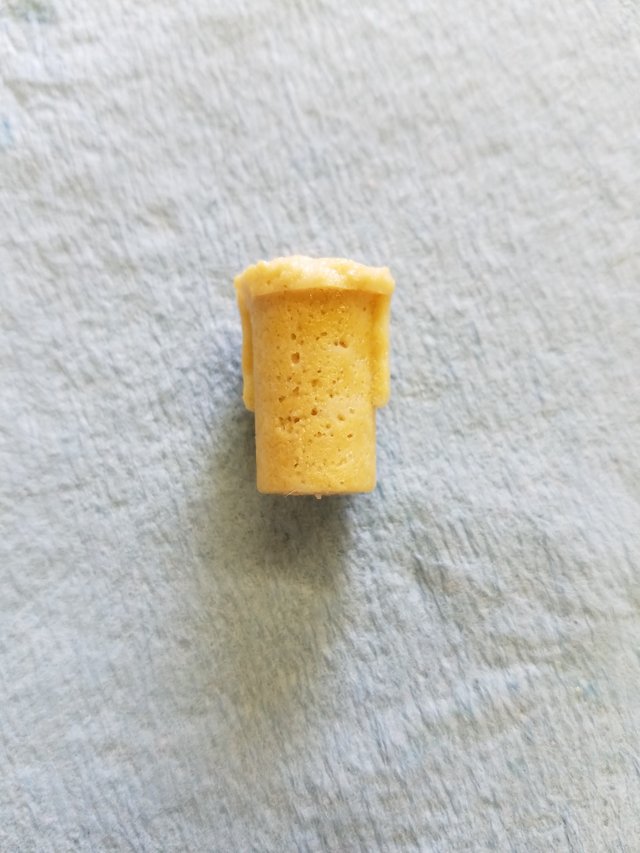
However, when I tried to sand it for use it crushed easily. I think the resin was bad so I ordered some more and made a third piece.
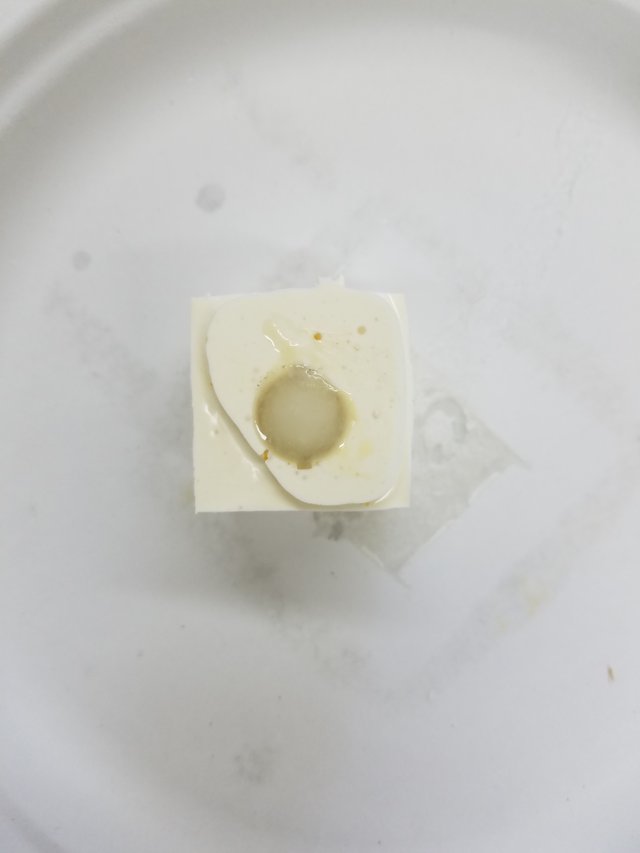
This one turned out much better and, after a bit of sanding, was ready for use.
I glued it onto the holder above the attempted wooden one.
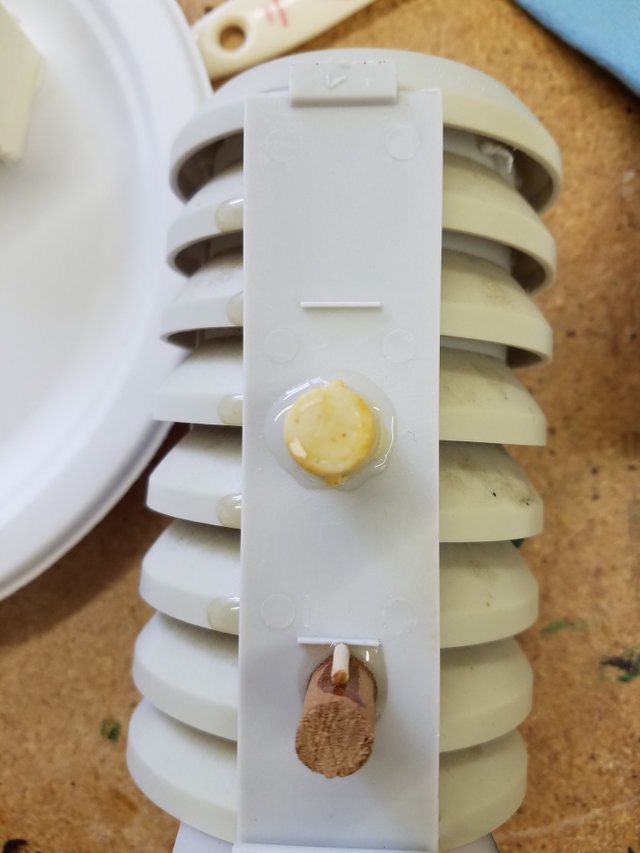
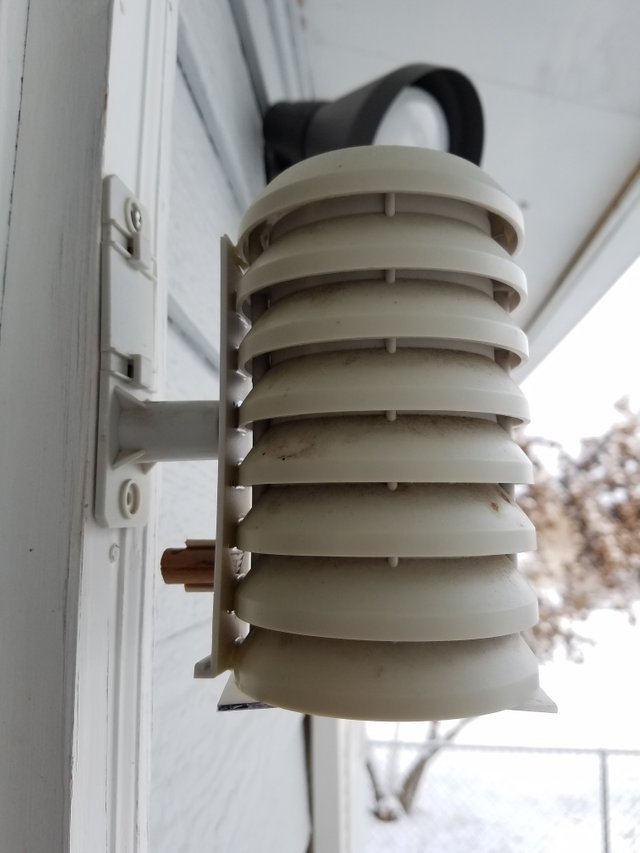
After the glue dried I put it up and it stayed much better. I am quite happy with the way it eventually turned out.
Congratulations @lordvdr!
Your post was featured on our daily build newsletter We've sent 100 liquid BUILD tokens to your wallet upon which you can sell, trade or buy on steem engine or SteemLeo. We've also shared your work on our Instagram, Facebook, and Twitter pages for more exposure.
Keep sharing your awesome DIY and How-to tutorials together with the recommended tags #diy, #build-it, #how-to, #doityourself, #build as well as posting from our website