Rotocasting a glowing unicorn horn
Recently I 3D printed some glowing unicorn horn bike lights. Since those took 5 hours each to print, I decided to try my first attempt at rotocasting these. This method allows me to make 3-4 per hour.
Prepare your form (using the 3D printed model)
3D printing leaves a lot of ridges and bumps that will transmit to the final mold. Use bondo, spray filler primer and a lot of sanding to get it smooth. Use the model from my last post,
https://steemit.com/bicycle/@letsawesome/3d-printed-glowing-unicorn-bike-light
Gather Mold Making Supplies
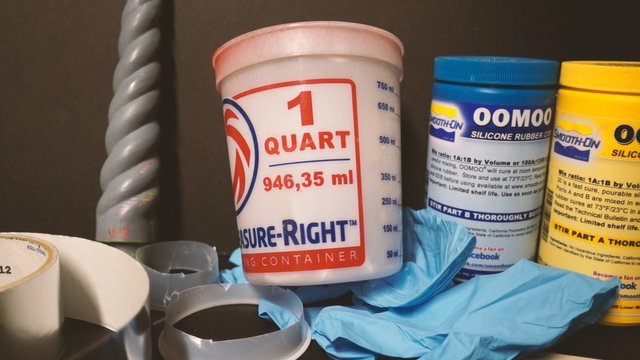
Smooth-on Oomoo, large mixing cup, smaller cups for measuring two parts, gloves, mixing sticks, and something to make the outer mold. I used thick mylar sheet and the ends of plastic cups.
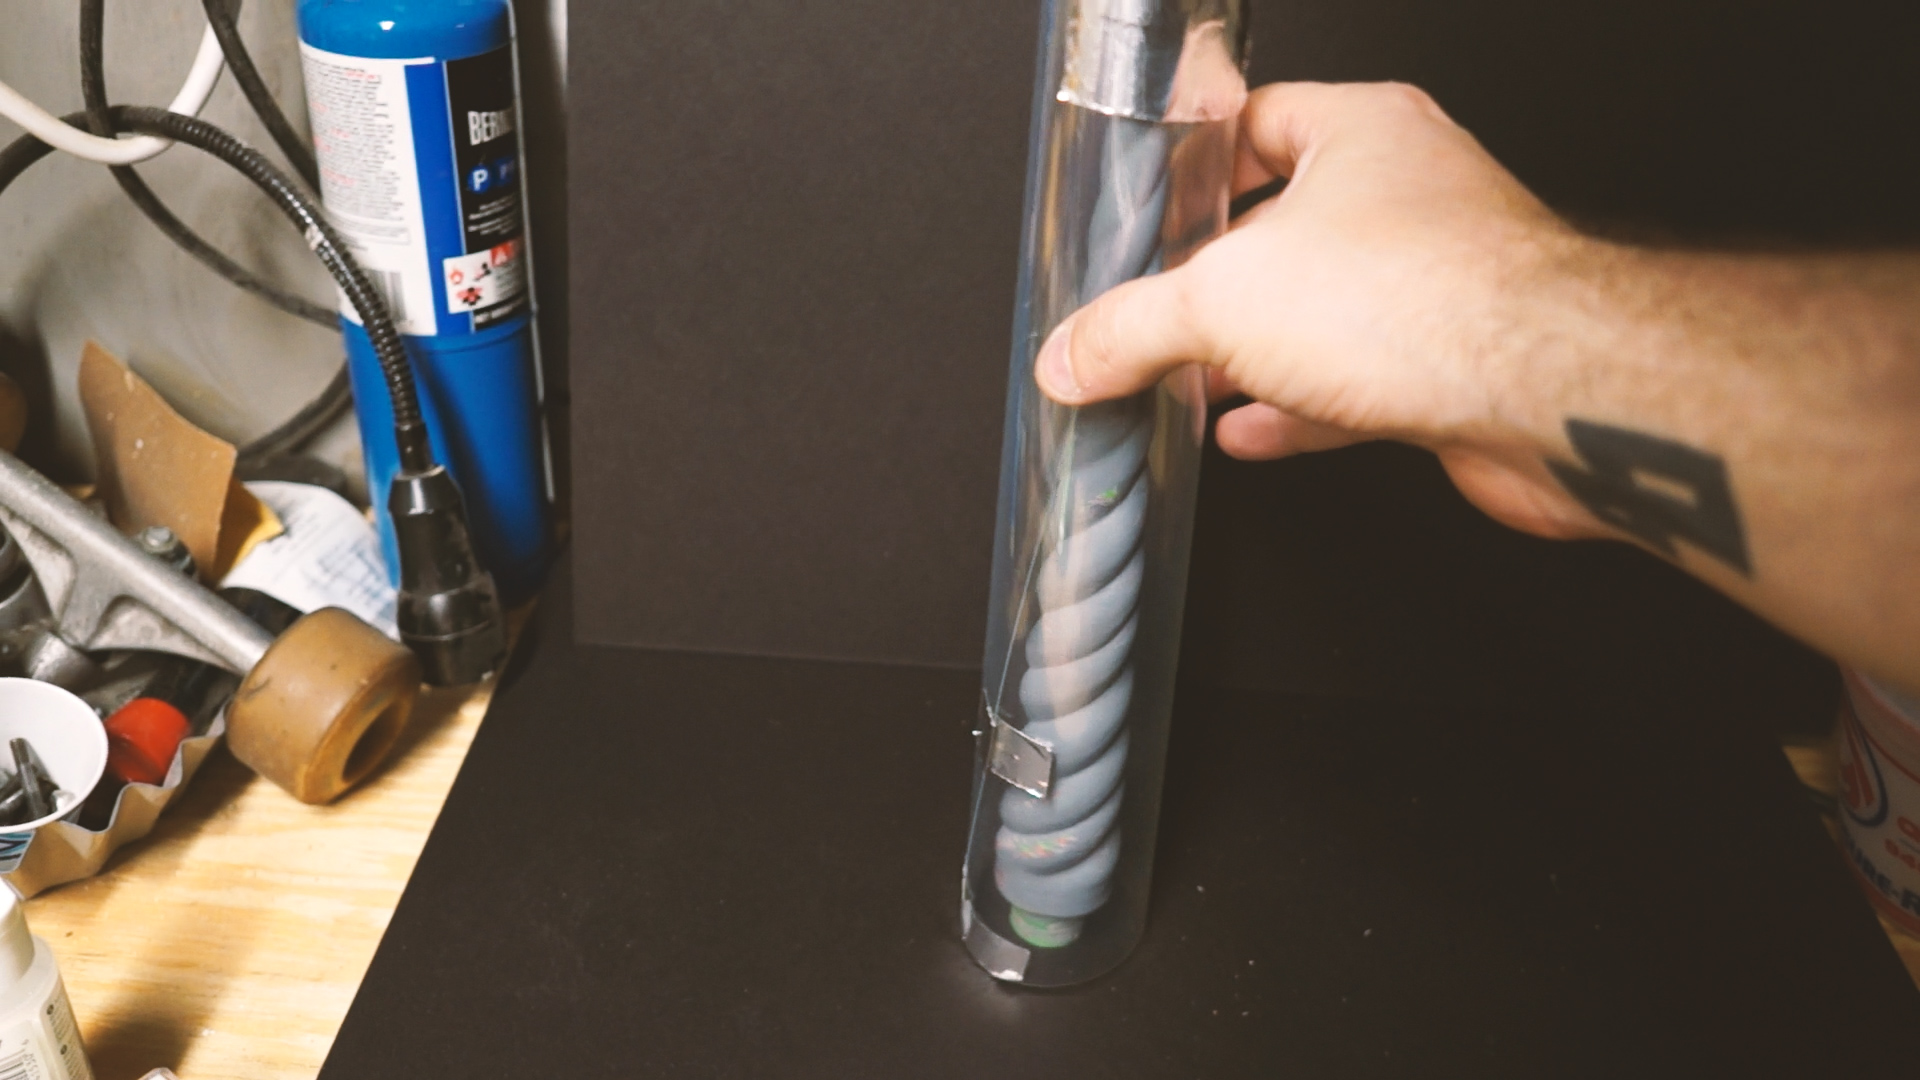
Outer Mold Prep
You want this to be fairly close to the mold so you don't have a ton of extra volume, which will waste silicon.
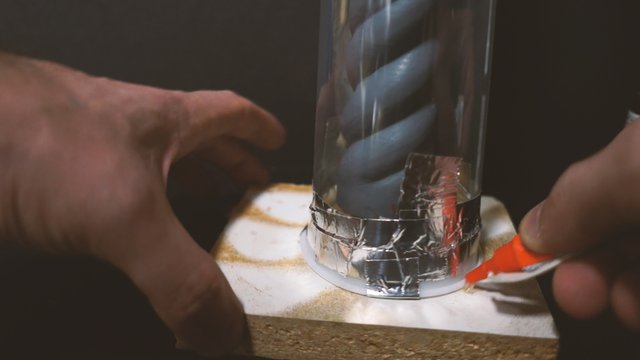
Seal Outer Mold to Base
Once again, no gaps for silicon to leak out of. I super glued this because I couldn't find my hot glue gun.
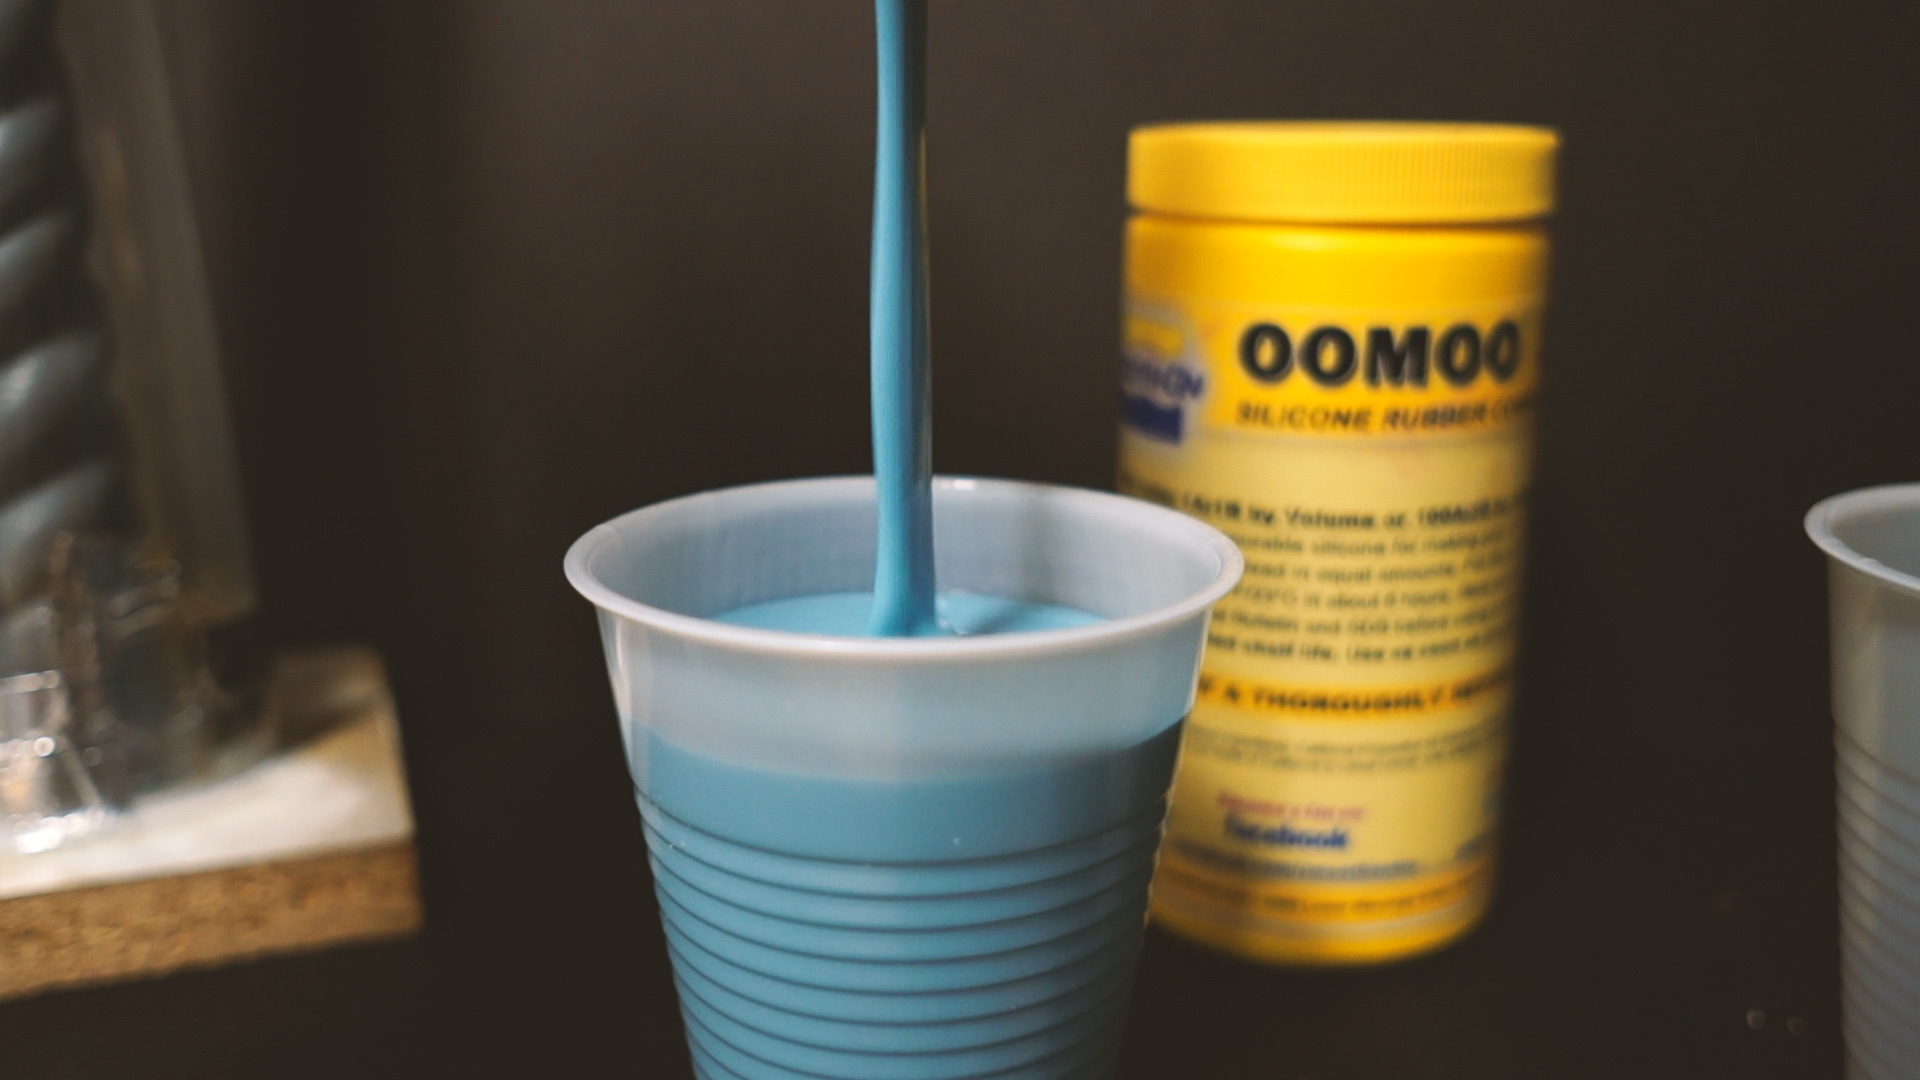
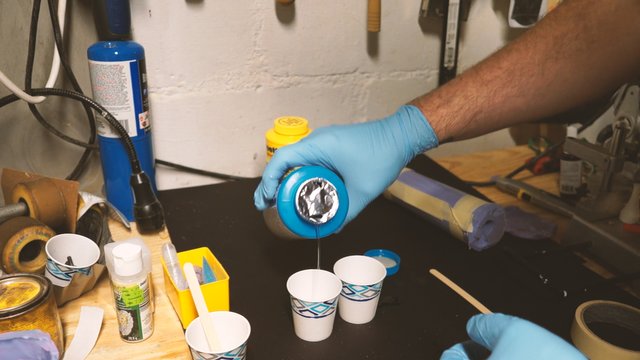
Measure (by volume) equal parts of a and b
I like to start with two cups, then pour the two parts into a third cup.
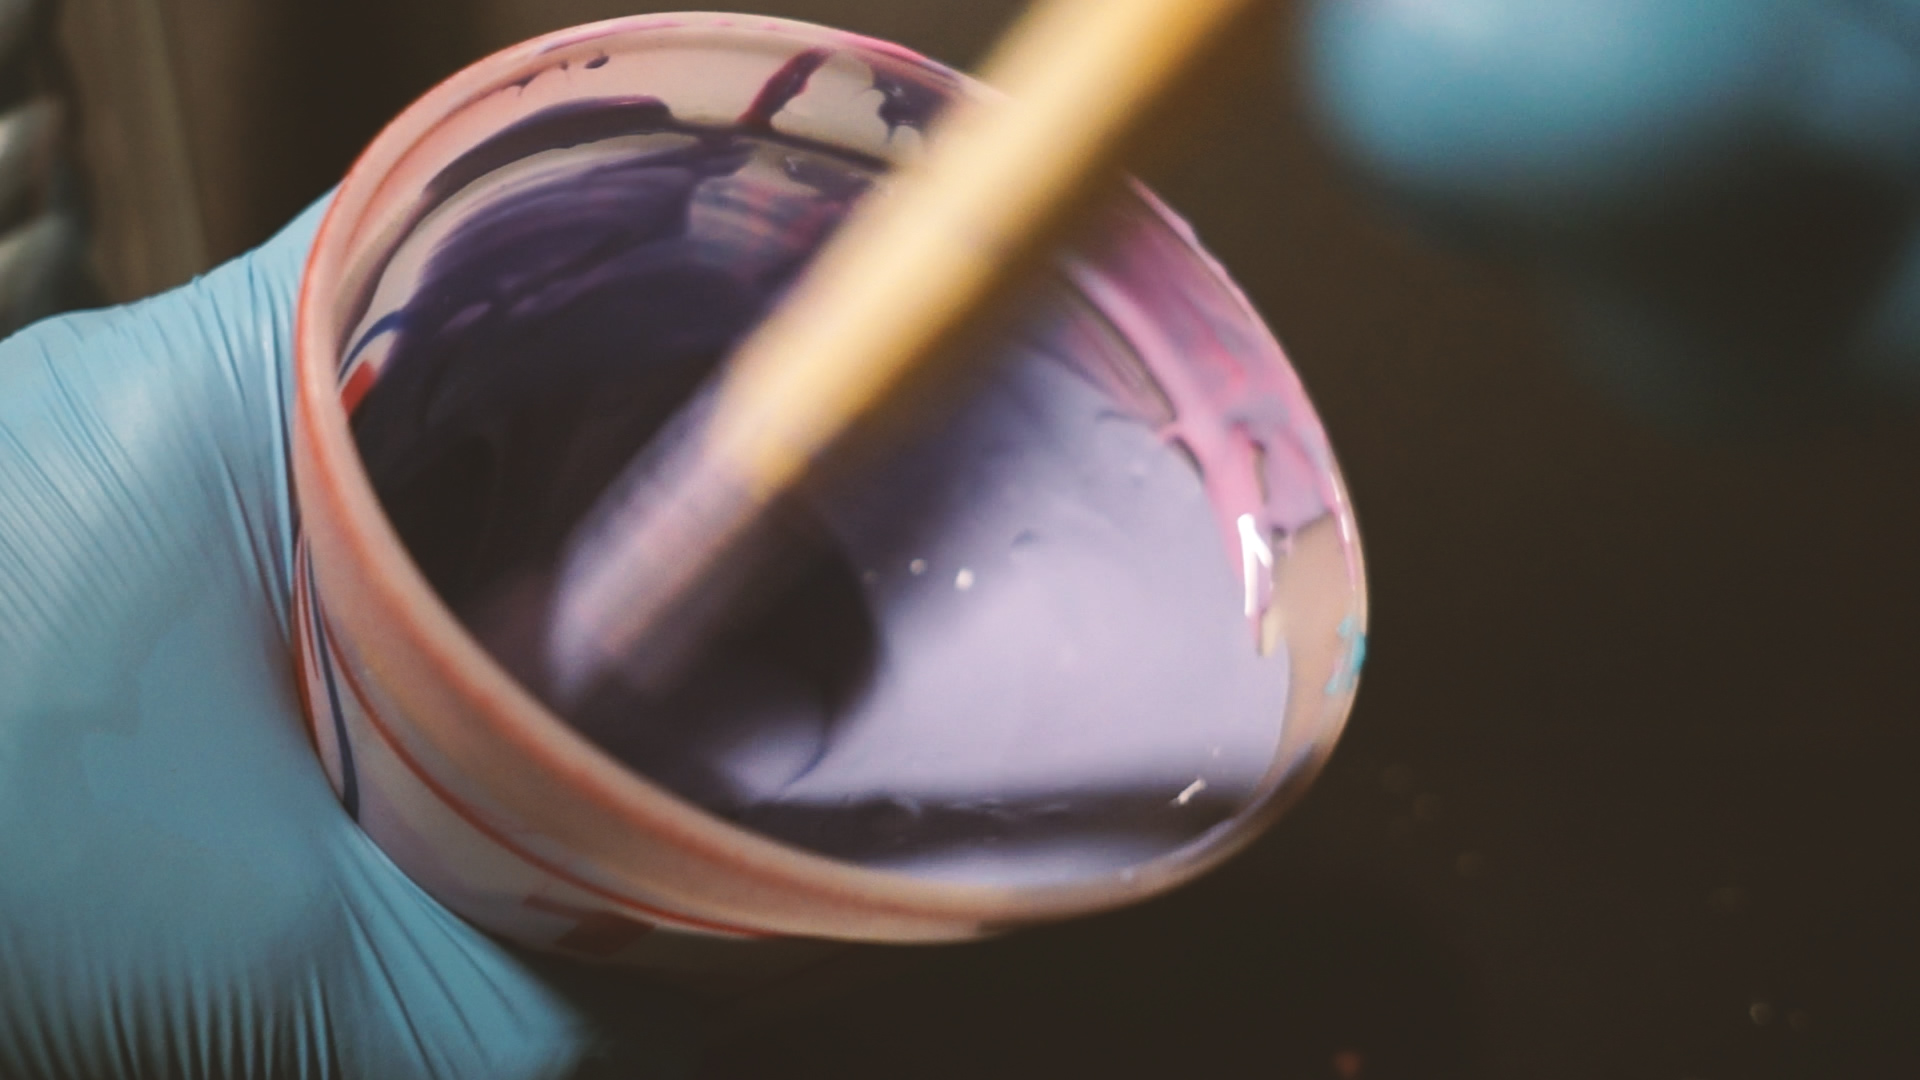
Mix together until it becomes a uniform color.
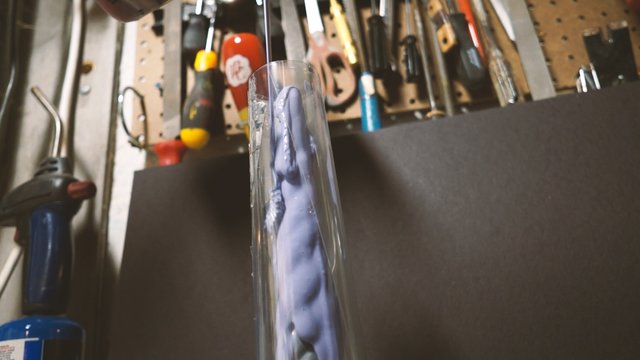
Pour Mixture into the Mold
Start pouring high and it will help pop and bubbles. It is more preferred to degas the silicon in a vacuum chamber, but how many people have one of those?!
Fill the mold all the way to the top. If you want to save on silicon, you can cut up pieces from old molds and use that as a filler.
Let the silicone cure (follow instructions on whatever brand you buy)
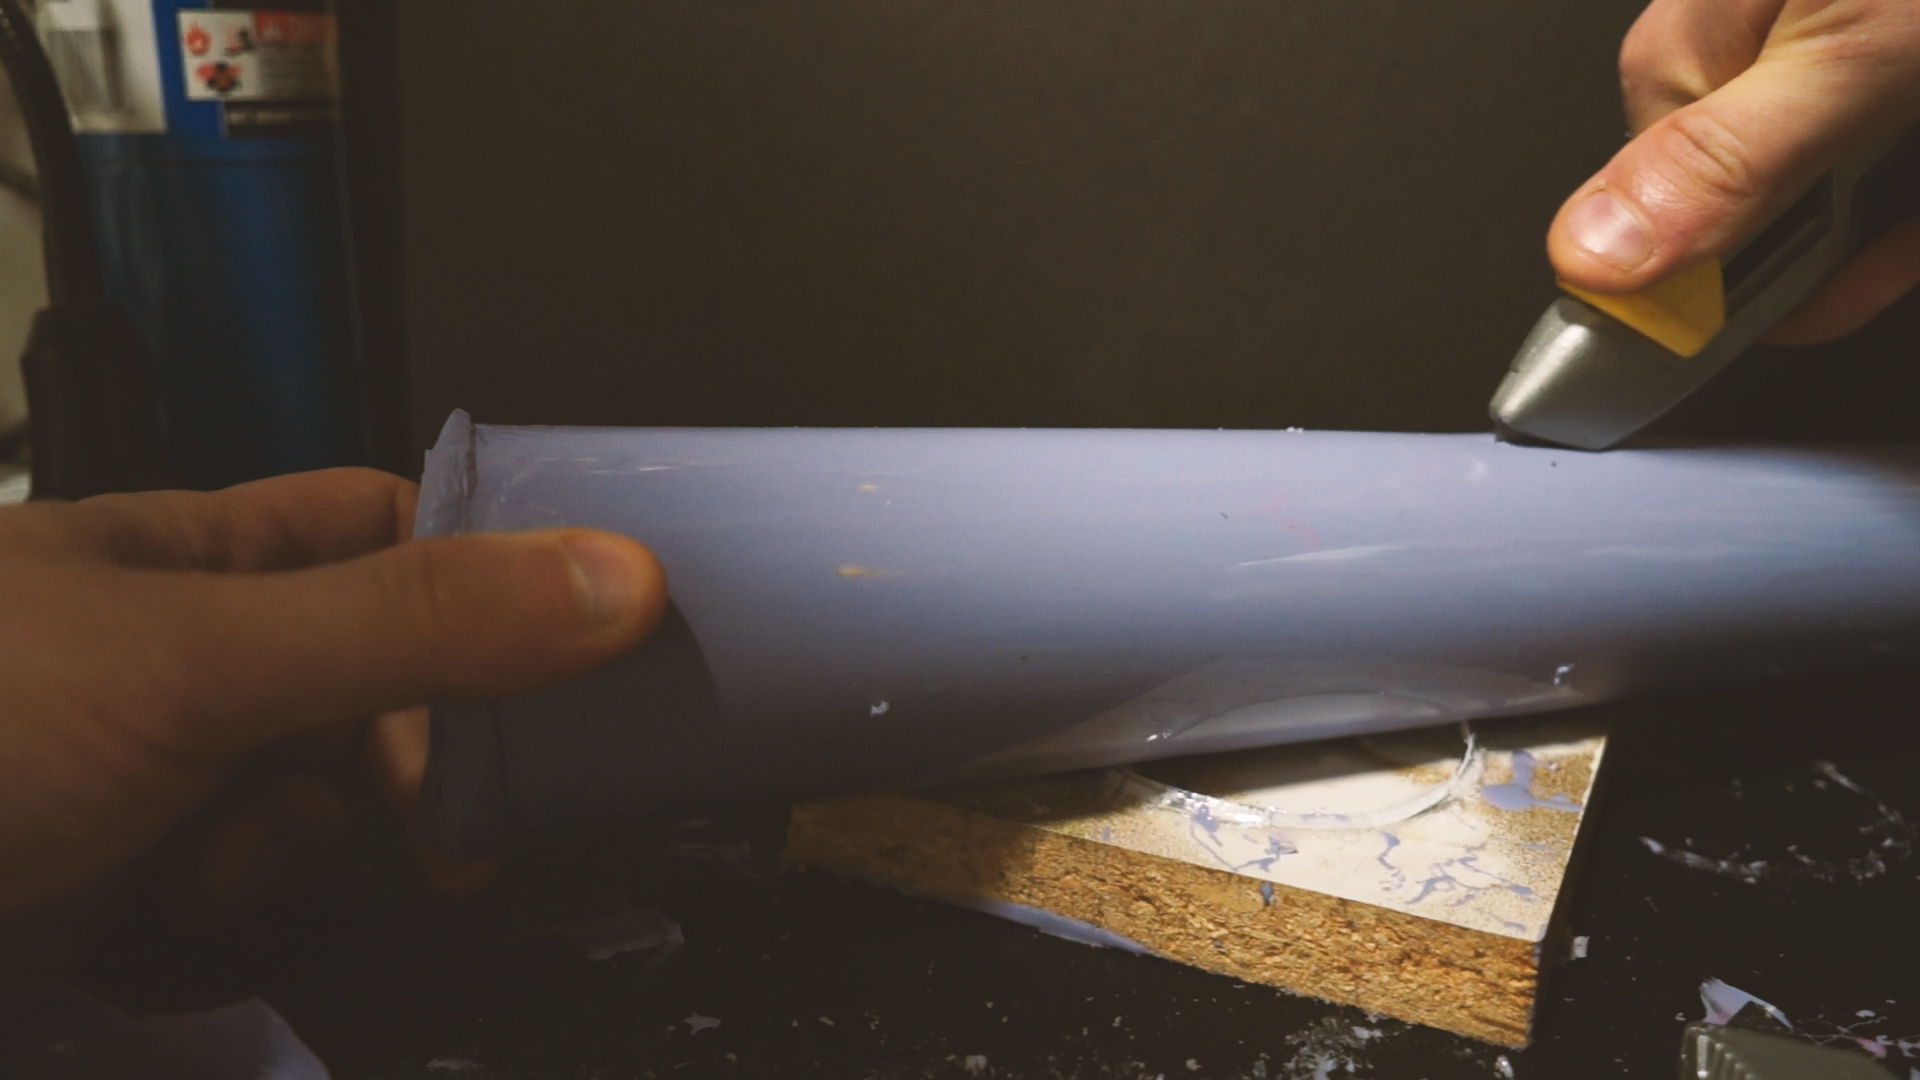
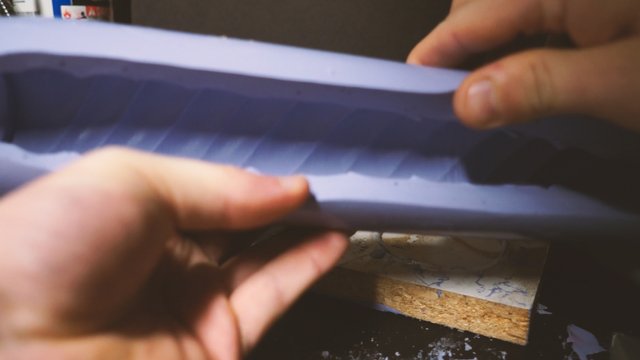
Once your silicon has cured, remove it from the outer mold sleeve and cut it down the middle. Protip: Cut a jagged line so the mold registers back together better (I didn't do that here)!
Prepare for Resin Casting
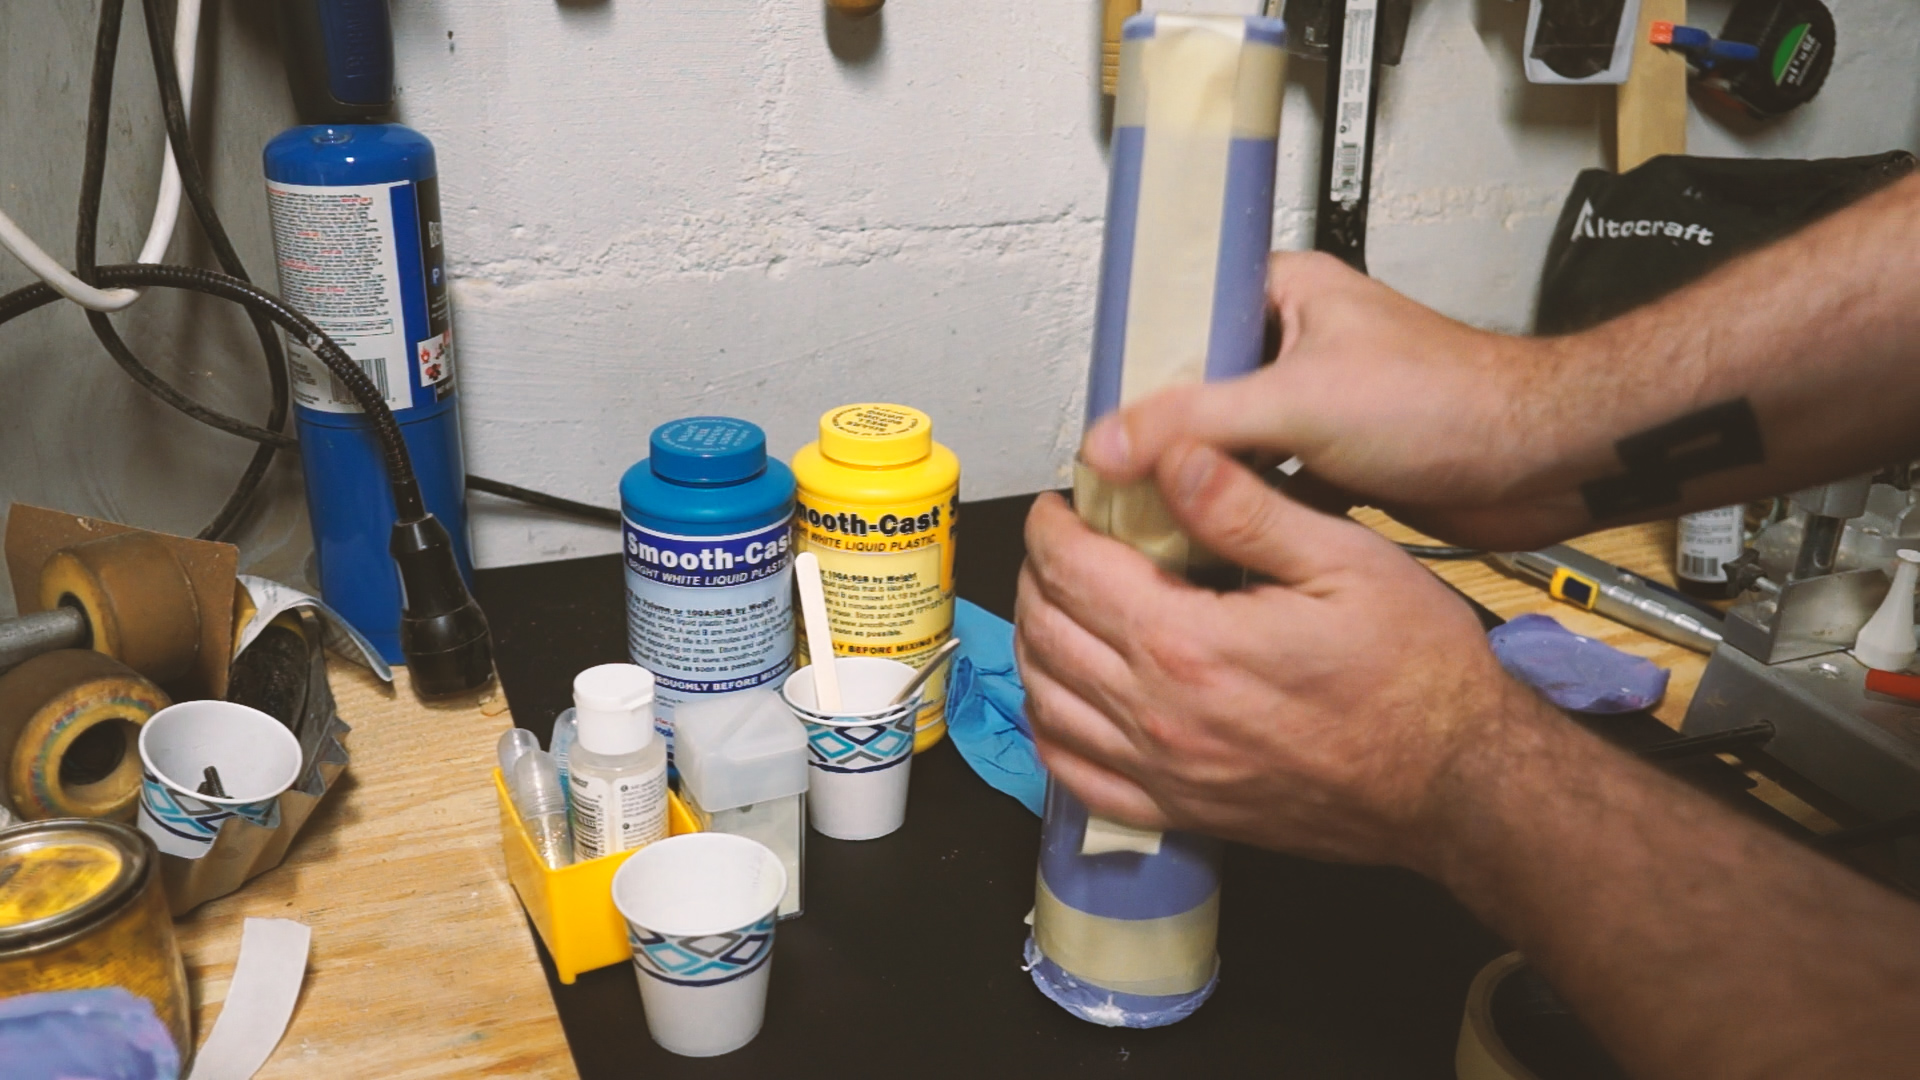
When we cut open the mold, we left a nice small area for silicon to sneak out of. Add some tape around the top, middle and bottom since nothing sticks to silicon but silicon. That will give something for the tape to grab onto and give the whole mold a little more strength from popping open during casting.
You'll also need; Smooth-on 300 (works well for this since it cures quick), mixing cups, glitter, finished mold and some gloves.
Start Casting
Stir part a and part b of the resin together for a minute or two until throughly combined. For extra whimsy, I've added glow powder and glitter.
When the resin is a large mass like this, it will cure in about 5-6 minutes. Once it is thinner inside the mold, you'll have more time to work.
Rotocasting
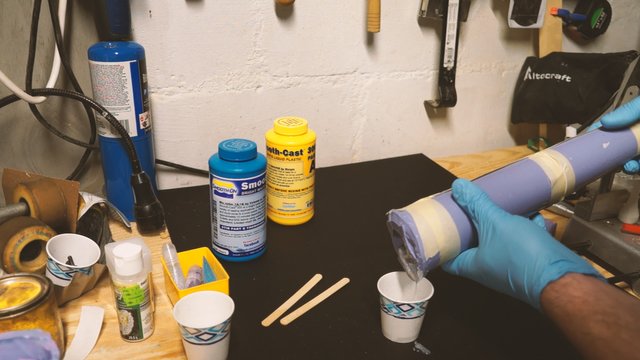
Starting high (to help pop bubbles again), pour the mixture into the mold.
Evenly rotate the mold to coat all sides of it. Tilt down a bit to coat any overhangs. Keep a cup nearby to catch anything that pours out, you can re-pour this back into the mold.
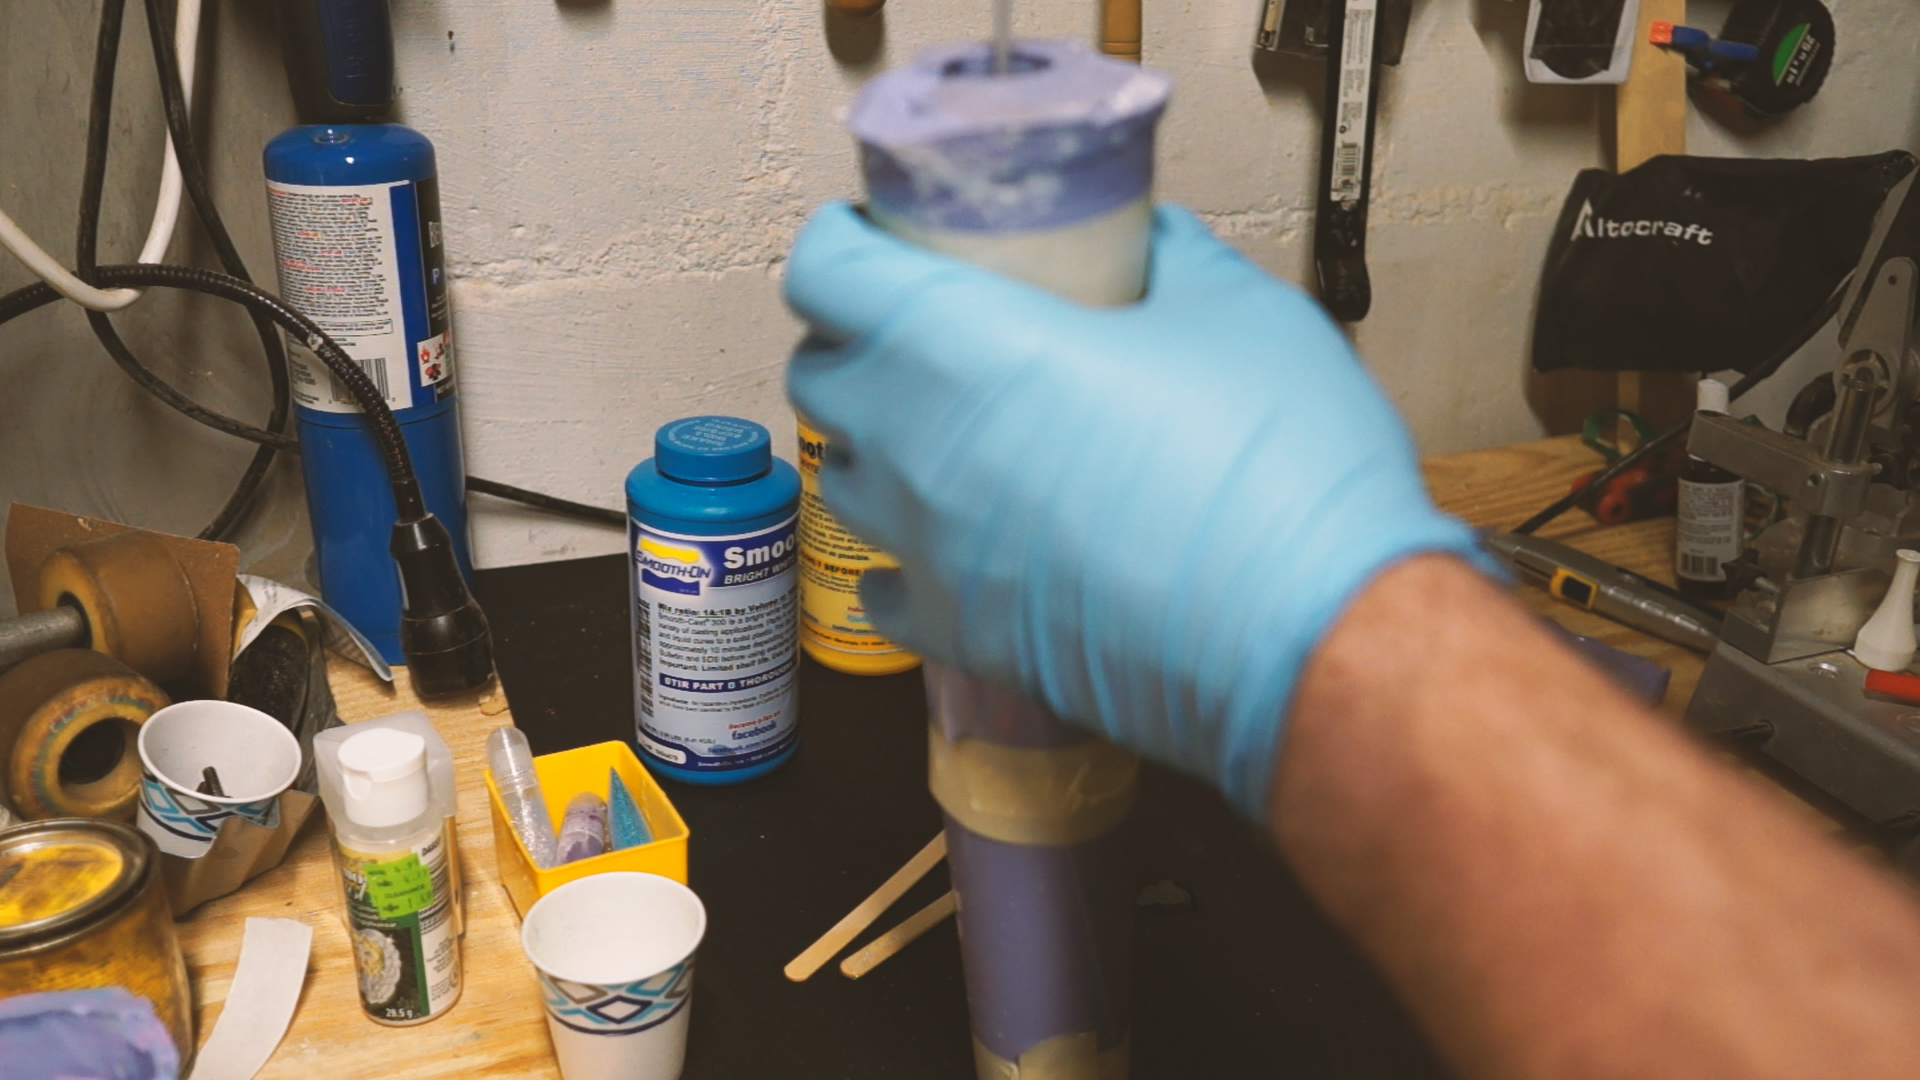
Keep rotating the mold evenly as the resin sets up. This takes approx 8-10 minutes depending on how thick the resin is. Keep turning until the resin stops moving and starts turning white.
As soon as the resin starts setting up and not running out of the opening, place it vertically with the horn down.
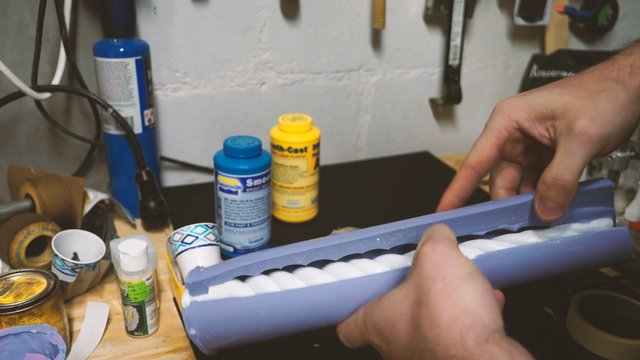
Wait 15-20 Minutes (dependings on your resin) and Demold
 **
**
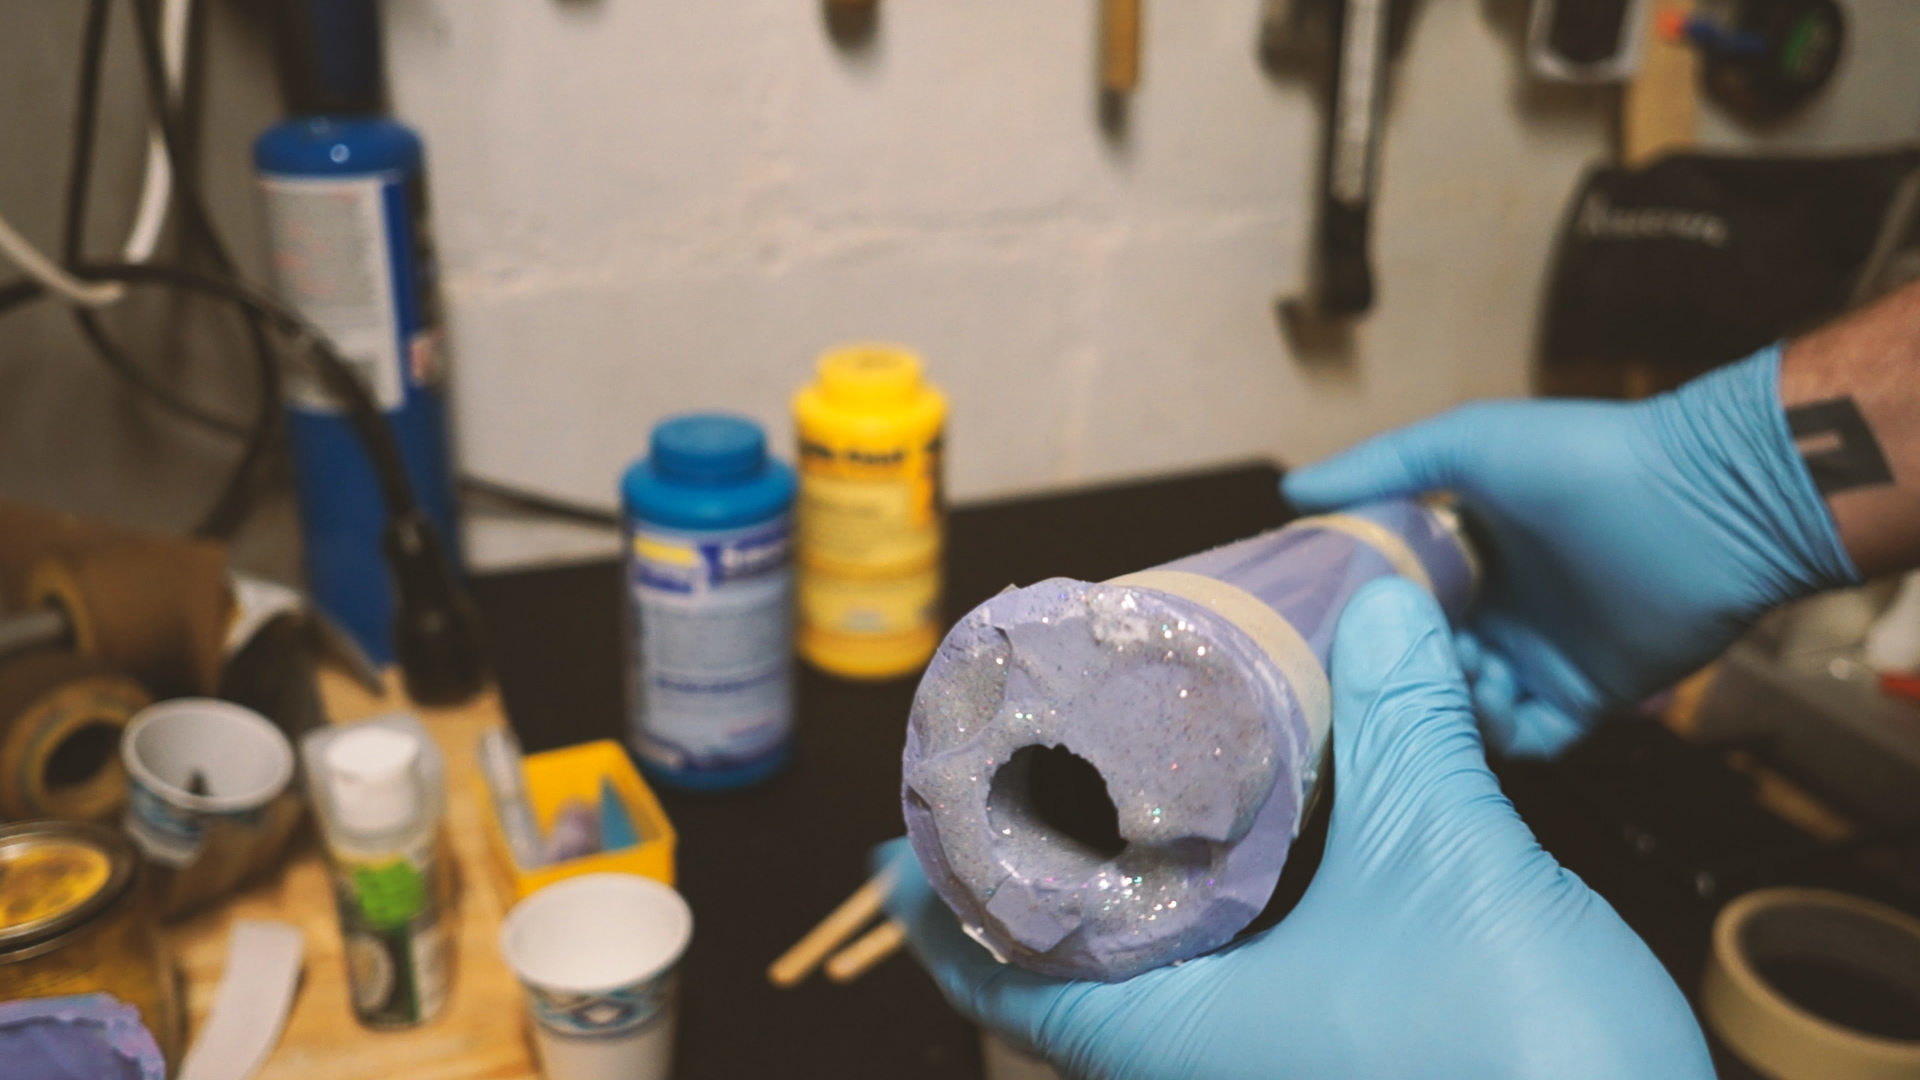
It will be solid white (with specks of glitter), it might still be a little squishy so be careful. You can leave this in for as long as you want, but I was trying to crank out a few in an hour, so I pulled it out before fully cured.
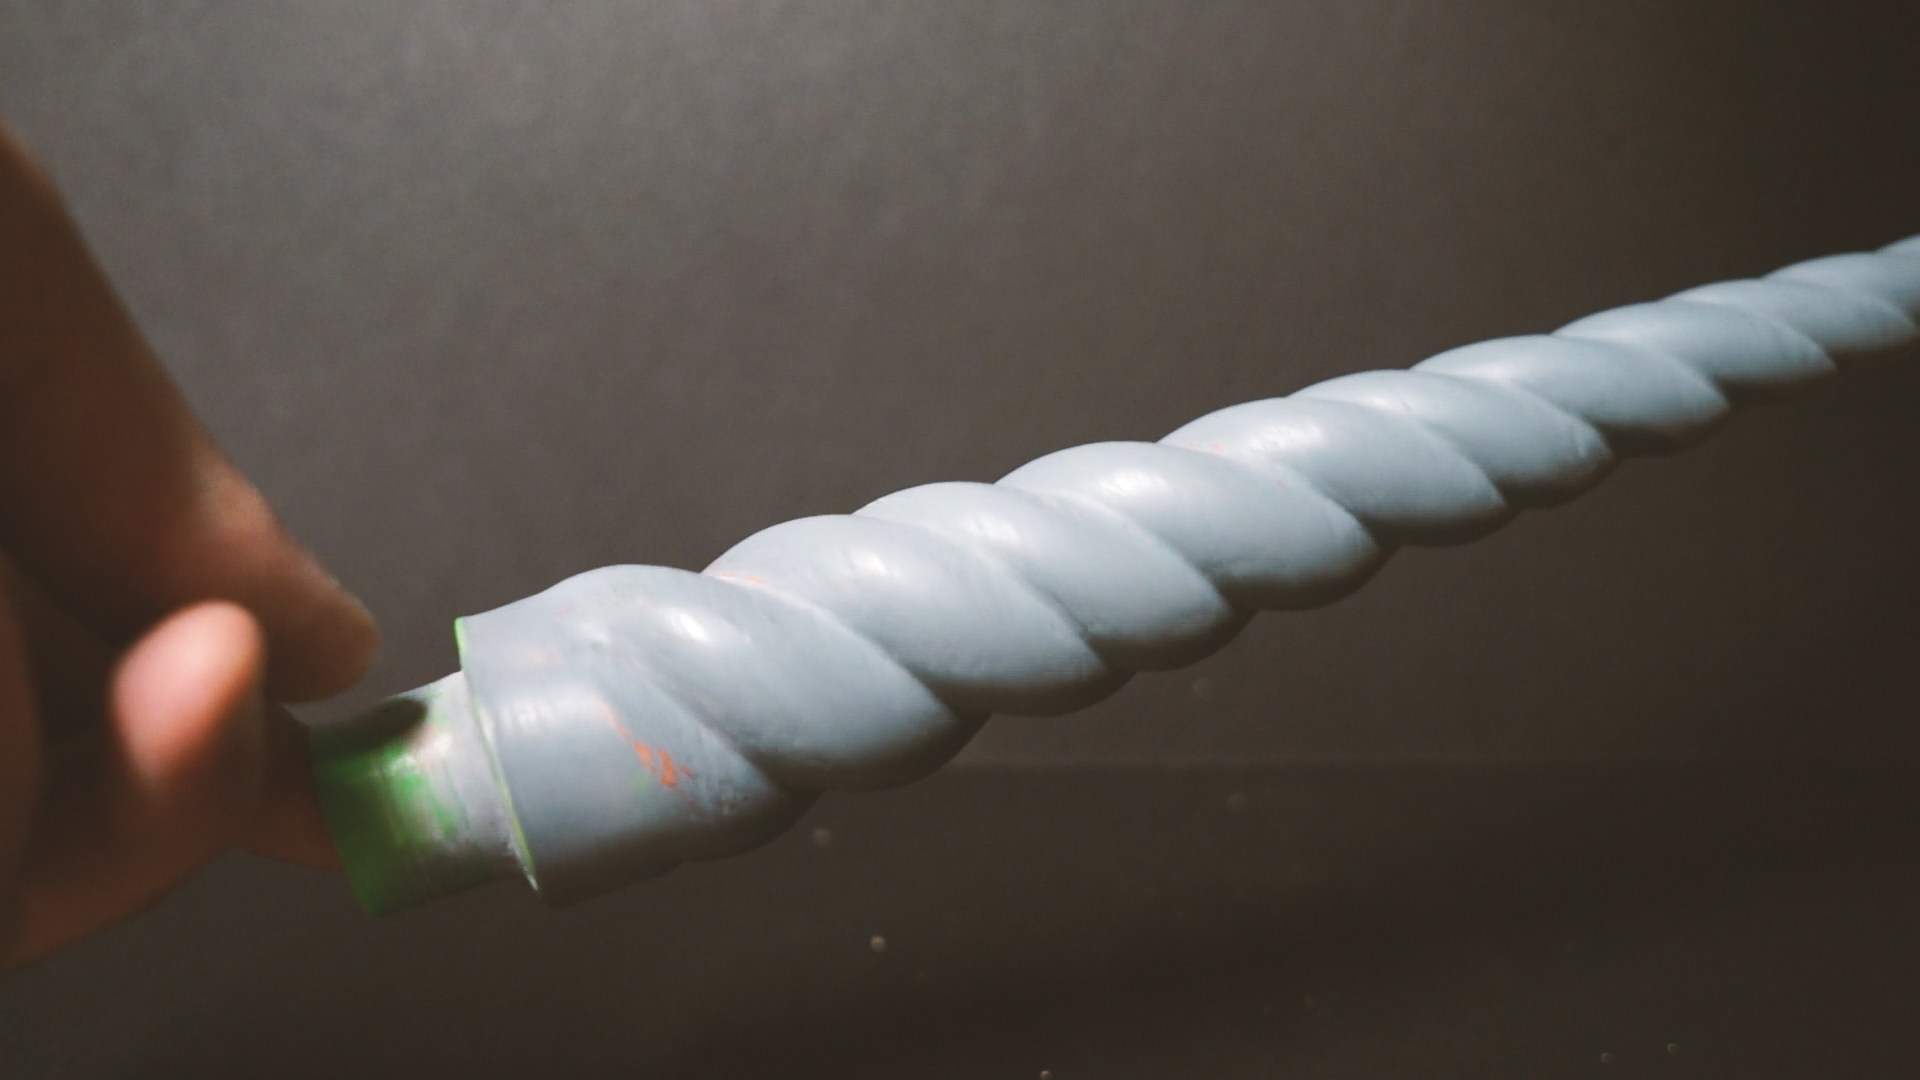
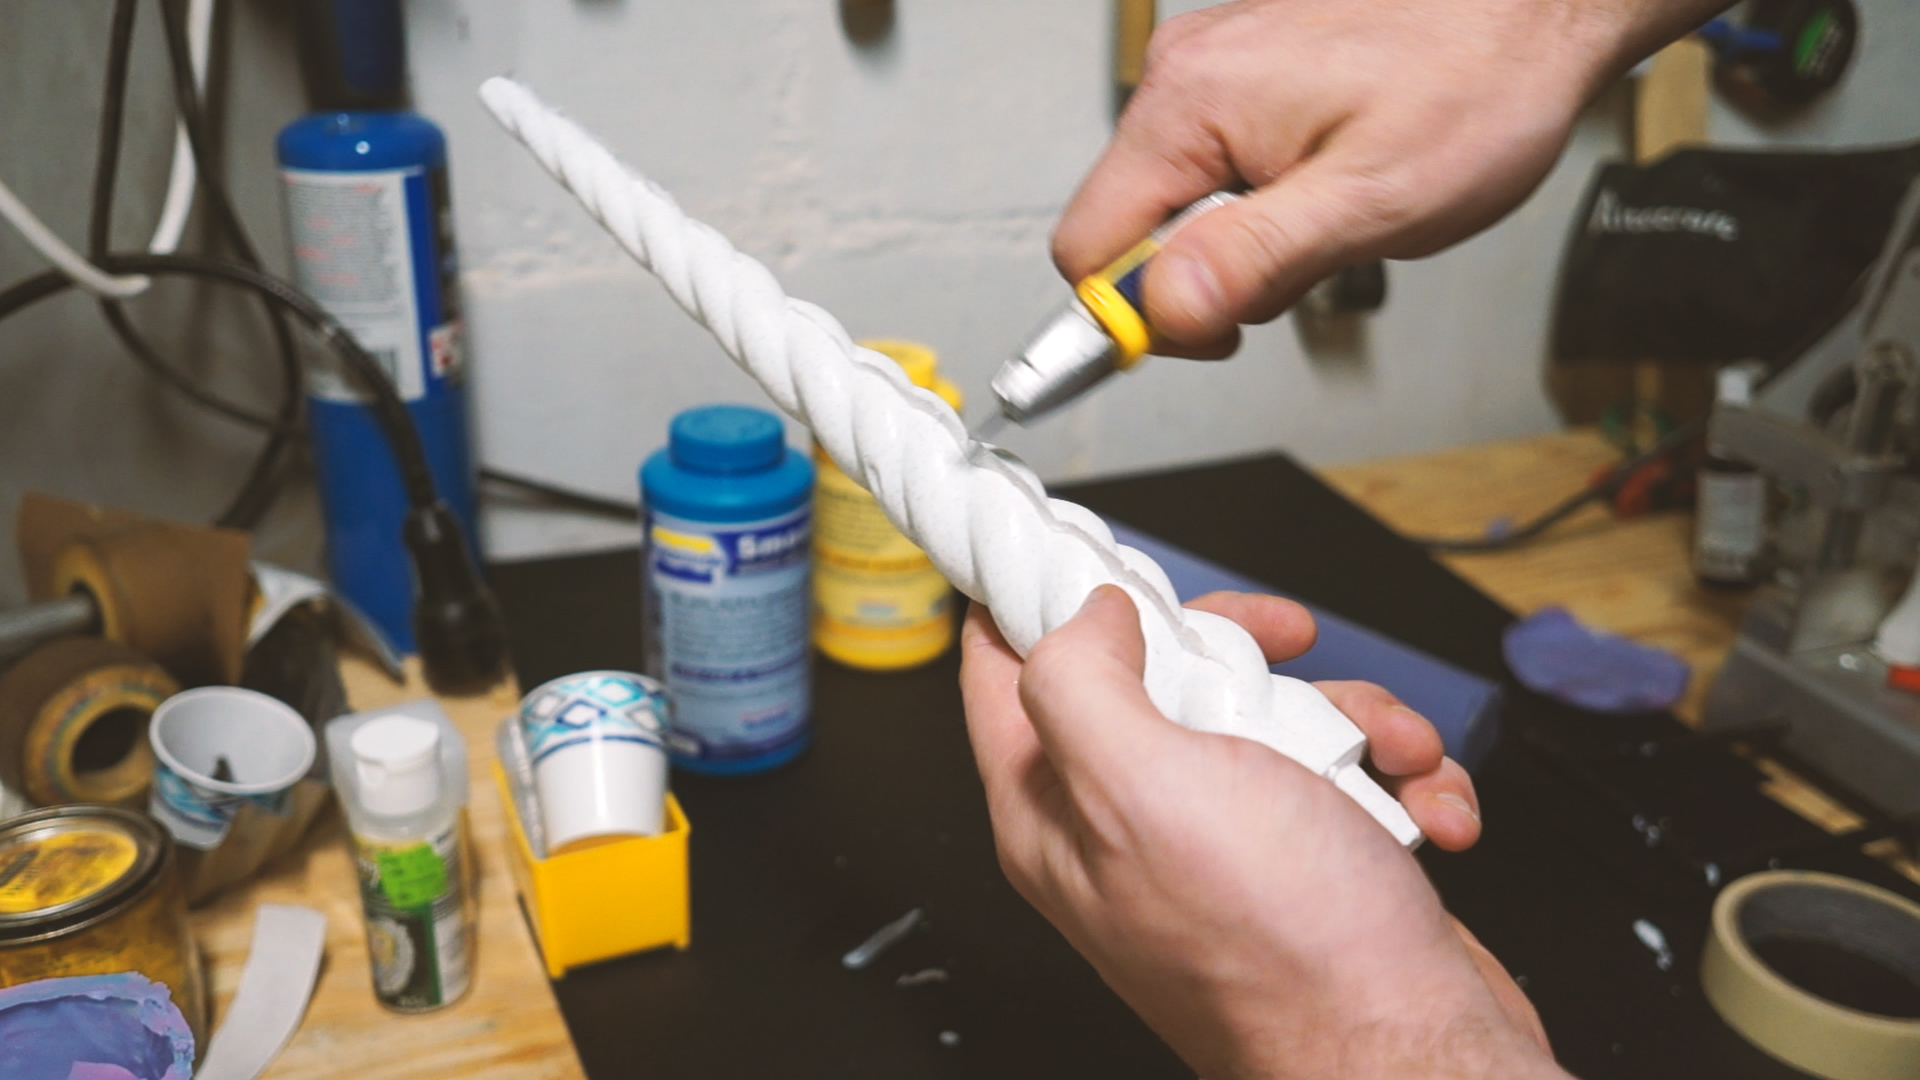
After you remove it, you may find a small seem, called flashing, along the part. Take a knife and scrape away the little bit of flashing. It should easily flake off, but if not you can cut it away and sand it down.
One coat of resin was thick enough for my purpose, but if you need it to be thicker (stronger). Leave it in the mold as the first layer of resin cures and add a second, following the same steps.
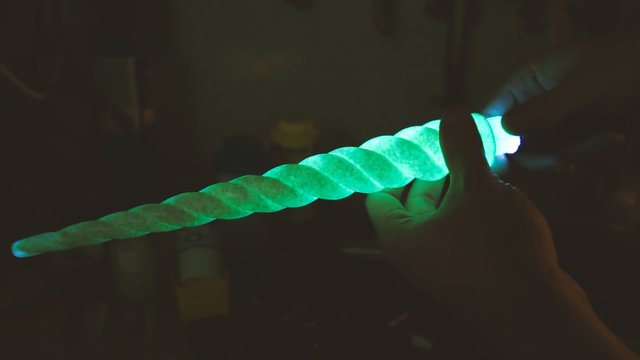
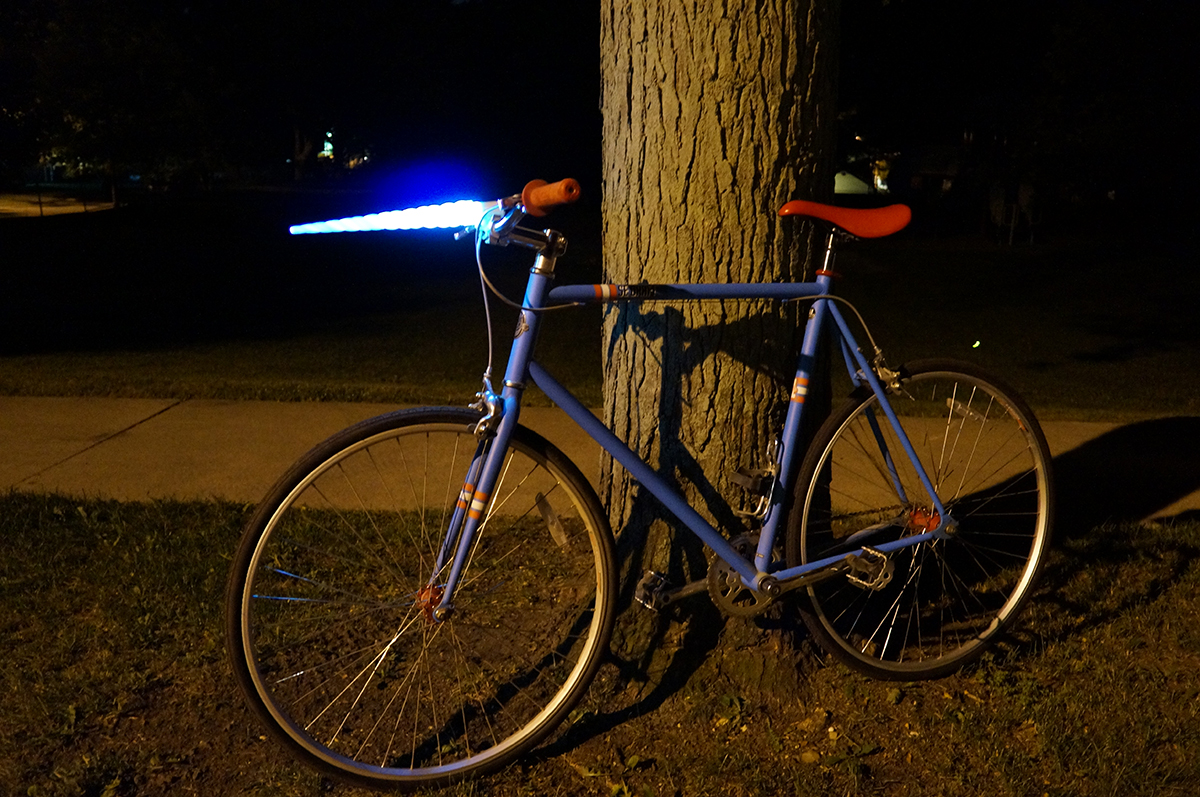
This method saves a lot of resin by just casting the outside, if you want this to be super strong, just fill the entire mold with resin. The downside (other than using a ton of resin) is that it will no longer transmit light as shown in the first picture.!
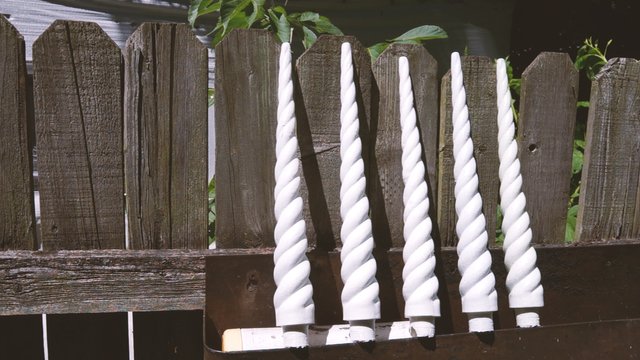
Finished four in a fraction of the time it would take to 3D print just one. I was able to make 3-4 per hour vs one every 5 hours this way.
Thanks for checking this out. I hoped you learned something!
If you have any questions of the process, don't hesitate to ask me! Upvote if you want to see more of this kind of stuff.
Detailed build video in case you don't want to read :)

I like your articles, and I follow your account thank you for sharing
Thanks for checking it out! If there is ever anything you want to learn or whatnot, let me know and I can do a write up or video on it.
You have been scouted by @promo-mentors. We are a community of new and veteran Steemians and we are always on the look out for promising authors.
I would like to invite you to our discord group https://discord.gg/vDPAFqb.
When you are there send me a message if you get lost! (My Discord name is the same as here on Steemit)
Congratulations! This post has been upvoted by SteemMakers. We are a community based project that aims to support makers and DIYers on the blockchain in every way possible. Find out more about us on our website: www.steemmakers.com.
If you like our work, please consider upvoting this comment to support the growth of our community. Thank you.