From Ordinary to Fab!
I found this coffee table for $5 at a garage sale. I knew for $5 I could make it look fabulous!
Time: 1 Days
Cost: $5
Difficulty: Easy
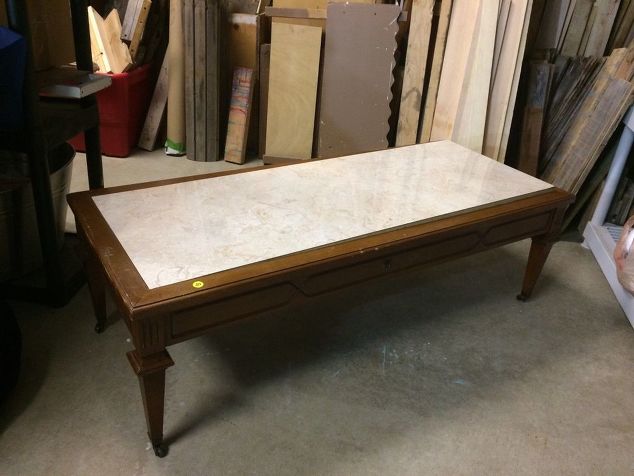
First thing to do was to dismantle this baby. I liked the inlay, so I decided to investigate how to take it off. It was attached underneath with many screws. I undid them all and expected the inlay to come out easily. It did not. I didn’t really want it to break but I attempted it again with a little more force this time. If it did break or chip, I thought I would just insert some type of wood into its spot. Luckily it came out this time. Whewww! One thing I did that saved me some time was mark the ends of the table and inlay with the same marking, matching A‘s at one end and B‘s at the other. This made putting it back in much easier by just matching up the letters.
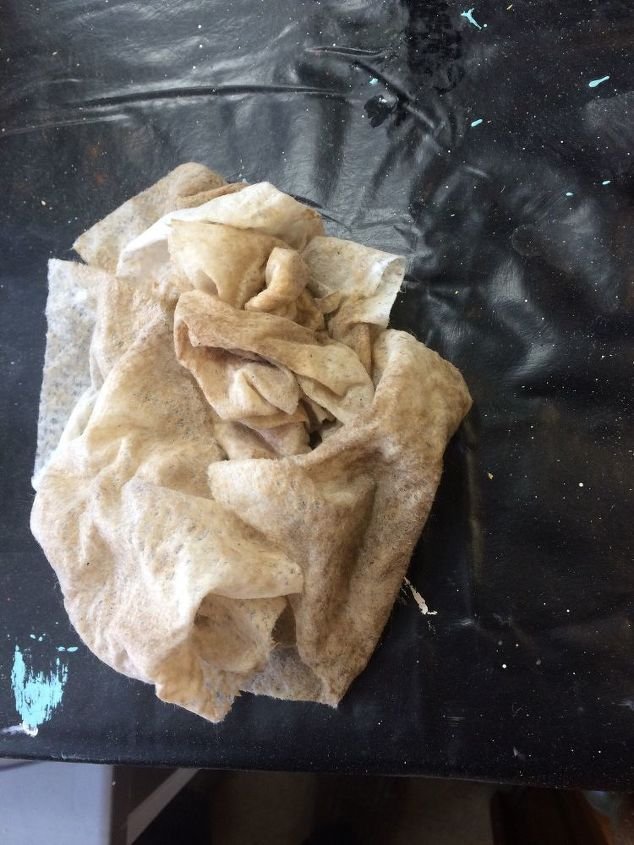
Next step, wiping it down! I think it lived with a smoker sometime in its life from looking at these!
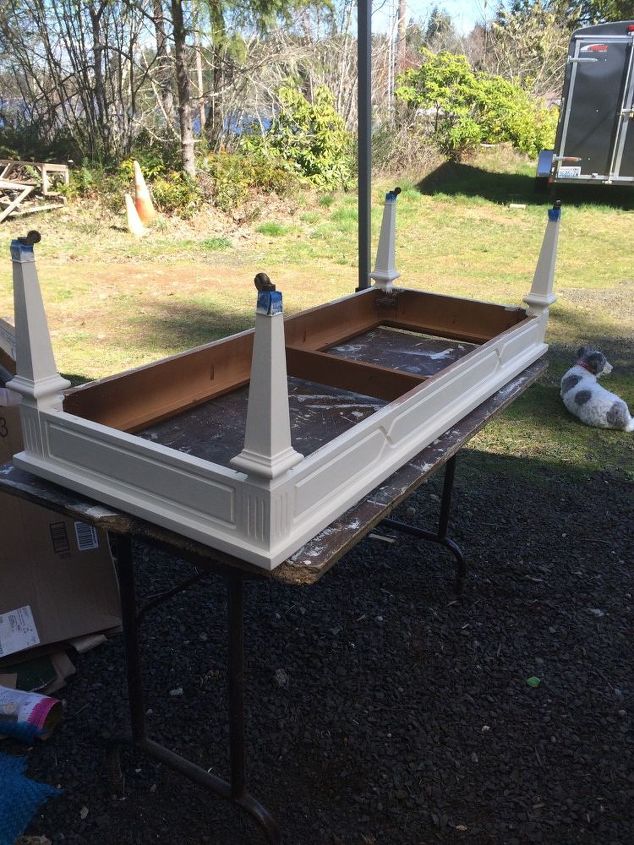
Next, I painted it with some homemade chalk paint using Behr Premium Plus Ultra paint and primer in one. The color is called Cottage White, interior matte finish. I put 3 coats on just to be sure it covered well.
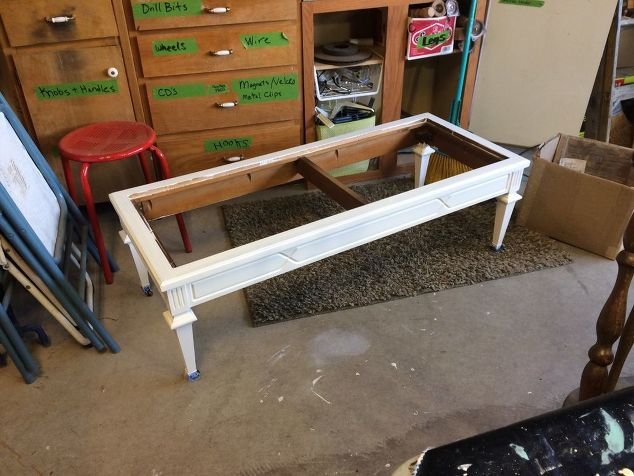
I liked it like this, but I decided to distress it.
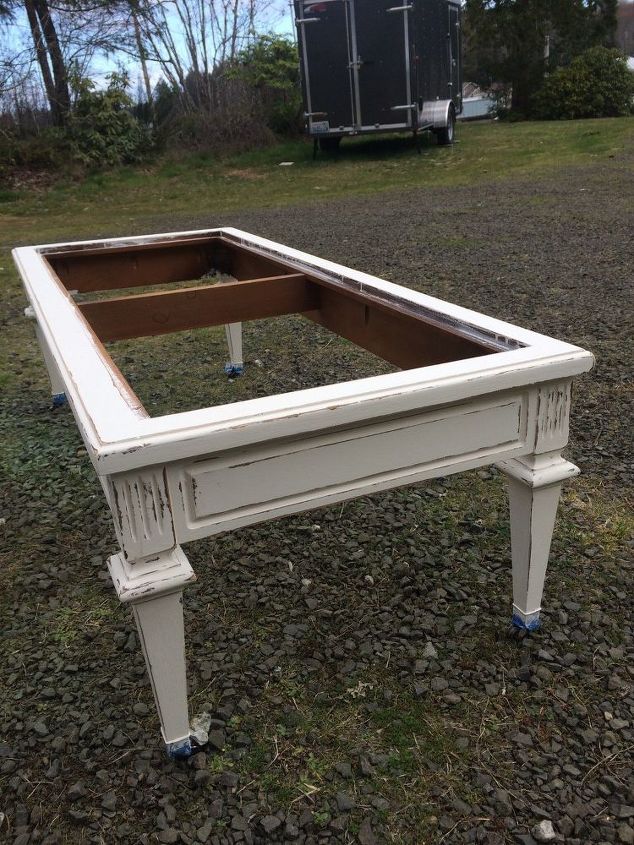
The distressing just brought it to life.
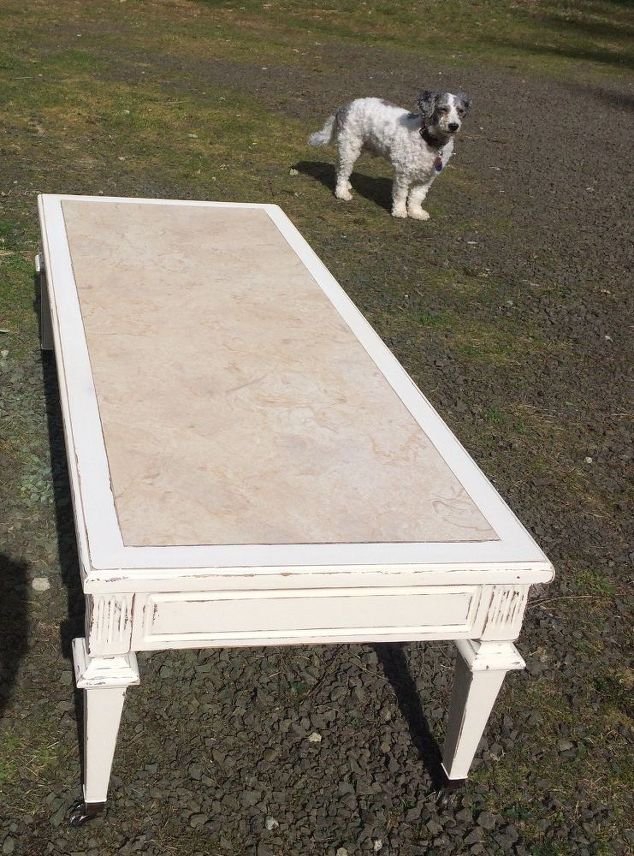
Inlay put back in! It looks a little darker in the photo than it does in person. There are strands of lighter white that help it flow together.
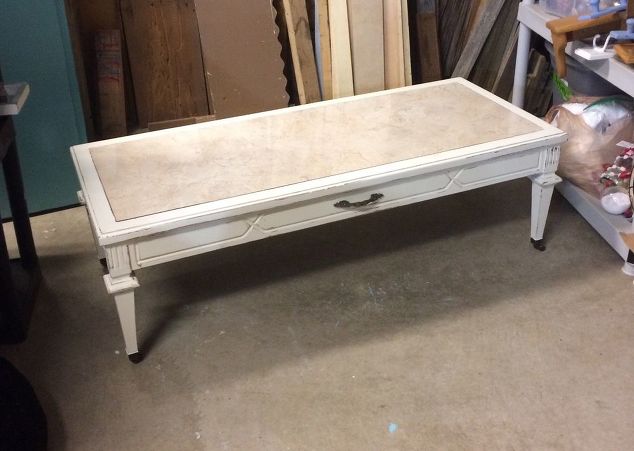
There were two holes that needed a handle. I found something in our stash. I almost forgot, it’s on rollers too!
Suggested materials for this project:
Coffee table  (Garage sale)
Behr Paint in Cottage White  (Home Depot)
Sander
Paint brushes
Cleaning rags
Screw driver