Feathers decorated by @creacioneslelys
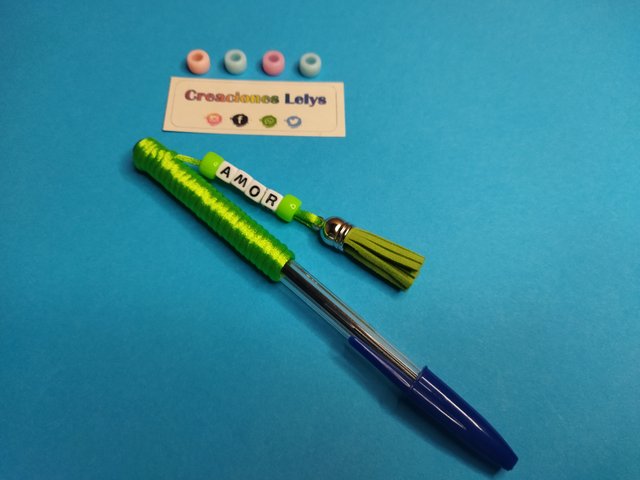
Hello #steemit friends. I'm Lelys. I made a project that I loved and I will gladly share it on my blog.
Hola amigos de #steemit. Yo soy Lelys. Hice un proyecto que me encantó y con mucho gusto lo compartiré en mi blog.
I have learned that in many countries classes are starting. That's why I thought it was the right time to leave here the step by step of how I made the decoration of this beautiful pen. Following this tutorial you can also decorate pencils and markers. You choose the materials and let's get started.
He sabido que en muchos países están comenzando las clases. Es por ello que me pareció oportuna la ocasión para dejar por aquí el paso a paso de cómo realicé la decoración de esta lindísima pluma o bolígrafo. Siguiendo este tutorial también podrás decorar lápices y marcadores. Tú eliges materiales y a empezar.
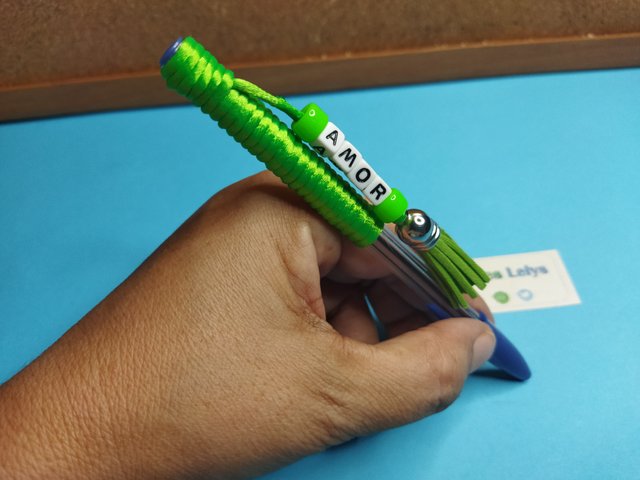
Before starting we must consider if the pen has a cap or not. Then we decide from where we are going to decorate it always leaving without working all the space of the tip where the cap is placed.
Antes de comenzar debemos considerar si la pluma tiene tapa o no. Entonces decidimos desde dónde lo vamos a decorar siempre dejando sin trabajar todo el espacio de la punta donde se pone la tapa.
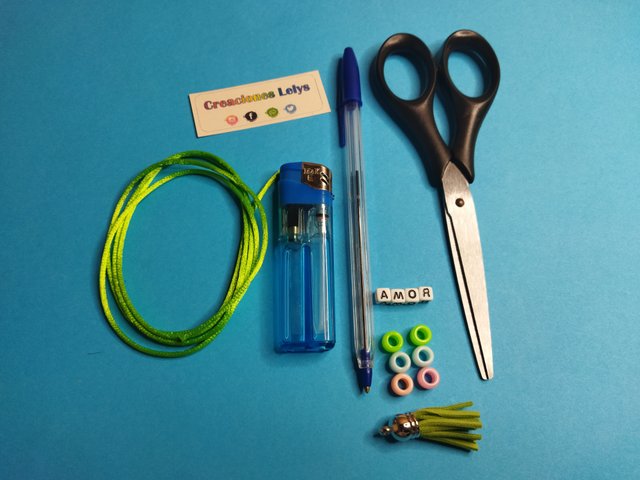
🟢 The feather we are going to decorate.
🟢 Mouse glue thread.
🟢 Plastic letters with holes.
🟢 Beads, beads or other appliques.
🟢 Scissors.
🟢 Tinder or lighter.
🟢 La pluma que vamos a decorar.
🟢 Hilo cola de ratón.
🟢 Letras plásticas con orificios.
🟢 Abalorios, cuentas u otros apliques.
🟢 Tijeras.
🟢 Yesquero o encendedor.
🟢 Step 1.
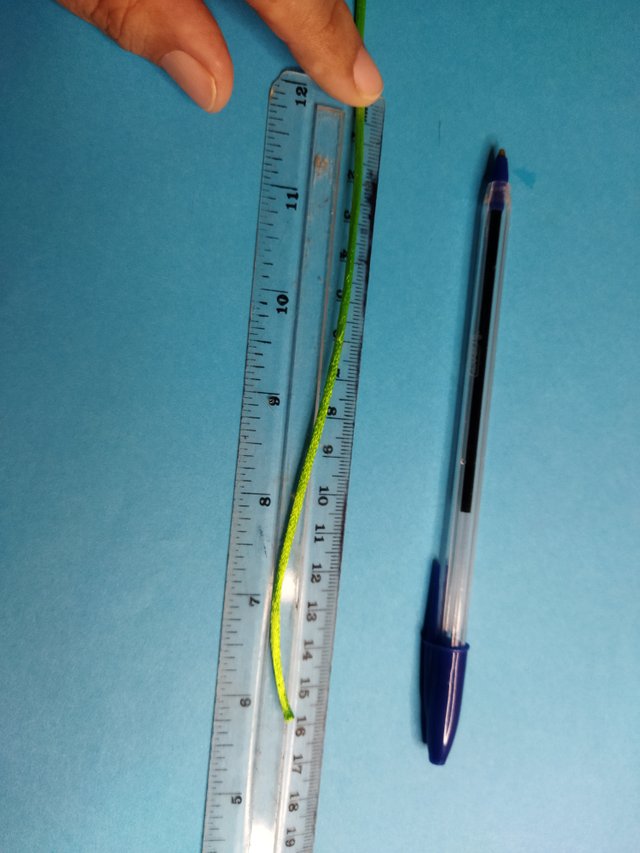
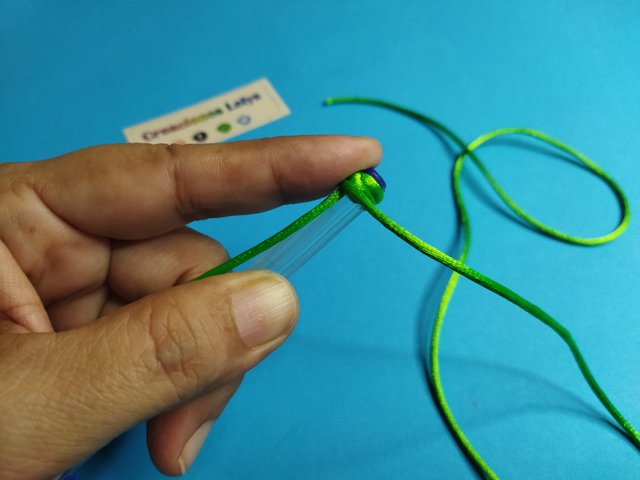
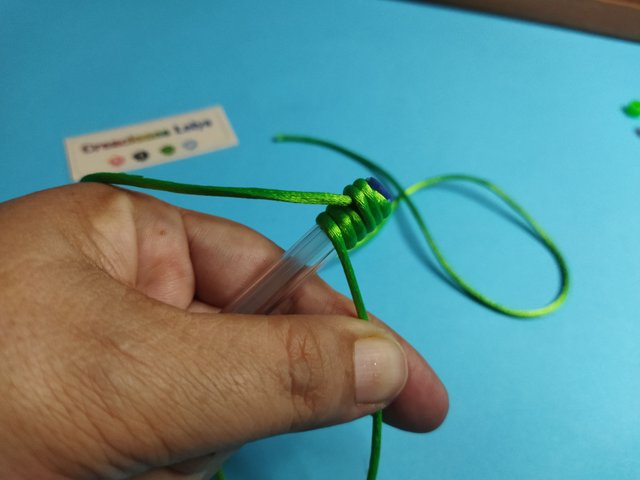
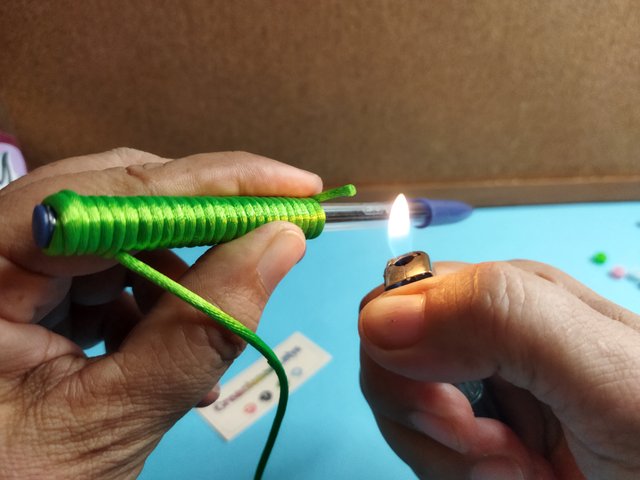
Measure a meter and a half of mouse tail yarn. Before we start we leave 15 cm without working. With the rest of the thread we are going to cover from the top of the pen or from the measure you choose to where the cap of the pen goes or before. To seal we burn with the tinder the tip of the thread and press on the thread that we wound.
🟢 Paso 1.
Medir metro y medio de hilo cola de ratón. Antes de empezar dejamos 15 cm sin trabajar. Con el resto del hilo vamos a cubrir desde la parte superior de la pluma o desde la medida que tú elijas hasta donde va la tapa de la pluma o antes. Para sellar quemamos con el yesquero la punta del hilo y presionamos sobre el hilo que enrollamos.
🟢 Step 2.
On the 15 cm of yarn that we left unworked we are going to place the plastic letters forming the chosen word. It can be a name, qualifier or any other. We start with an aballrio and then with the letter that begins the name, making sure that it looks straight when hanging. Once the word is completed we place other beads. To finish we tie a knot.
🟢 Paso 2.
En los 15 cm de hilo que dejamos sin trabajar vamos a colocar las letras plásticas formando la palabra elegida. Puede ser un nombre, calificativo o cualquier otra. Iniciamos con un aballrio y luego con la letra por la que empieza el nombre fijándonos que se vea derecho al colgar. Una vez completada la palabra colocamos otros abalorios. Para finalizar hacemos un nudo.
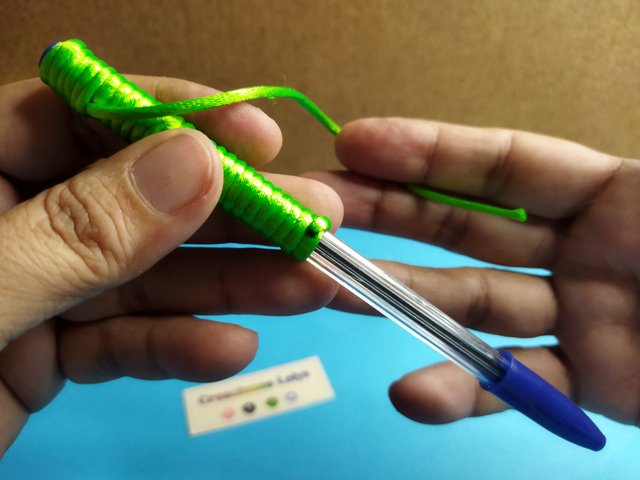
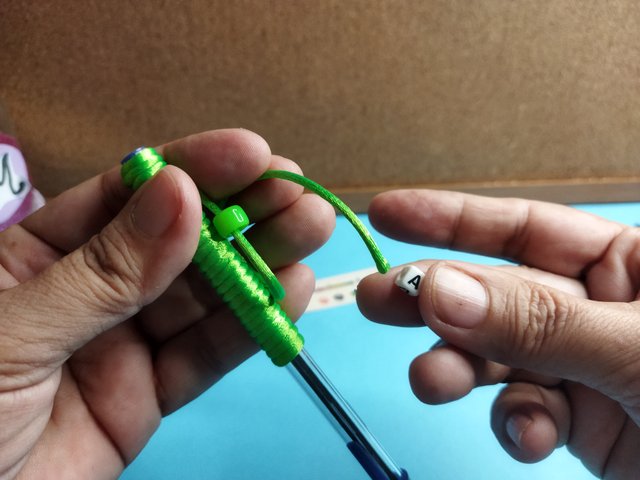
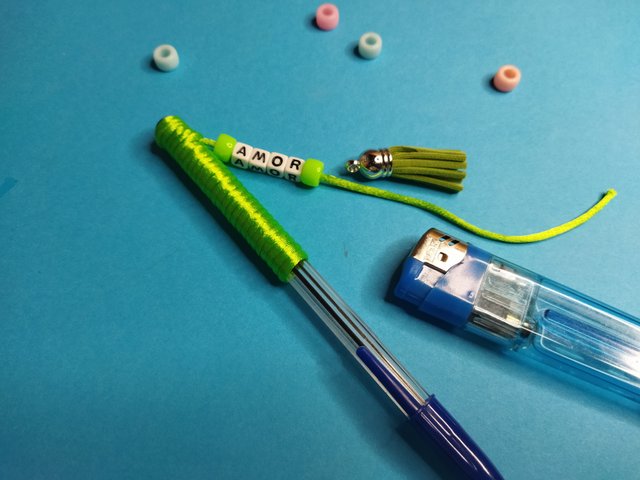
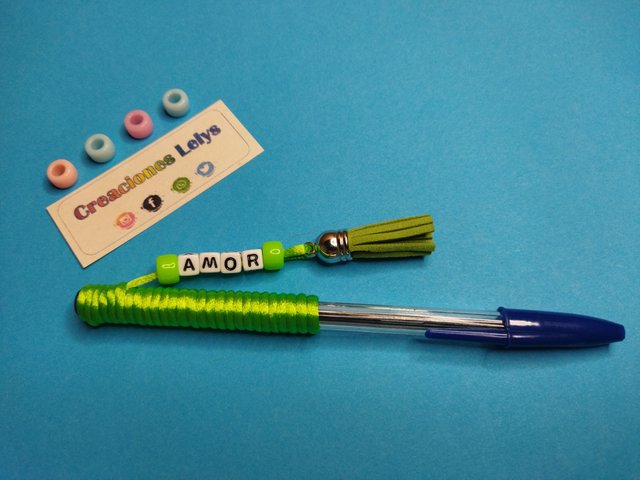
The decorated feathers look very nice. It is a very easy way to personalize them. This way our pens can stand out from the rest.
Las plumas decoradas se ven muy lindas. Es una forma muy sencilla de personalizarlas. De esta manera nuestros lapiceros podrán diferenciarse de los demás.
That's all for now. All photos are my own. Taken with my Xiaomi POCO M3 phone. I used Deepl translator.
Es todo por ahora. Todas las fotos son de mi autoría. Tomadas con mi teléfono POCO M3 de Xiaomi. Usé el traductor de Deepl.
#craftycontent #diy #handmade #art #creative #schools #handcraft