How to Design Snowflake Stirrer Using SelfCAD
How to Design Snowflake Stirrer Using SelfCAD
Snowflakes are known for their beautiful and unique patterns, making them a great inspiration for creative projects. Designing a snowflake stirrer can add a touch of winter magic to your drinks and holiday gatherings. SelfCAD is a user-friendly software that allows anyone to create 3D designs, even if you are new to digital design. This tutorial will show you how to use SelfCAD to design your own snowflake stirrer. We'll go through each step, from learning the basic tools to creating the final product. By the end, you'll be able to make a snowflake stirrer that is both beautiful and practical.
To access the interactive tutorial to this article, visit https://www.selfcad.com/tutorials/3o5e1u4k62h1k4b1g5b4h3c5w5xu1x235r1r
Once you’ve launched the editor;
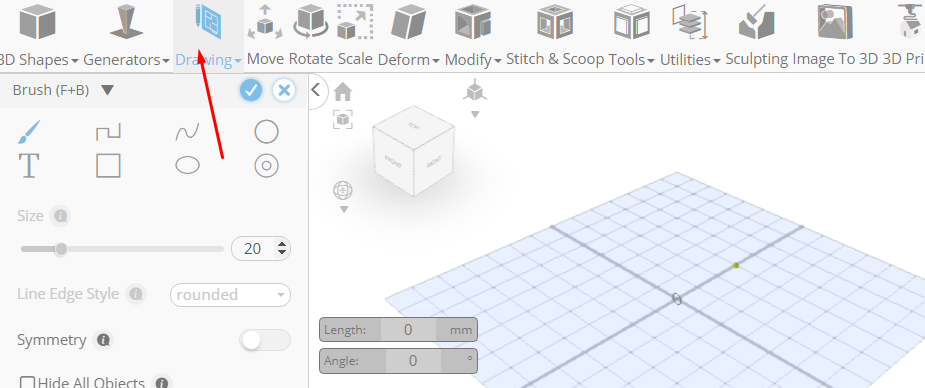
From the drawing category on the toolbar choose freehand
Click on highlighted point to draw

Click on highlighted point to draw

Press Esc to stop drawing stroke
Set symmetry to true, Click on highlighted point to draw

Type in 60 value into the length measurement, Click on highlighted point to draw

Press Esc to stop drawing stroke
Click on highlighted point to draw, Type in 60 value into the length measurement

Click on highlighted point to draw
Press Esc to stop drawing stroke
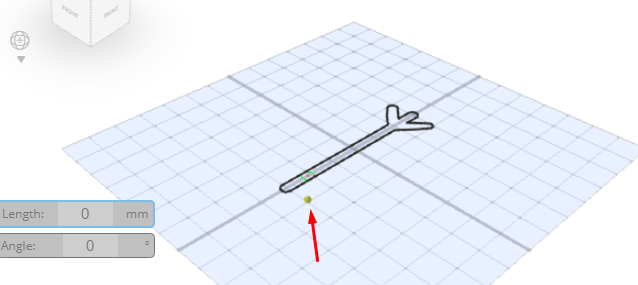
Click to finalize freehand drawing

From the tools category on the toolbar choose copy offsets
Set operation to pivot, amount of copies to 2, click copy button to create copies

Click ‘x’ to close copy offsets panel
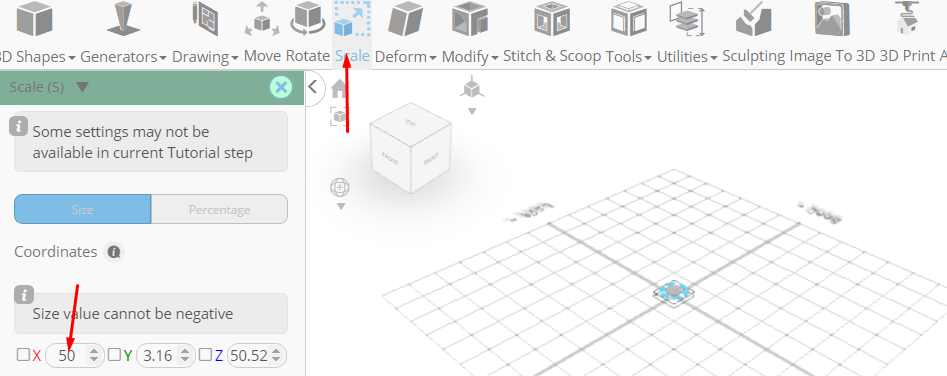
Click scale on the toolbar; Set keep proportion to true, x to 50
Click ‘x’ to close transformation panel
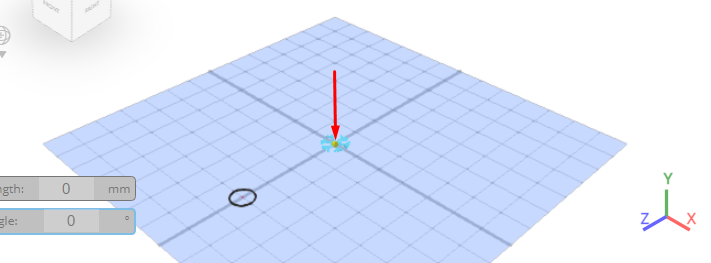
Click move on the toolbar; Set y to 0

Click ‘x’ to close transformation panel
From the drawing category on the toolbar choose freehand; From the tool panel choose circle

Click on highlighted point to draw circle

Type in 20 value into the radius measurement, Click on highlighted point to draw circle

From the tool panel choose brush; Set size to 2, Click on highlighted point to draw

Click on highlighted point to draw
Set height to 1, Click to finalize freehand drawing

From the utilities category on the toolbar choose align; Set reference to drawing 1, layer to middle, position to front, z to -2

Click ‘x’ to close align panel
From the edit menu on the top toolbar click select all
Click stitch & scoop on the toolbar; From the tool panel choose union

Click to finalize union
As you continue honing your design skills, remember that SelfCAD offers a wealth of resources to support your learning journey. To deepen your understanding and explore more advanced features, consider checking out the interactive tutorials (https://www.selfcad.com/tutorials) available on the SelfCAD website. The tutorials page provides a treasure trove of guides, tips, and tricks that cater to designers of all levels.
More structured learning experience can also be accessed at the SelfCAD Academy (https://www.selfcad.com/academy/curriculum/), https://www.youtube.com/@3dmodeling101, and 3D Modeling 101 series (https://www.youtube.com/playlist?list=PL74nFNT8yS9DcE1UlUUdiR1wFGv9DDfTB). This comprehensive resource offers in-depth courses taught by industry experts, allowing you to master the intricacies of SelfCAD at your own pace.