SLC22W4 | Basic Children's Clothing Pattern Layout
If you have to draft circular neck pattern then follow these steps;
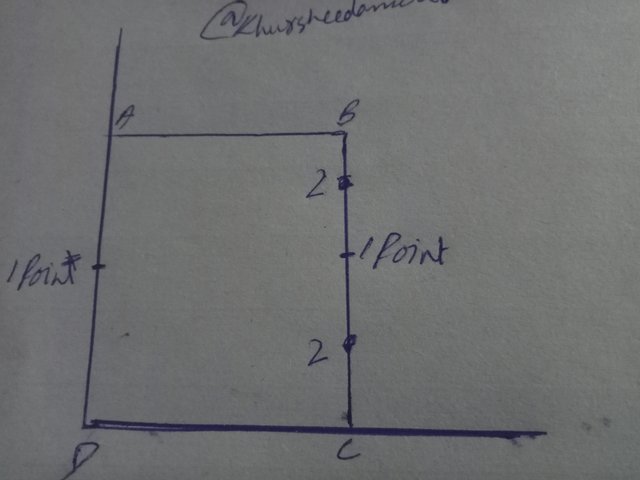
Step 1: Determine neck width
If I talk about step one then it is about deciding with of neck you want to keep so here I am keeping neck width around 5 cm and I will multiply it with 2 for getting total width so now it's equal to 10 cm.
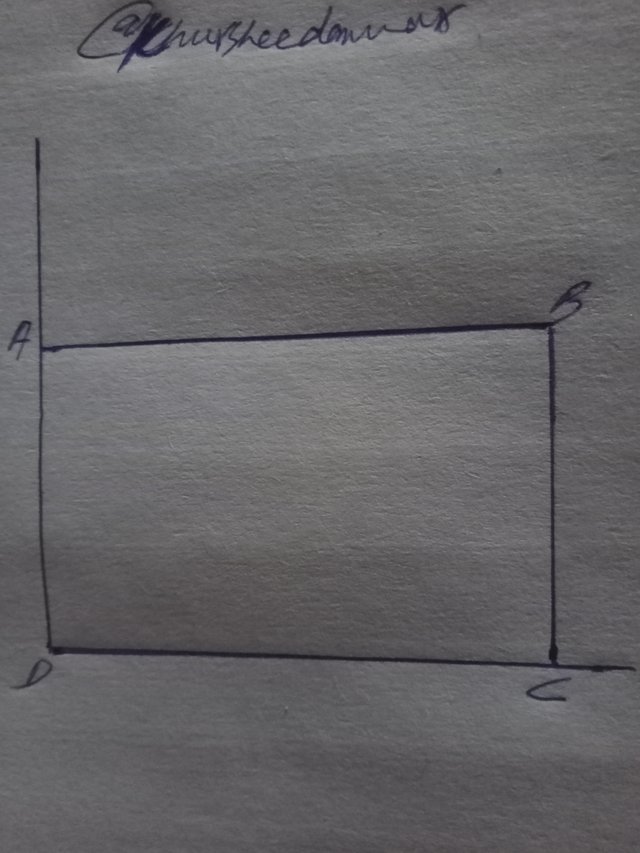
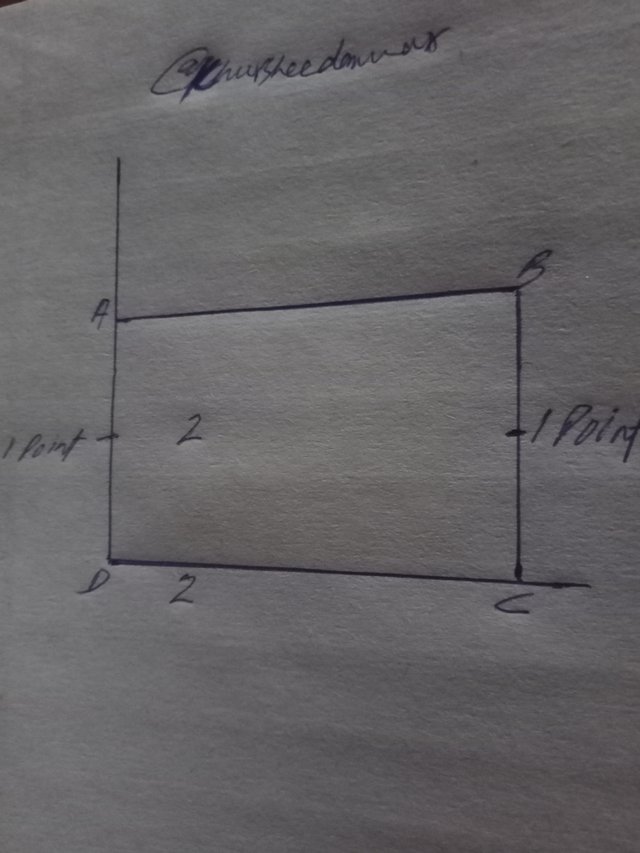
Step 2: Create a box
If I talk about next step then this is about creation of box or rectangle in which wig will be kept half of the width of back so suppose if back width is 20 cm then it will be divided by 2 for getting its half so its 10 cm. If I talk about height then it will be kept as total with from Step 1 which is clear that it's 10 cm.
Step 3: Mark corners
This step is marking corners of rectangle which are ABC and D.
Mark the corners of the box as A, B, C, and D.
Step 4: Find midpoint
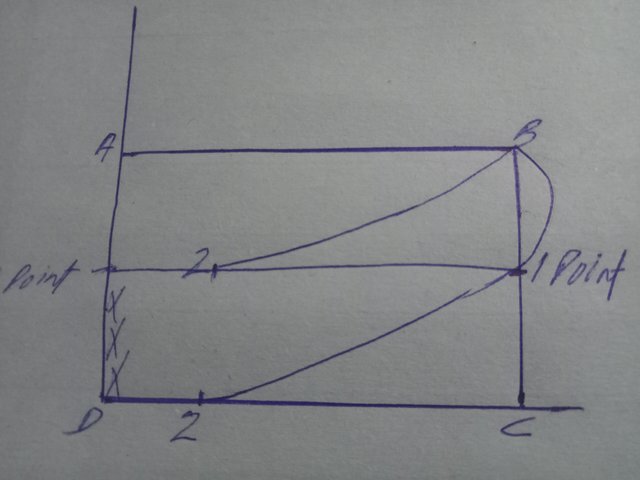
In this step you have to find out mid of vertical line BC which will be around 5 cm and at both sides it will be marked as point number one.
Step 5: Divide line
If I talk about this step then you need to divide horizontal line ab in third so it will be around 3.3 cm in each part and mark these points at both at A B and DC which are vertical lines. After that mark most closest BC line as point 2.
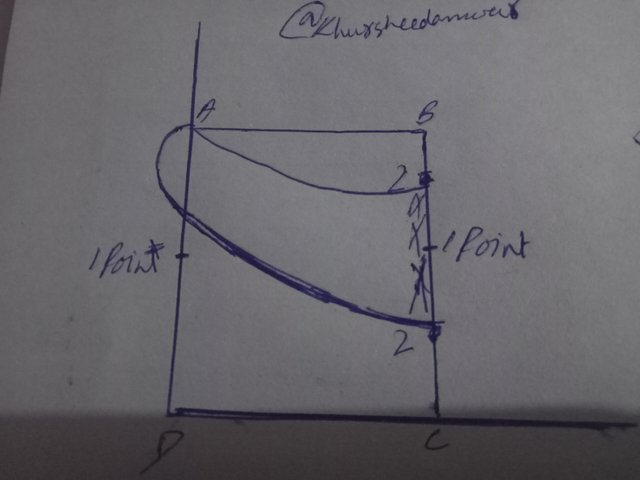
Step 6: Draw curves
If I talk about last step then it's all about drawing curve by connecting point one with two and then another curve line will be drawn by connecting point to with B and finally there will be a curve connecting B with 1 point. You can see that this is c shape at outside of this rectangle.
If you want to draw or trace baby neck then you should follow the following steps;
Step 1: Determine box measurements
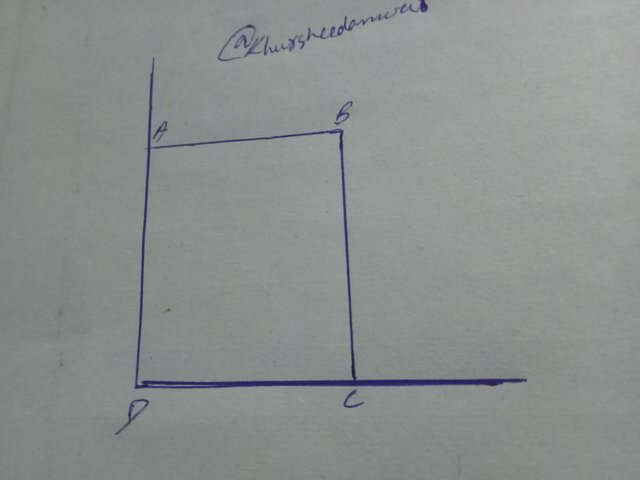
If I talk about this step then again you should determine measurements of your box or rectangle you want to draw so I created a box with 4th part of circumference of back as width and that desired with of neck I multiply by 2 for getting height!
Step 2: Mark corners
In this step I simply mark corners of rectangle as a b c and d.
Step 3: Find midpoint
If I talk about point 1 which you can see in the picture then this is I got by finding out mid point of box.
Step 4: Divide lines
If I talk about this step then this is all about dividing lines AD and BC which are vertical lines in 4 equal parts and these points are marked as point 2.
Step 5: Draw curves
If I talk about ending then now it's a time of drawing smooth curve by joining A to 2 and then from 1 to 2 and then c shaped curve will be get by joining A to 1.
If you want to draw yoke collar then following steps you need to follow;
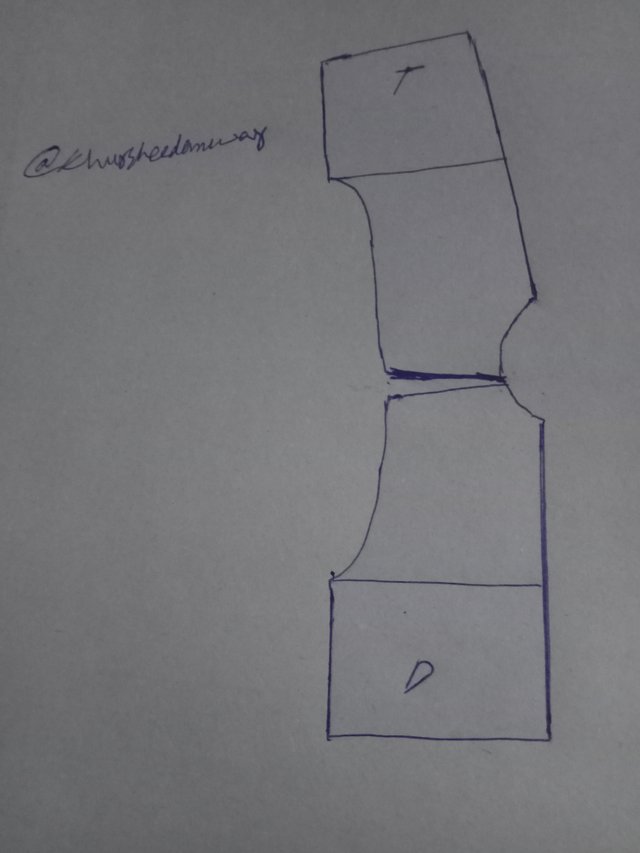
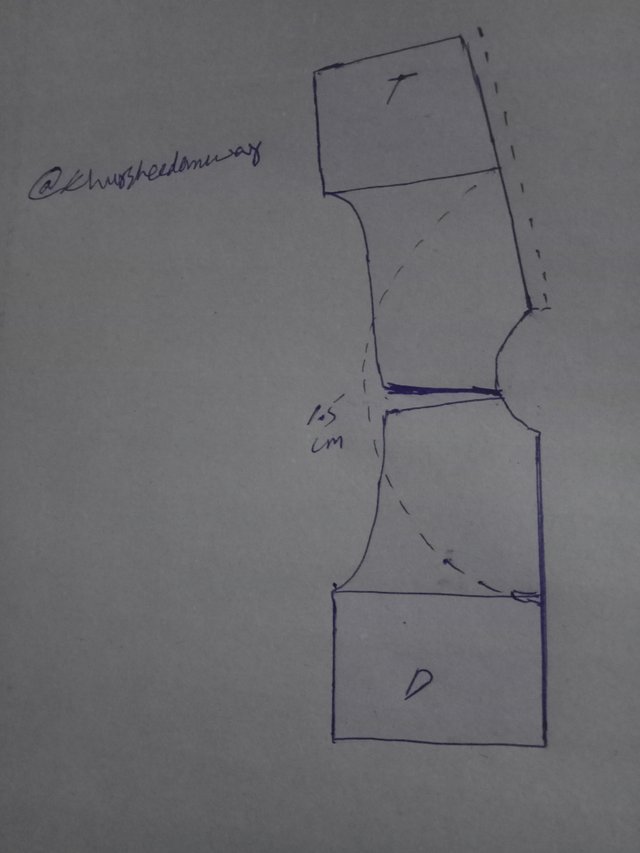
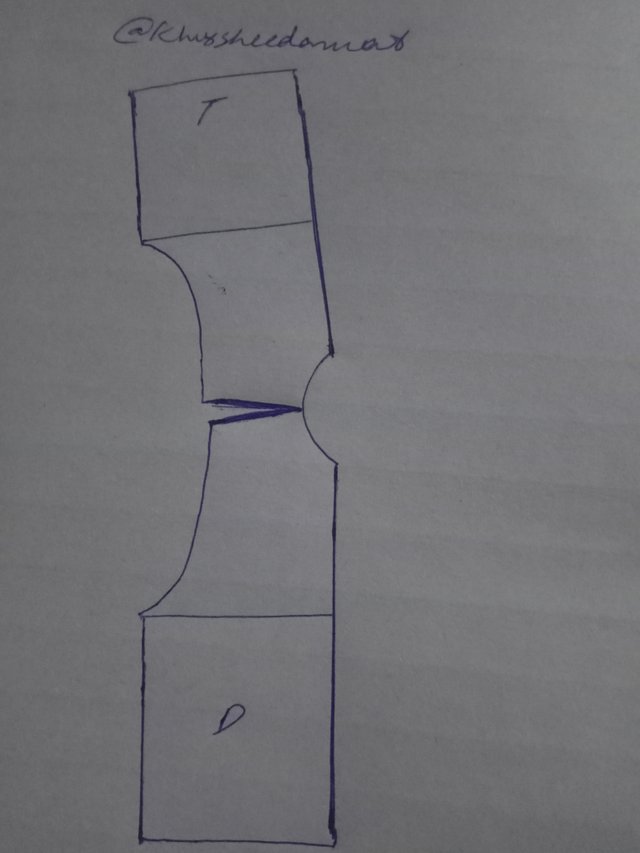
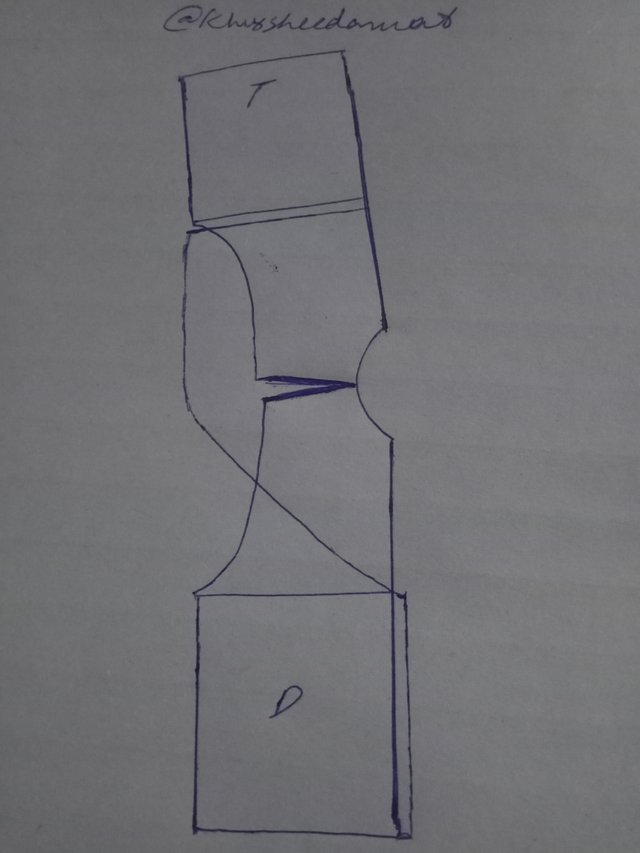
Step 1: Join back and front patterns
If I talk about first step then there is a need of joining back and front patterns at shoulders by leaving a space of 1.5 cm if you are drawing it for small size and you can also leave 2 cm space if you are making it for large sizes but here I am going with 1.5 cm.
Step 2: Lower neckline
In this step I am moving down the neckline by at least 10 to 12 cm as it's my personal choice of size.
Step 3: Connect back and front
If I talk about connecting of back and front patterns then through curve the line they will be connected but first I keep the line dotted.
Step 4: Add button opening
In last step I add 2 cm more as button opening at back. I properly join the dotted line in this step.
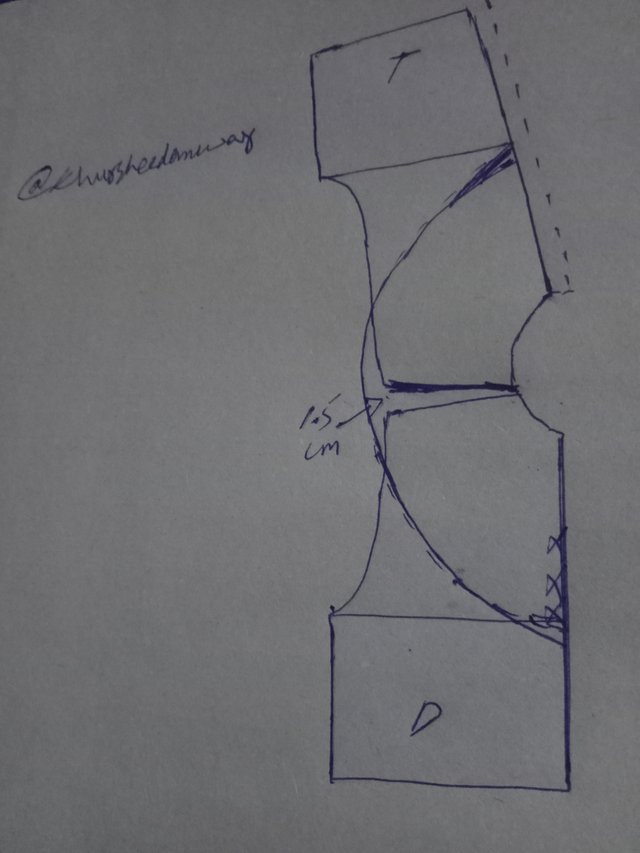 | 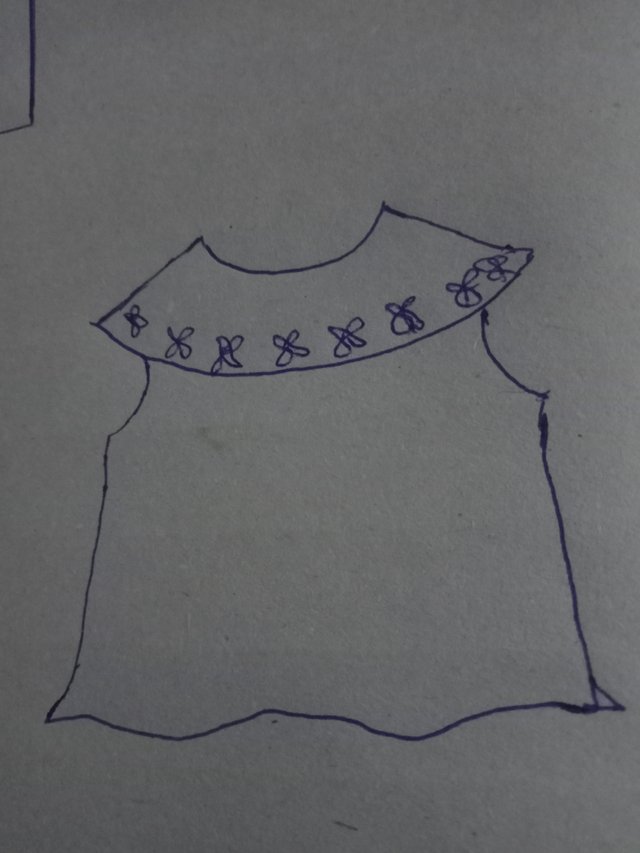 |
|---|
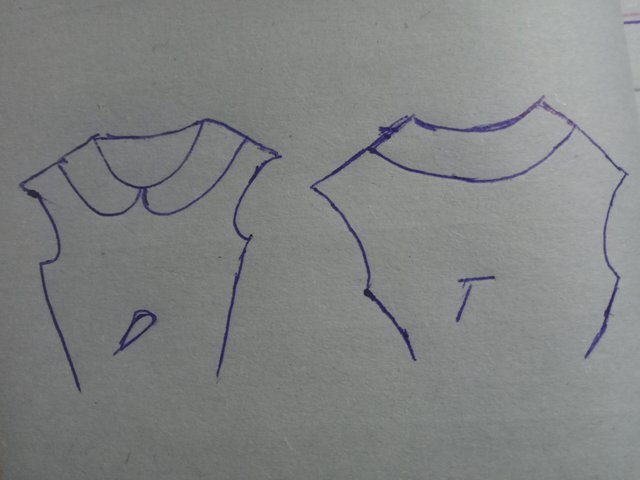
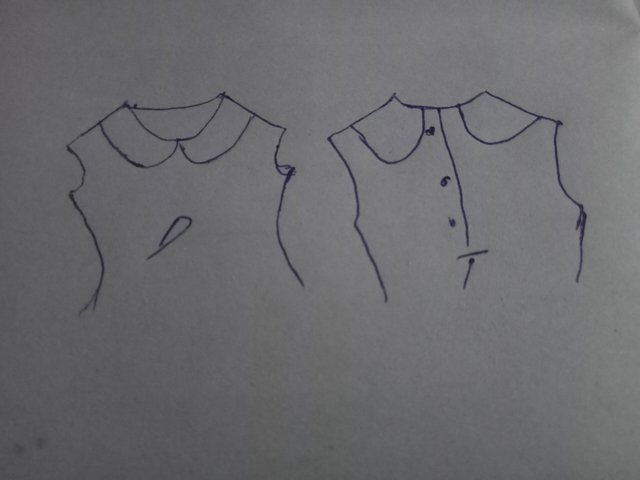
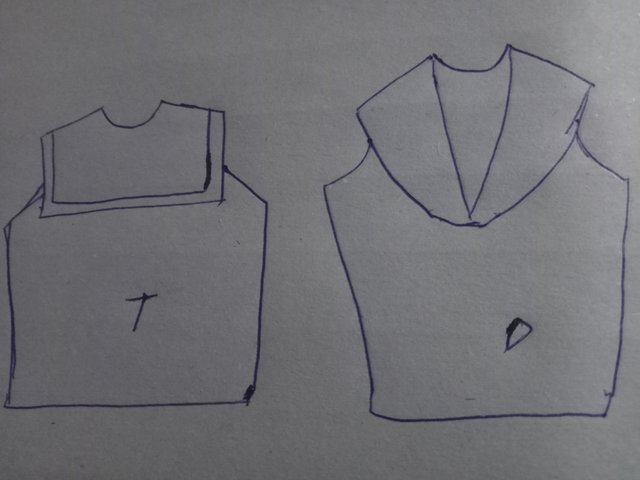
If I talk about creation of sailor collar pattern then following steps you need to follow;
• If I talk about first step then here you should join front and back patterns at shoulder again by leaving 1.5 cm gap.
• If I talk about front pattern then I am measuring here around 10 cm aur some more from neckline to E line of base pattern for creation of depth in shape of v.
• If I talk about back pattern then here I am measuring 10 cm or some more from neckline and squaring it with shoulder at angle of 90°.
• In last step from shoulder I am measuring around 10 cm and joining it with front in a very smooth curve.
You can see final result of these type of scholars in which there is a square back and v shaped front that I have drawn here!
| Straight patch pocket | 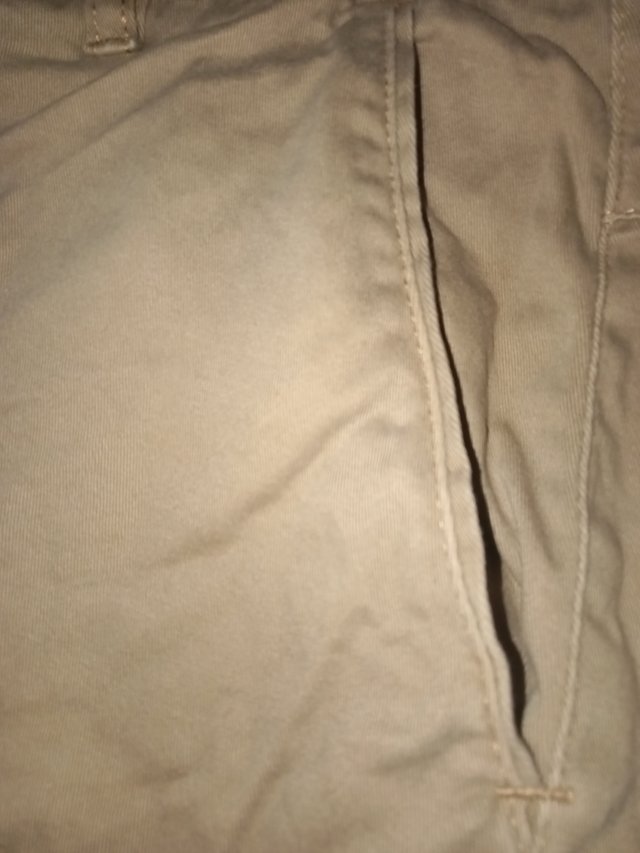 |
|---|
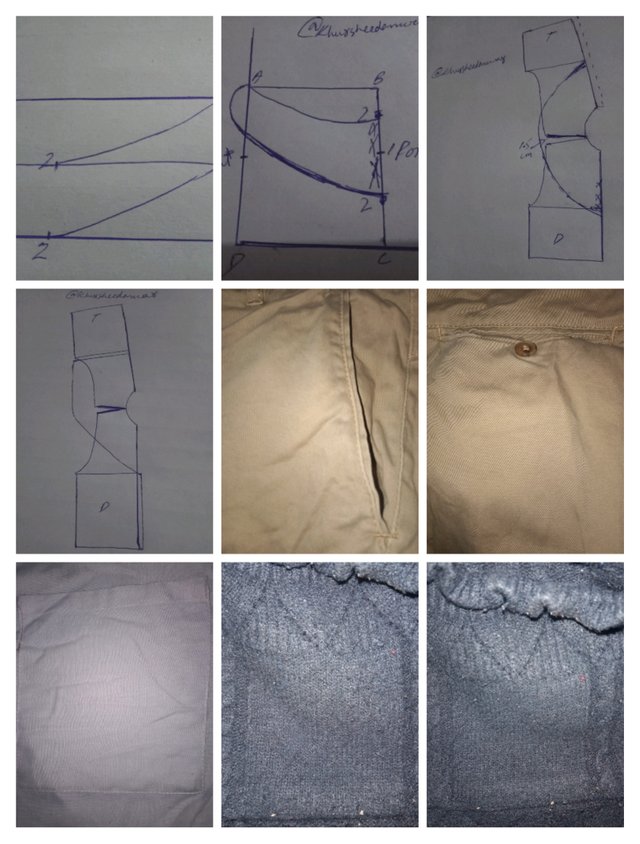
Straight patch pocket is used in jeans,pants as well as in skirts and this is I am showing you guys below;
| Welt pocket | 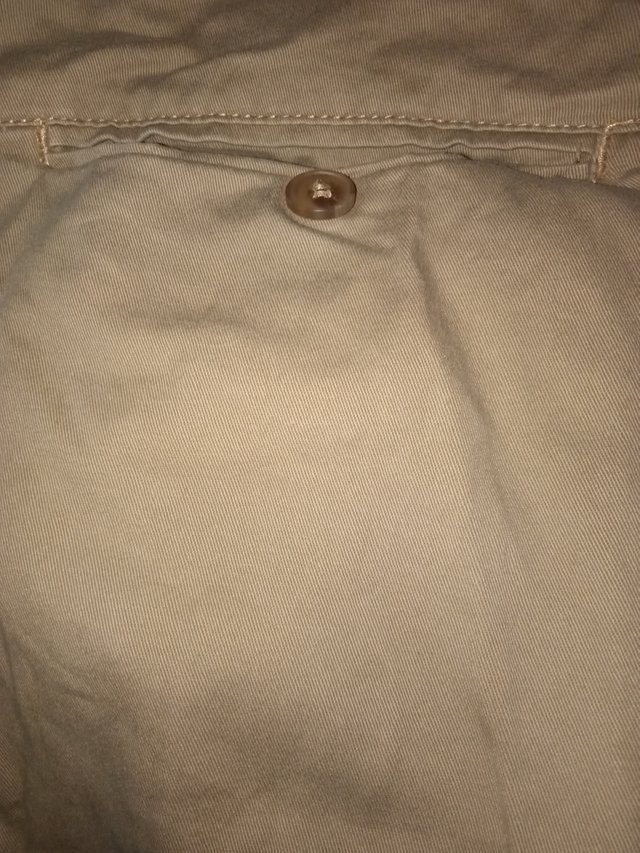 |
|---|
Welt pockets are used in suit jackets and in trouser and this is I am showing you below;
| Circular pocket with square trim | 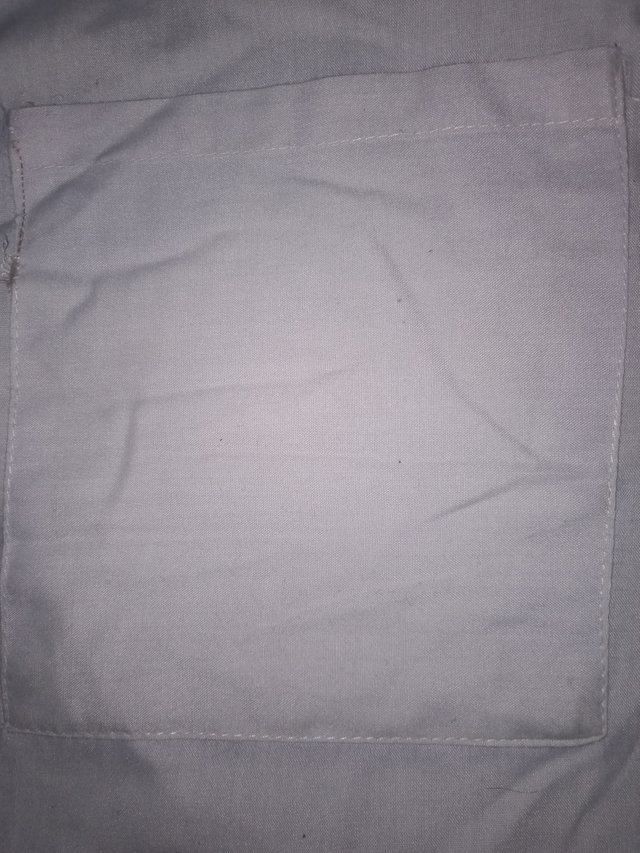 |
|---|
Circular pockets with square trim is used in dresses and shirts of ladies.
| Two point pockets with square finish | 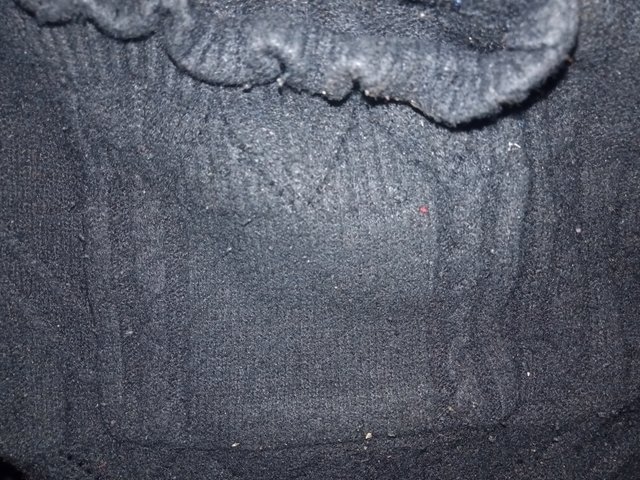 |
|---|
Two point pockets with square finish is used in shirts which is you can see below;
• Round patch pockets are used in overalls and in pants.
• Pointed pockets with triangular finish are used in shirts.
I want to invite @fantvwiki,@suryati1,@wakeupkitty
</div
Upvoted! Thank you for supporting witness @jswit.
Pola untuk menjahit ini sangat bagus, dulu saya pernah belajar akan tetapi tidak berhasil karena saya tidak terlalu fokus dan diajari seminggu sekali, waktu itu saya masih sekolah SMP.
Walaupun ada mesin jahit di rumah saya hanya menjahit pakai sobek saja, kalau menjahit yang baru biasanya saya meminta tolong teman saya yang pekerjaannya menjahit untuk memotong bakal kain, untuk menjahit pakaian saya bisa melakukan walaupun agak lambat, semoga anda berhasil teman dan terimakasih telah mengundang saya disini 😊
Hola 👋, bienvenido es un placer te almas animado a participar, mucha suerte.
You have written and shown the various Neck pattern and Pockets. Good luck.
@lunasilver
Please review my post!
You skipped it mistakenly!
Heyyy you have come a long way, what a pleasure🤗 I congratulate you. You like challenges, me too, your strokes are great, blessings my friend, success for you. Ohh it will be even better when you transfer to fabric, it's quite an experience, I'm practicing and I make disasters with the sewing but uff I'm getting better 😅