"No Worries" School of Bread Baking (with GIFs!)
Here's an easy way to make delicious bread without fussing too much!
I'm Mikael and I live with Ieva on this anchored ship overlooking Riga's industrial harbor. The kitchen is communal and usually kinda messy but it's fine.
We bake bread pretty often ever since we realized that it's easy and can actually be quick, like 2 hours from starting to eating.
It would be cool to get some more people baking, so we thought we'd make a post to show a simple way to bake bread.
No worries is the motto. My Australian friend used to say that all the time. This kind of bread baking doesn't really need a lot of careful exactness. So we won't use any measurements or timers or scales.
Mixing stuff into a dough
Here's the stuff: wheat flour, dry yeast, salt, a bowl, parchment paper, and oil.
We only use that oil to grease the bowl a bit later, for slightly easier handling, but you can skip that.
You will also need lukewarm water.
Let's just do it. Pour in a random amount of flour, not super much. Kinda like this:
Now strew a couple of pinches of salt in there.
I think you can make bread just fine without salt, but it will be kinda tasteless.
If you put way too much, the yeast might die... but don't worry, just don't pour in tons and you'll be fine.
That's a random amount of dry yeast. I think it's about a teaspoon or something.
Yeast multiplies effectively and how much to use isn't an exact science—no worries.
I've made bread with random amounts of yeast plenty of times and it's been fine... it's just that the rising times might vary a bit, but they vary anyway depending on room temperature and humidity and who knows what.
You guessed it, I'm pouring in a random amount of lukewarm water.
(When you dip your finger, it's kinda warm. Not cold, and not even close to hot, just a bit warm.)
Yeast likes lukewarm. If you scold the yeast, it dies. If you don't give it warmth it doesn't activate.
You want enough water to make dough, not flour soup, so don't exaggerate. This is a bit too little, which you can see:
No worries, I just poured in some more and mixed it in.
That's alright. It could be stickier, but it's okay.
I made a little mound of flour beside where I'm going to work with the dough, because I'll probably need some when it gets sticky, and this is better than reaching into the flour bag with sticky hands.
Right now is a pretty good time to clean that bowl, by the way.
Kneading the dough
So, let's knead.
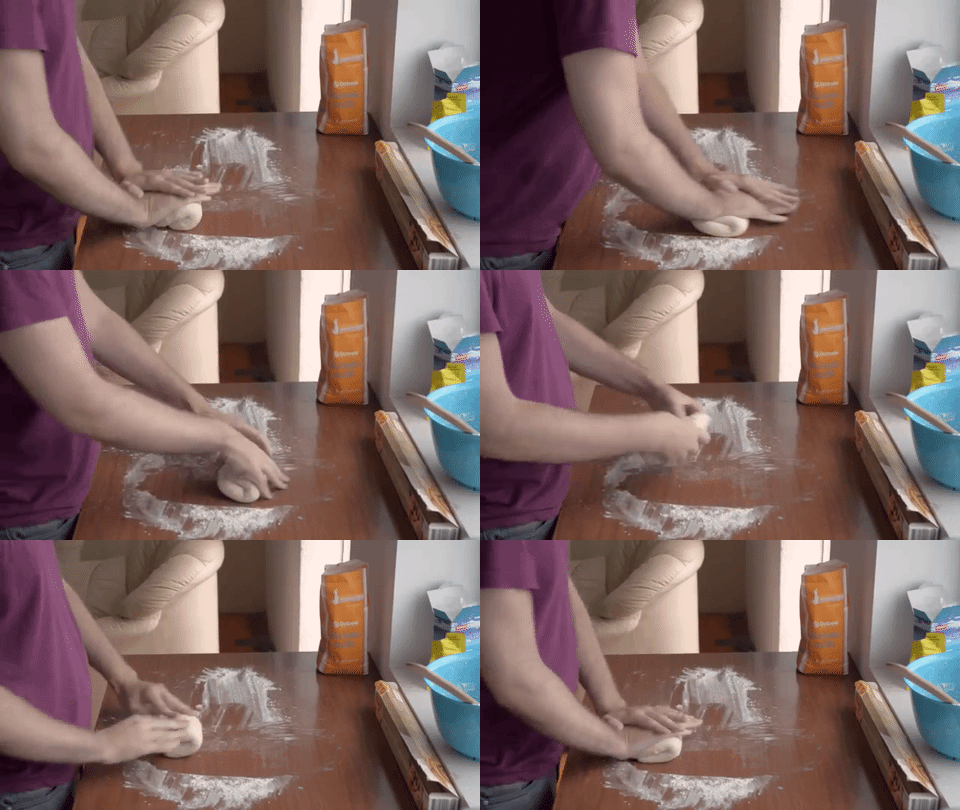
Kneading means you fold the dough into itself a bunch of times.
You can see that the heel of my hands are pressing into the seam while I'm rolling the dough forward.
It's like fold, join, rotate; fold, join, rotate; fold, join, rotate. You can do it slower until you get into the rhythm.
The purpose is to stretch the flour and make the gluten threads shape up nicely.
Wheat flour doesn't really need tons of kneading, but I do it until the dough just feels kinda nice.
Rising for the first time
After greasing the bowl a little bit with oil, I put the dough in there, covered it with a pretty kitchen towel, and now we're waiting in our room for it to rise.
Our room is usually pretty warm, which is good for rising. If your room is less warm, the rising will take longer.
Try to make sure there's no strong draft cooling the bowl. You can put it in a cupboard or whatever.
Hey, whoa, look at that! It's about twice as big. Great job, yeast!
Punching the dough down and shaping it
After the dough has risen, punch it down again—it will rise again later.
Now's the time to shape the dough. Okay, so, I'm just making a ball.
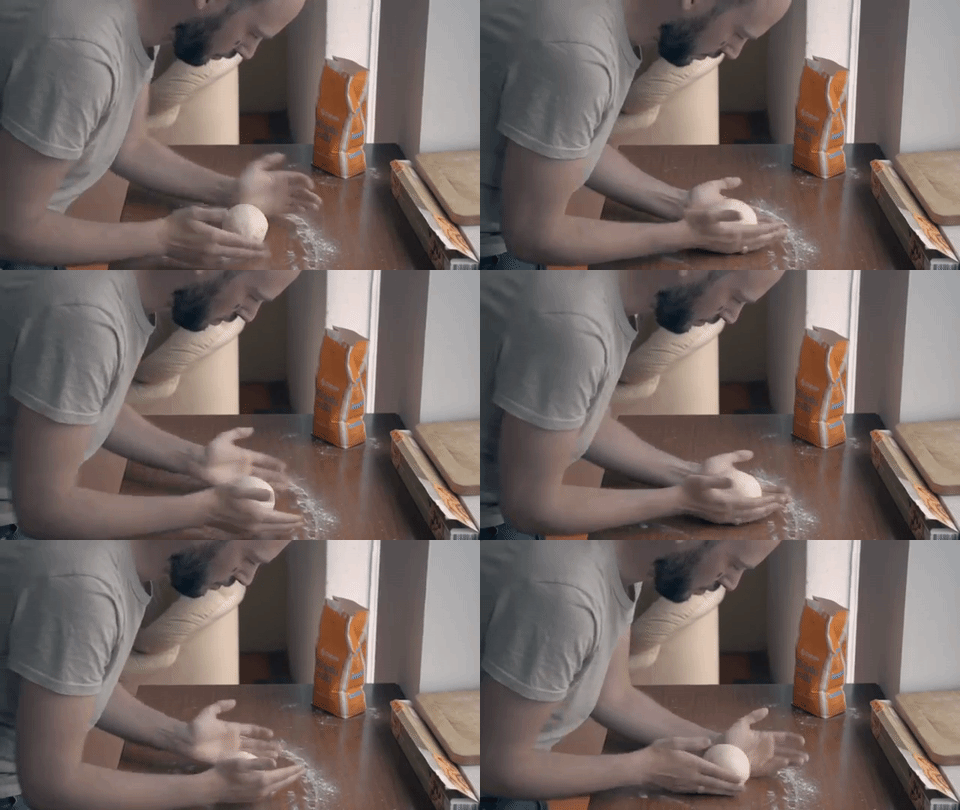
There are some different methods, I think. This is how I do it.
Part of the purpose of shaping is to get some surface tension. So I'm stretching the bread by pushing in the bottom sides while spinning to make it round.
You can do this shaping in some other fun way if you want.
Okay, it's alright. It's actually likely that yours will look nicer.
I have something to admit. Maybe you noticed I had a different shirt on in the shaping GIF. That's because we actually put the dough bowl in the fridge overnight after letting it rise, because we had to go out.
That's all fine, but the dough developed a bit of a dry surface, and I forgot to do something about it—which is why my shaped dough now looks a bit funny. But no worries—it turned out alright.
Preheating the oven while rising again
Now I'll preheat the oven to 230 degrees Celsius, about 445 Fahrenheit, which takes around 30 minutes.
The shaped dough is resting on the oven pan, with parchment paper underneath and the pretty kitchen towel covering it.
...and we have fun on the internet for 30 more minutes.
Some finishing touches
Now some finishing touches before we bake.
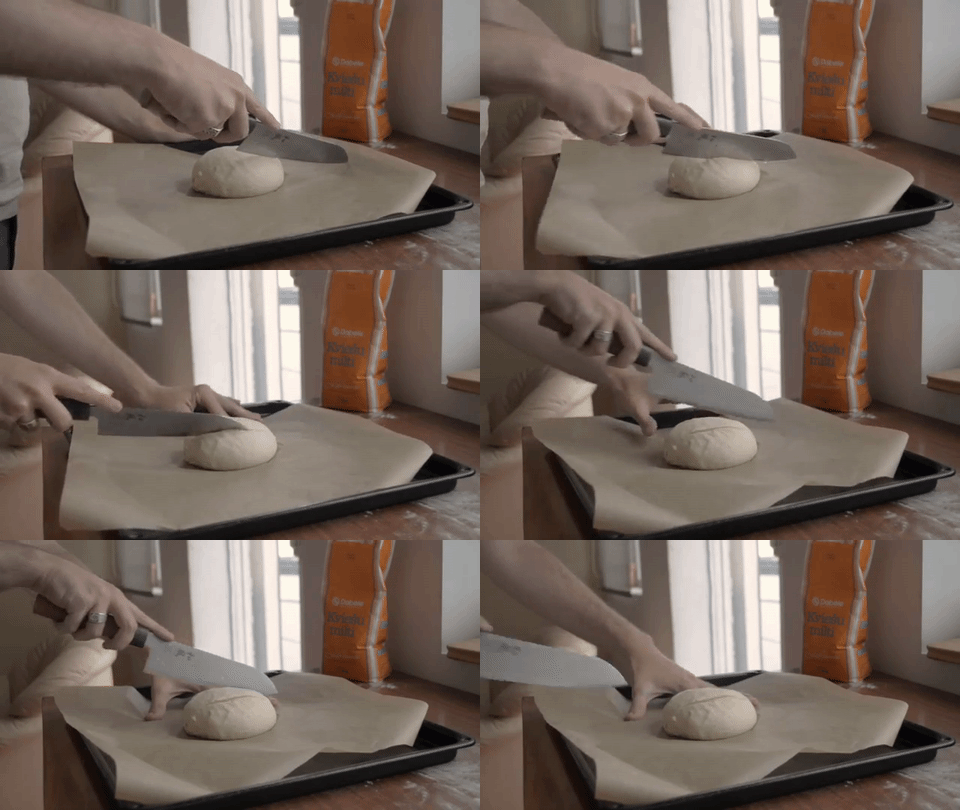
I'm using a sharp-ish knife to make shallow cuts in the dough. The bread is going to expand a lot in the oven, and the surface crust will be torn apart... so the cuts help release tension, and it makes the baked bread look prettier.
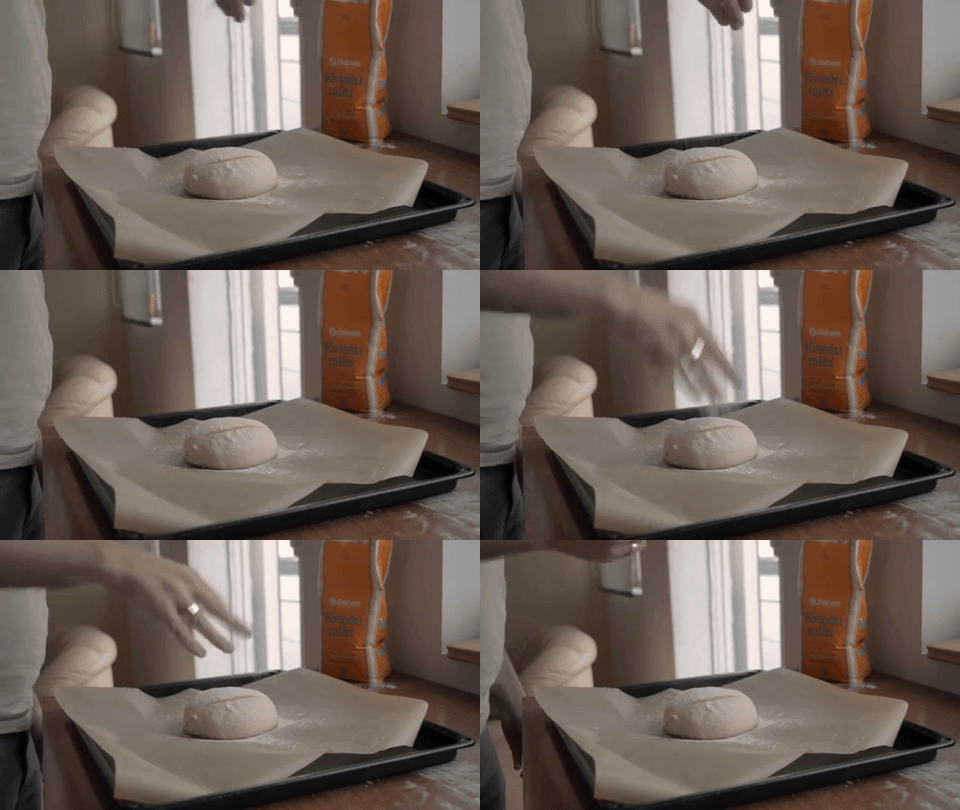
And I put some flour on there for pure aesthetics. You can also strew some salt for a nice salty crust.
Baking
Into the oven and let's see what happens.
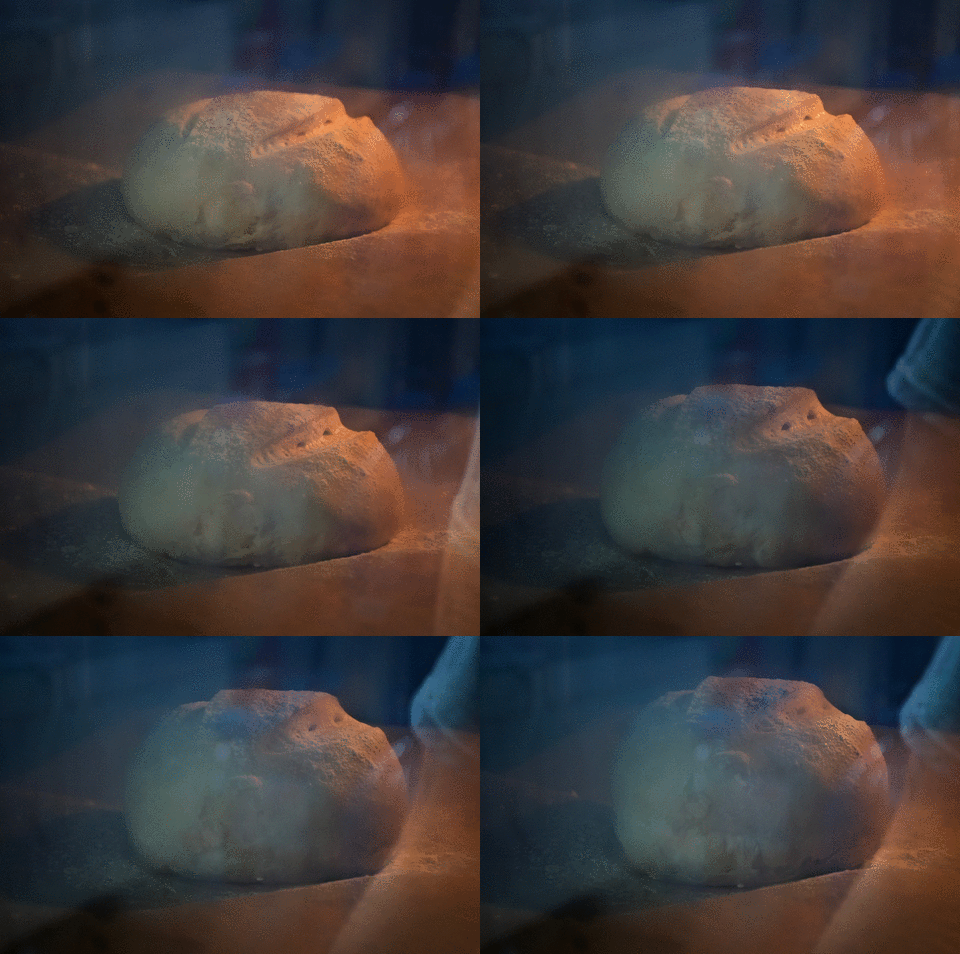
Oh my! That's amazing.
Something like 30 minutes later... it looks like bread... it smells like bread... hooray!
Now let's let it cool down a bit, if we can wait, and then cut it.
Cutting... and eating
You should use a bread knife that's serrated. We don't have a bread knife, but no worries.
Ahhhhh... where's the cheese?
Found it! But why is our selfie upside down? No worries.
All done
This kind of baking doesn't take that much time:
- 10 minutes preparing
- 30 minutes rising
- 5 minutes shaping
- 30 minutes preheating and rising more
- 30 minutes baking
- 10 minutes cooling down
That's about two hours and most of the time is just waiting.
Pretty cool, huh?
We totally look forward to someone trying this if they haven't made bread before.
Cheers! Maybe we'll do a next episode on boosting the bread's taste, once we figure out how to do that.
— Mikael & Ieva
Keep up the great work @meekale
Upvoted
Keep up the great work @meekale
Upvoted
Bon appetit :)
Thank you for RECEP !
Well you didn't learn that from me.
Hi! This post has a Flesch-Kincaid grade level of 4.2 and reading ease of 84%. This puts the writing level on par with Ernest Hemingway and Donald Trump.