VECTOR/ VEXEL TUTORIAL: Black & White Color Scheme (Infographics with step by step process)
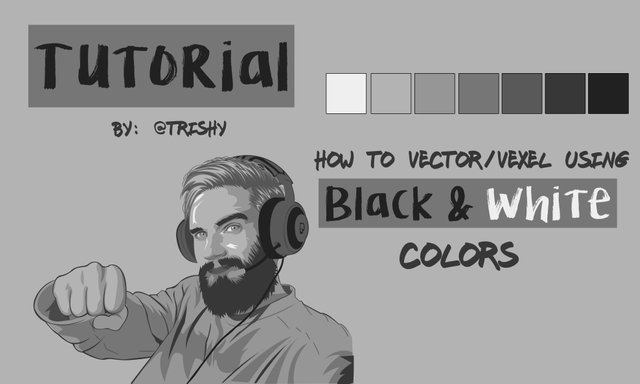
This post is a tutorial how to vector/ vexel using black & white colors. If you have seen my past artworks. You'll know that I love playing with colors. I love experimenting with them. But for today I decided to make a different style.
For this art, I used the color palette of black & white. This is actually fun and exciting to do cause it challenges me to explore my creativity.
So if you are interested to make one of these, then this is the perfect tutorial for you.
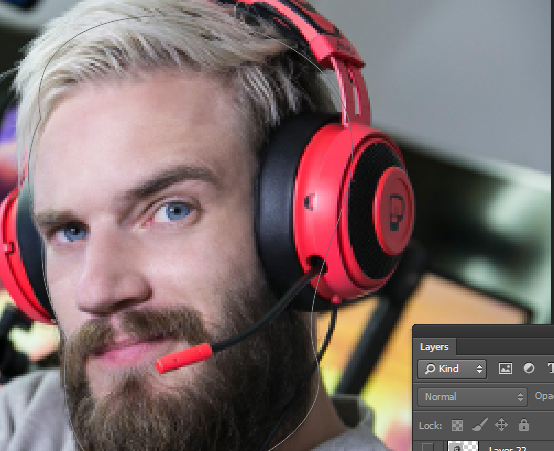
For this tutorial, I used Pewdiepie's picture for reference.
I love Pewds since from the beginning. I watch his videos everyday and never miss one. We share the same humor and the same love for games. So this is kind of a fan art for him.
How to vector/ vexel?
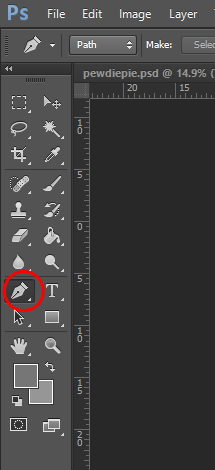
Vector / Vexel is actually kinda easy to do once you have learned how to use the tools. And i'm gonna show you the basic steps of it.
And I'm also gonna share the color palette that I used for this vector.Remember, everytime you make a digital art, you need to have a color palette. So this palette could helpful if you still don't know how to create one for yourself.
Process
First thing that I did is traced the shadows on his face.
Then I added his hair and beard. You do not have to be accurate when tracing the hair or facial hair. You just have to trace the basic shape of it.
Next, is his headphones. And I also added his eyebrows here.

Then his lips and some other details of his face and headphones

And for the last detail of his skin, I added some highlights. And for his hair, I made the first layer of highlights as well.

Then I added a layer of lighter highlights on his hair. And I also drew some strands of hair.

I added the outlines of his face and his shirt next. And then I added the shadows and details.

And just some finishing details and it's done.

Thank you so much guys, for checking this out. I hope that this could be helpful. Until next post.
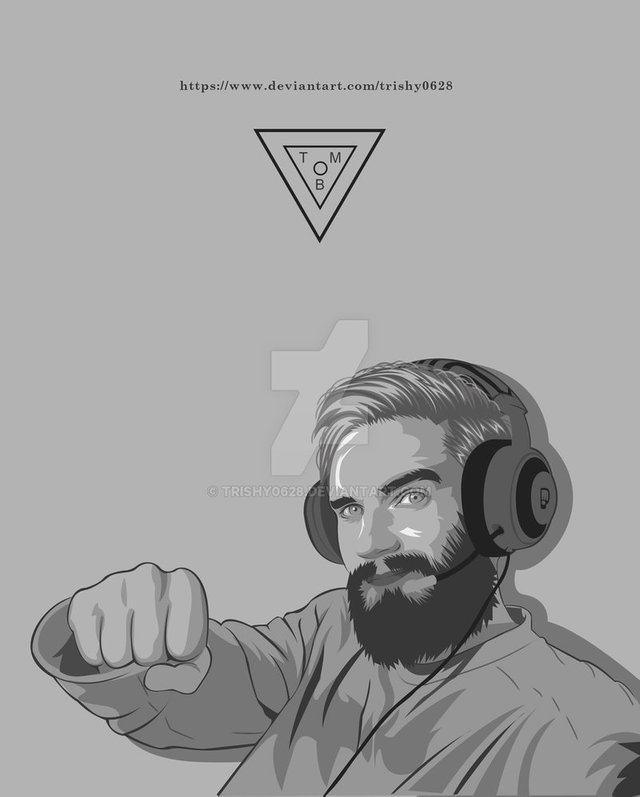
Check this out on my deviantart page
https://www.deviantart.com/trishy0628/art/Pewdiepie4-761636015


Nice tutorial. Soooo... :D
This post was shared in the Curation Collective Discord community for curators, and upvoted and resteemed by the @c-squared community account after manual review.
Good job
Congratulations @trishy! You received a personal award!
Click here to view your Board of Honor
Congratulations @trishy! You received a personal award!
You can view your badges on your Steem Board and compare to others on the Steem Ranking
Vote for @Steemitboard as a witness to get one more award and increased upvotes!