How to make dimensional layered art
Hey Steemians!
So for the past years, I’ve been discovering new ways and new media to express my creativity and artistic side.
A few months back, a good friend of mine critiqued my work and suggested that I try paper layering. At that time, I barely knew anything about it. I just knew that it involved a lot of cutting and pasting (it did. Haha.)
So I took up the challenge and began studying and working on dimensional layered art!
Many artists of course have different ways of doing this, but based on how I do stuff, here are the materials you need and some steps you might consider in making your dimensional layered art.
Materials:
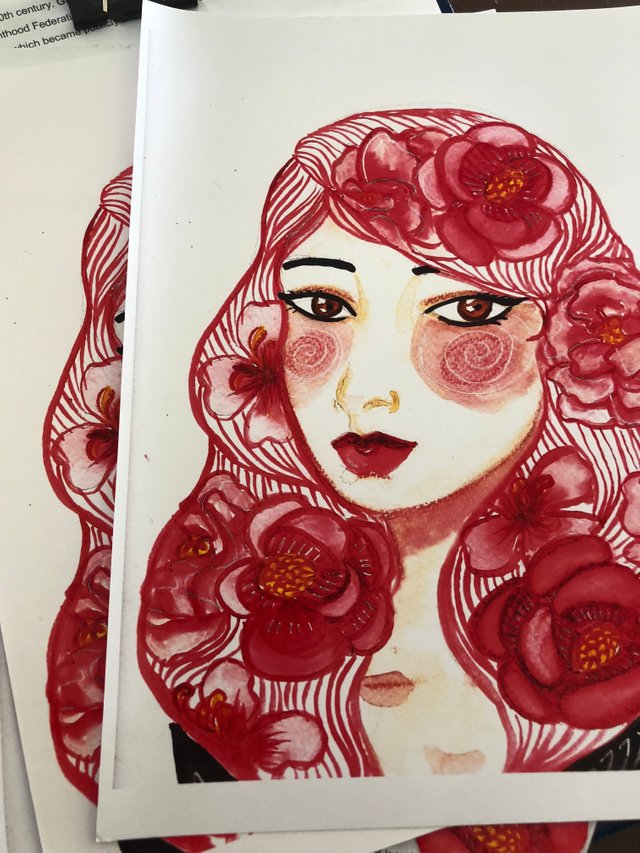
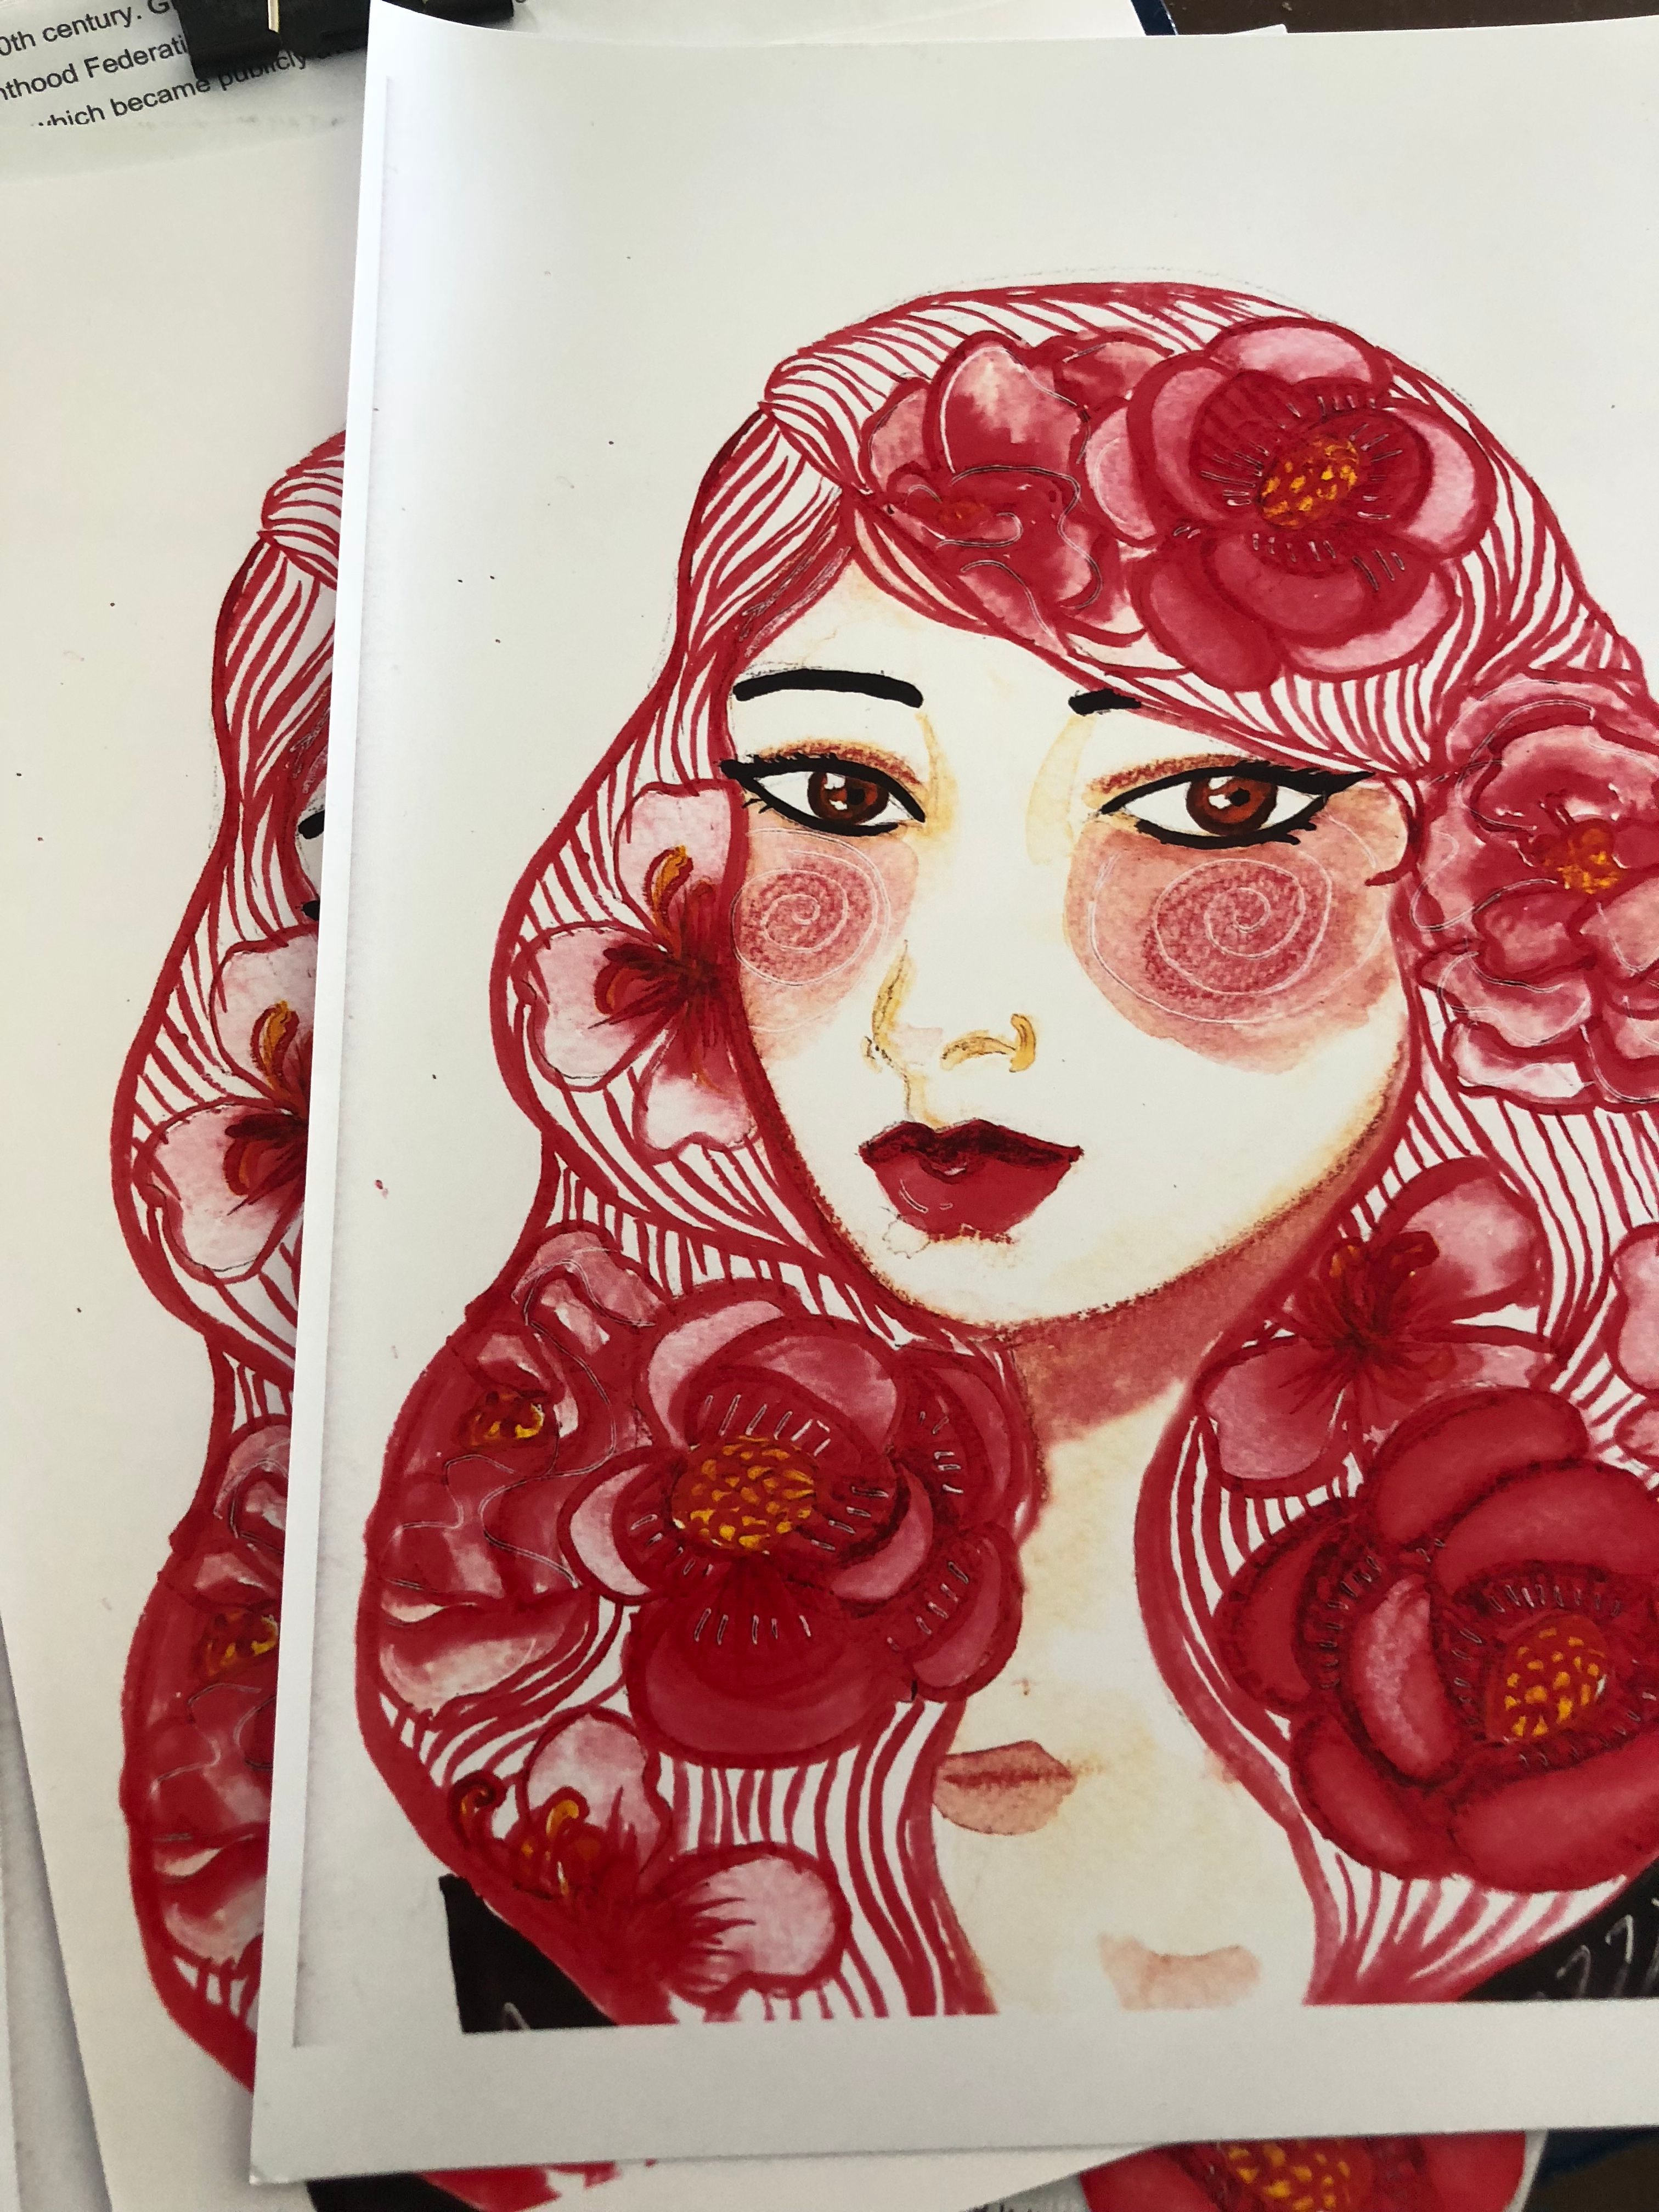
Glossy print out of work. Some prefer to have it printed matte, and some would even prefer drawing the different layers, but whichever you prefer is fine!
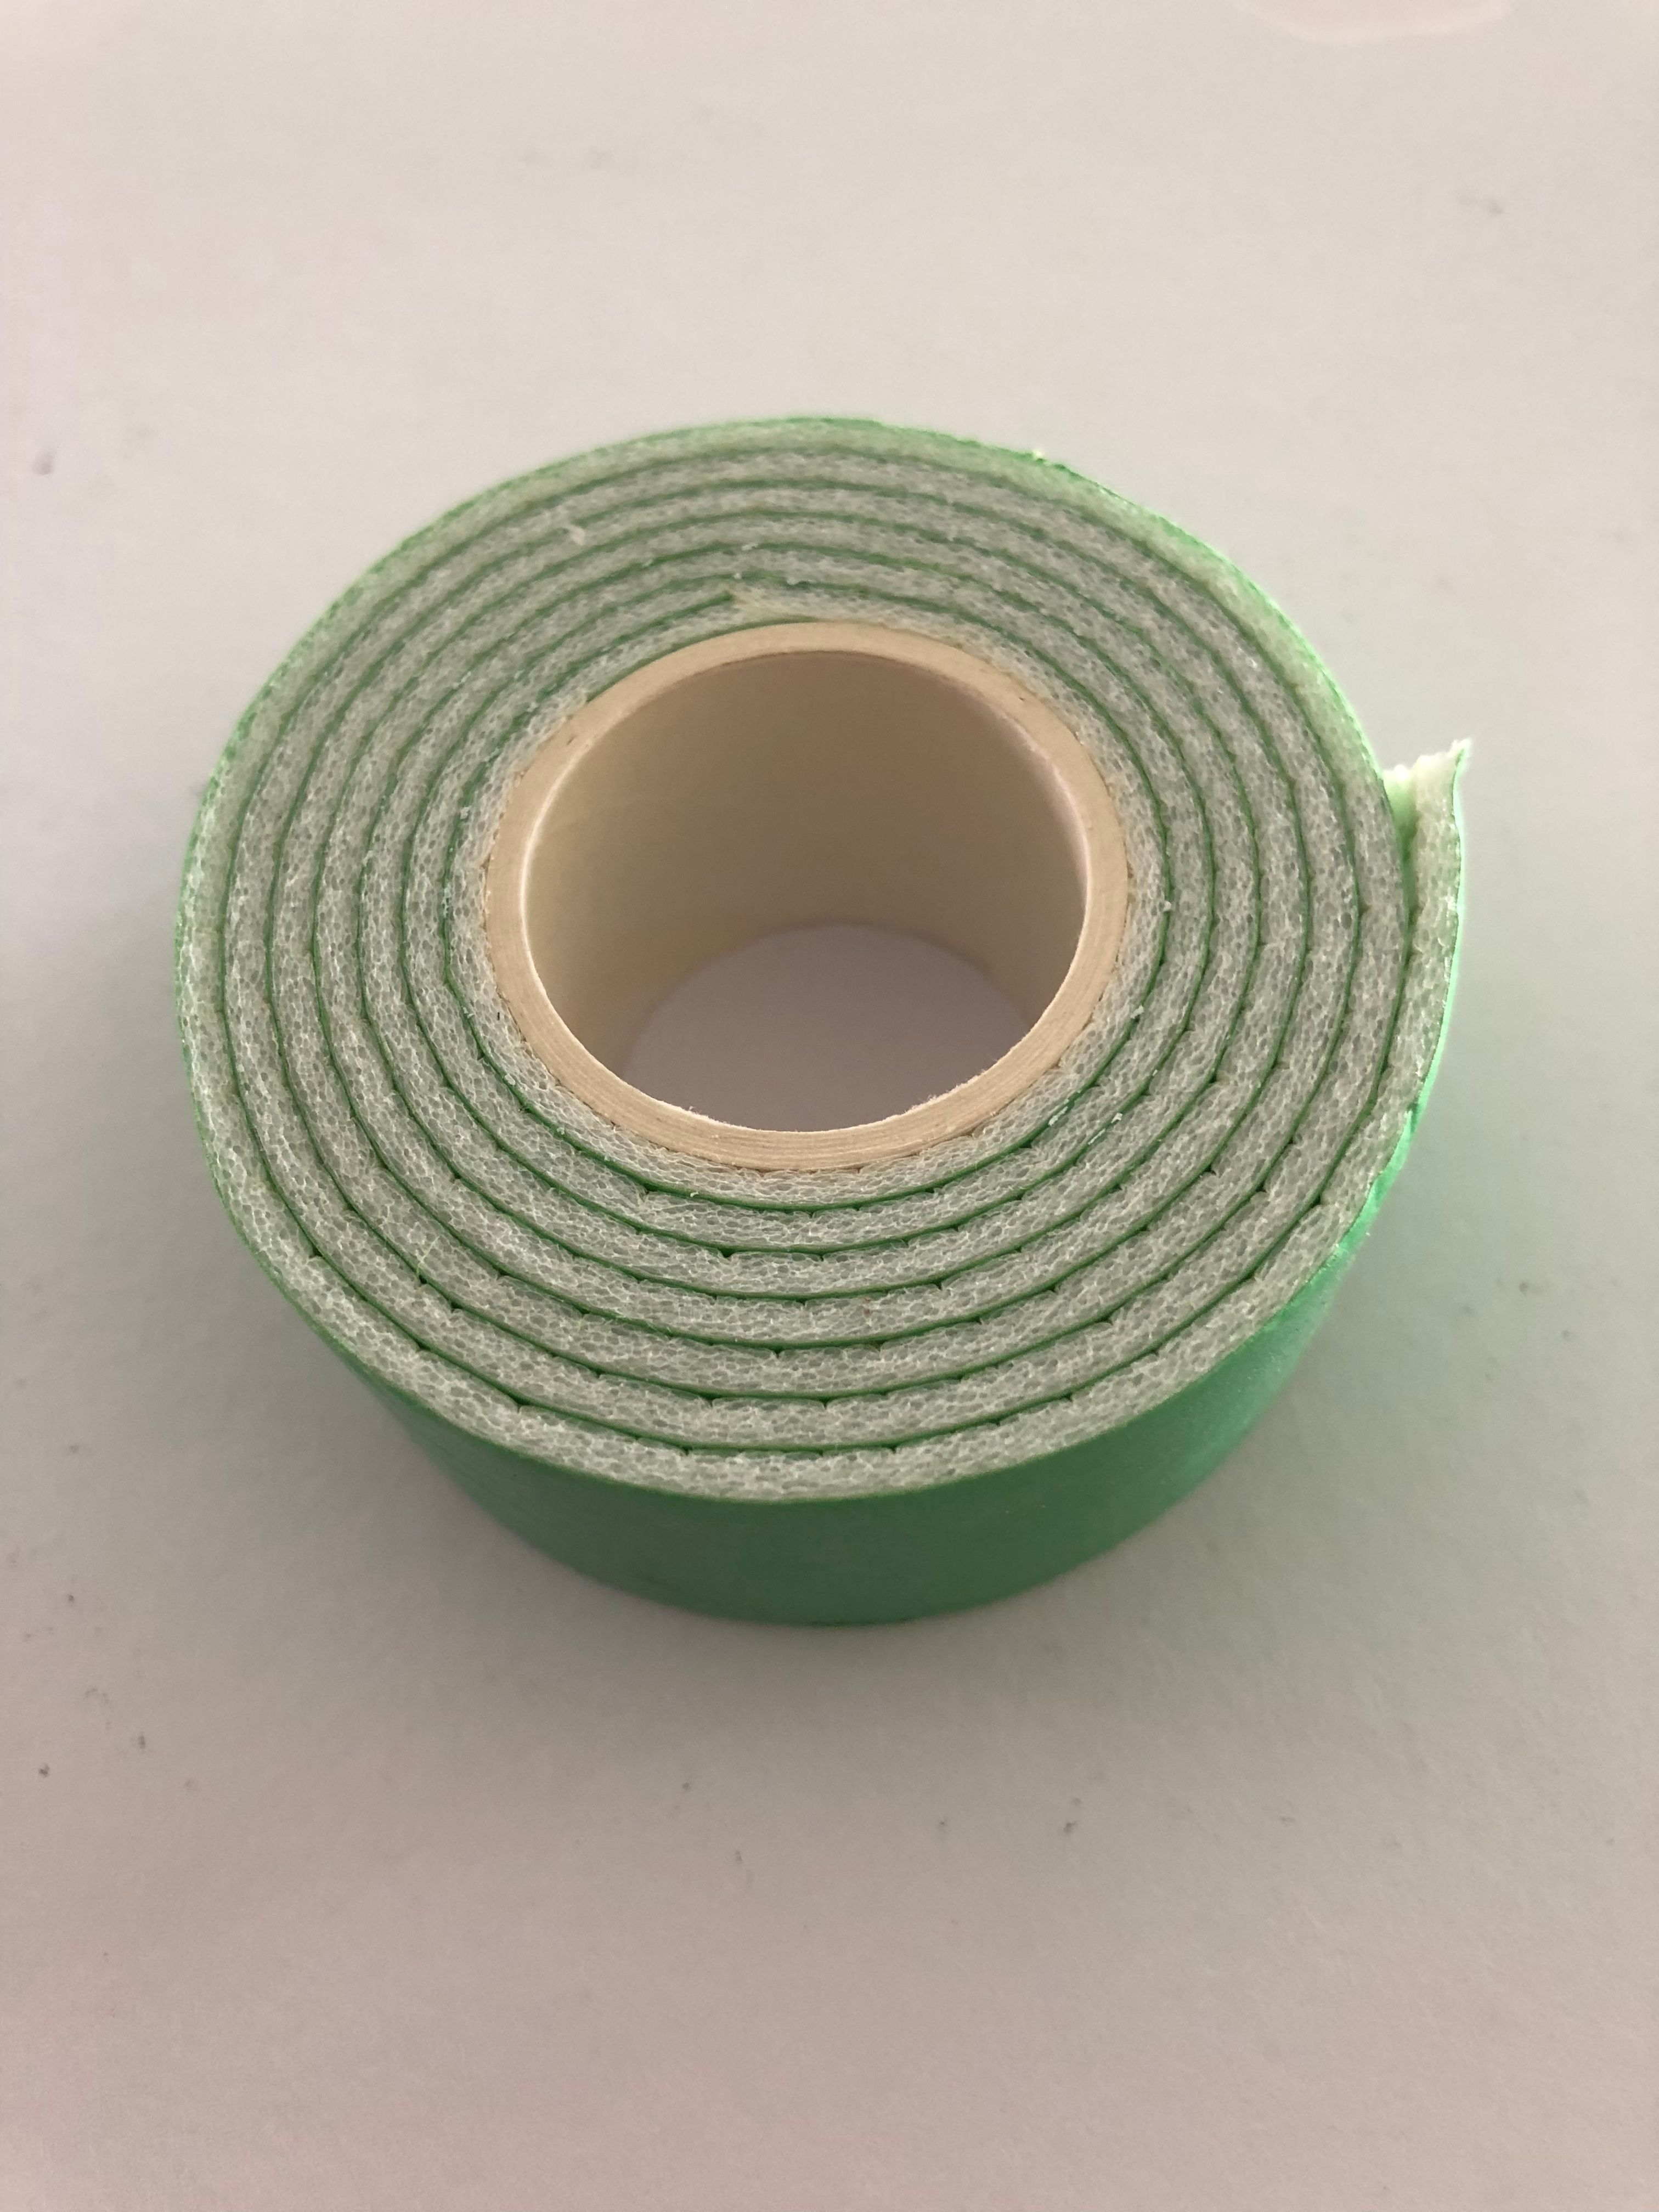
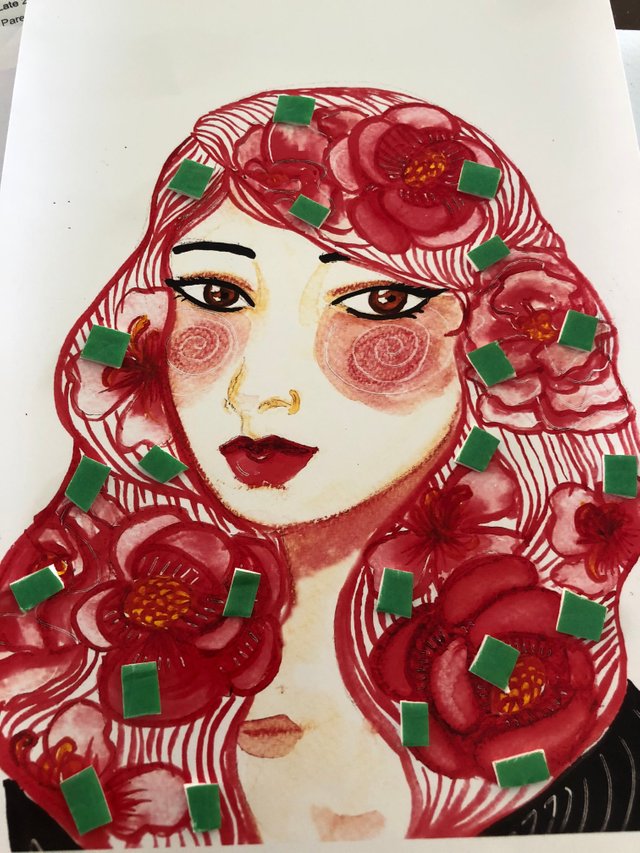
Foam double sided tape, the one used for wall attachments and decors. It holds really well!
Some may also prefer to use the following;
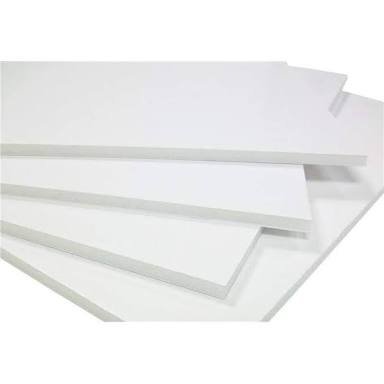
Foam board. The thickness of the foam board determines the levels your layers will take. Be wary of foam boards which are too thick!
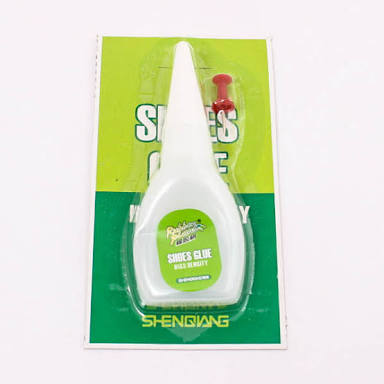
Shoe glue or mighty bond als work very well. Just don’t let any get to your fingers!
And of course you have your trusty-
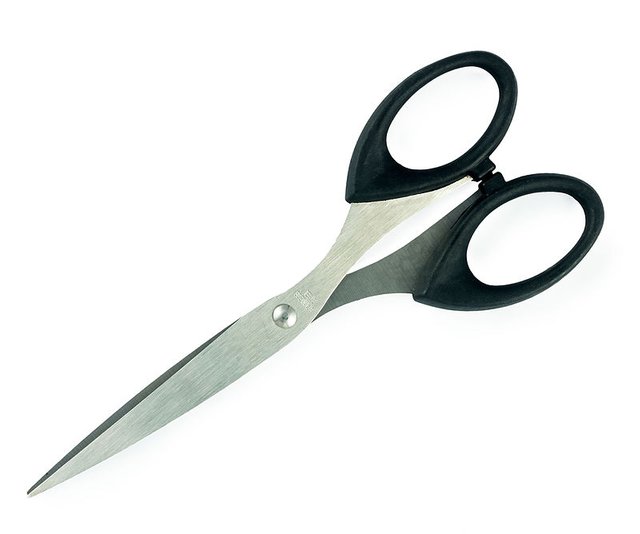
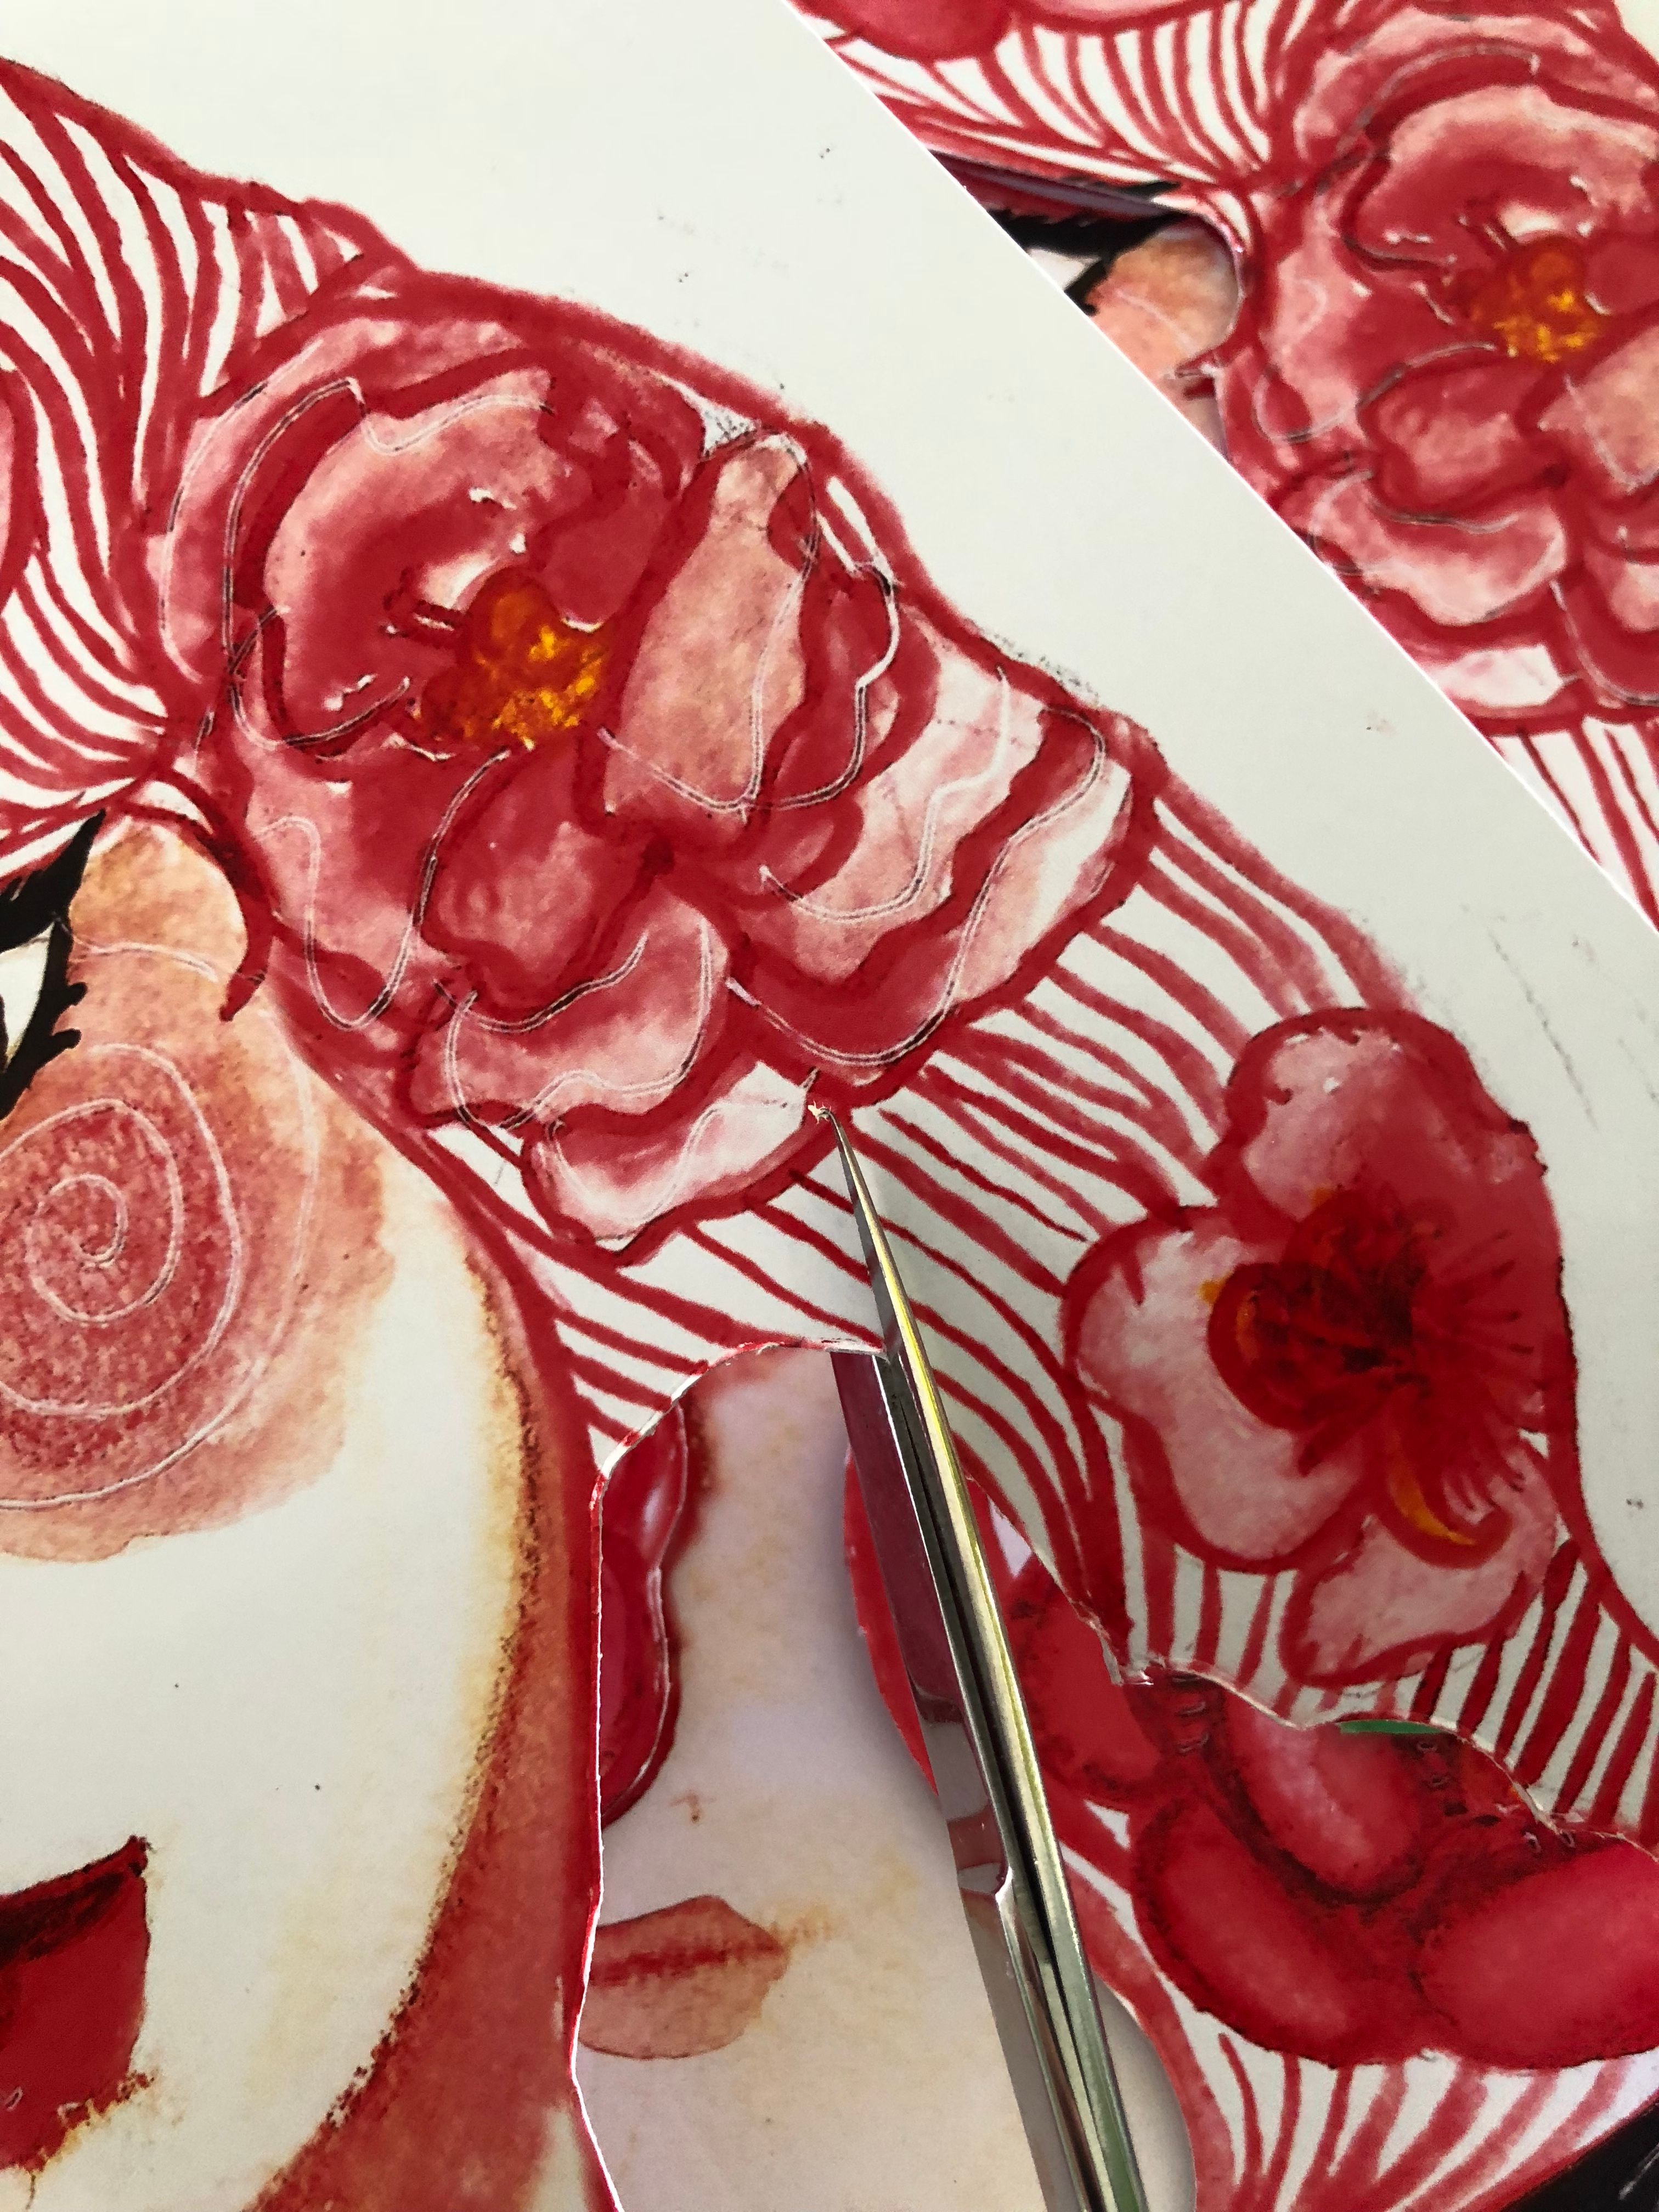
Scissors. It might just be a bit difficult cutting into the details.
It’s a good thing you have a-
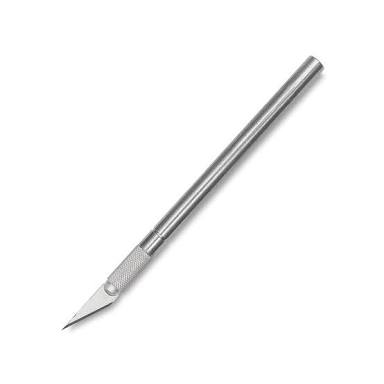
Cutter, or precision cutter. X-acto or similar cutters. These really do wonders for details and small cuts.
When you’re done with your work, you will be needing a-
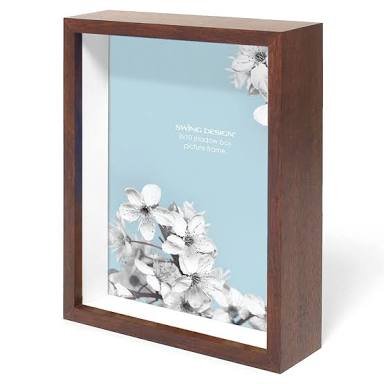
Frame. They called this a ‘shadow box frame’. As long as your frame has space, then that’s fine.
Before you begin, remember to be carefully with sharp materials, especially with the cutters. Being the clumsy person that I am, I cannot count how many times I cut myself.
So let’s head on to the process!
Step 1:
Have a base layer.
The paper that you choose must be thick enough so it will not bend or warp when you put them together. This is why we use photo paper. If not, you can use boards.
Step 2:
Select which layers to place.
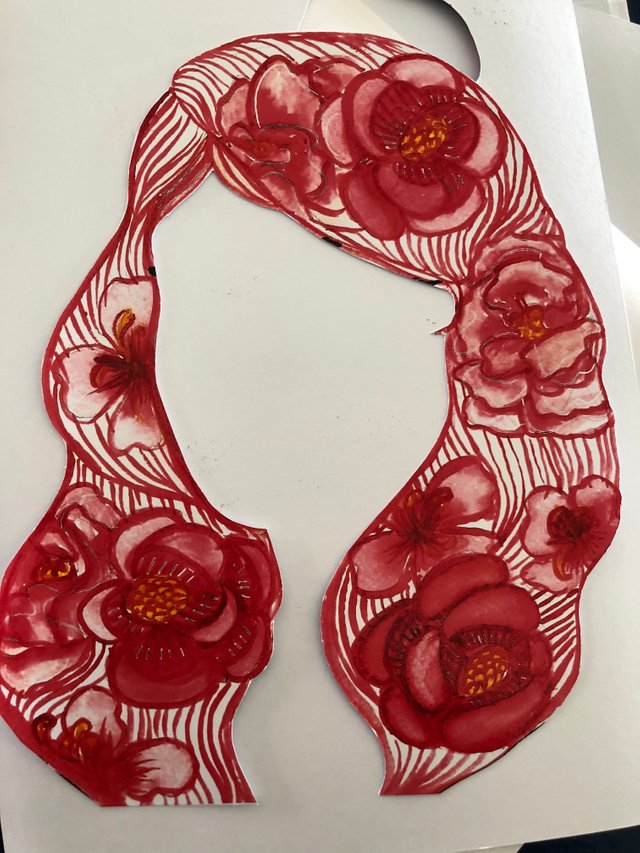
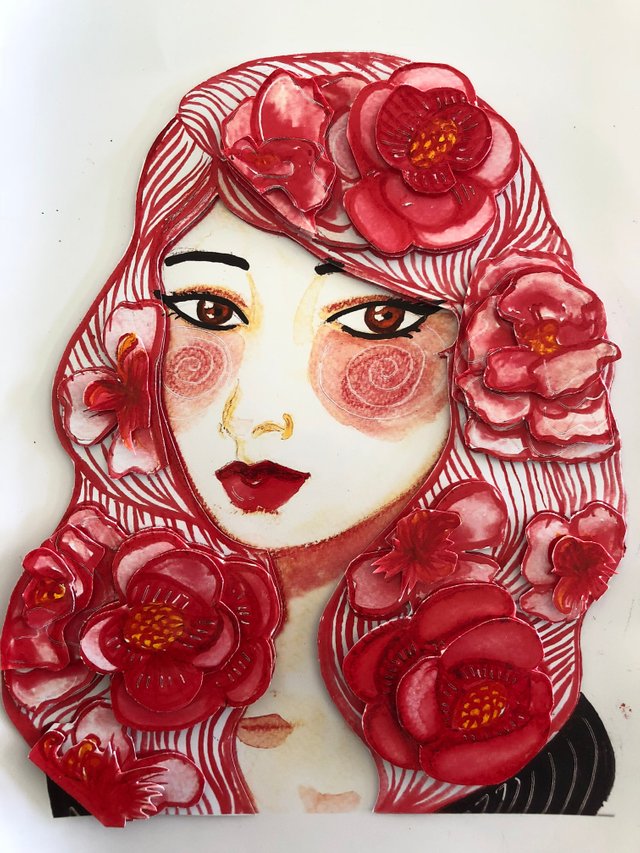
Move from a bigger portion of the layer to the smaller details. In my case, I cut off the whole layer of her hair and I decided to to cut the flowers for the next layer.
Step 3:
Cut the selected layers.
Once again, be careful of sharp objects. Some prefer to cut all of the layers at once, but I prefer to cut it layer by layer. In that way, I can keep track of the component of each layers and continue figuring out which parts of the next layer I will cut.
Step 4:
Place the foam double sided tape.
The best areas to place your tape would be near the edges of the cutouts and in the middle. This would help in the sturdiness and balance of the later. The layer would not tilt or be lopsided.
If you are using the foam board and glue, you place glue on the foam board, then stick it to the main or base area. Apply glue again and attach the next layer.
Step 5:
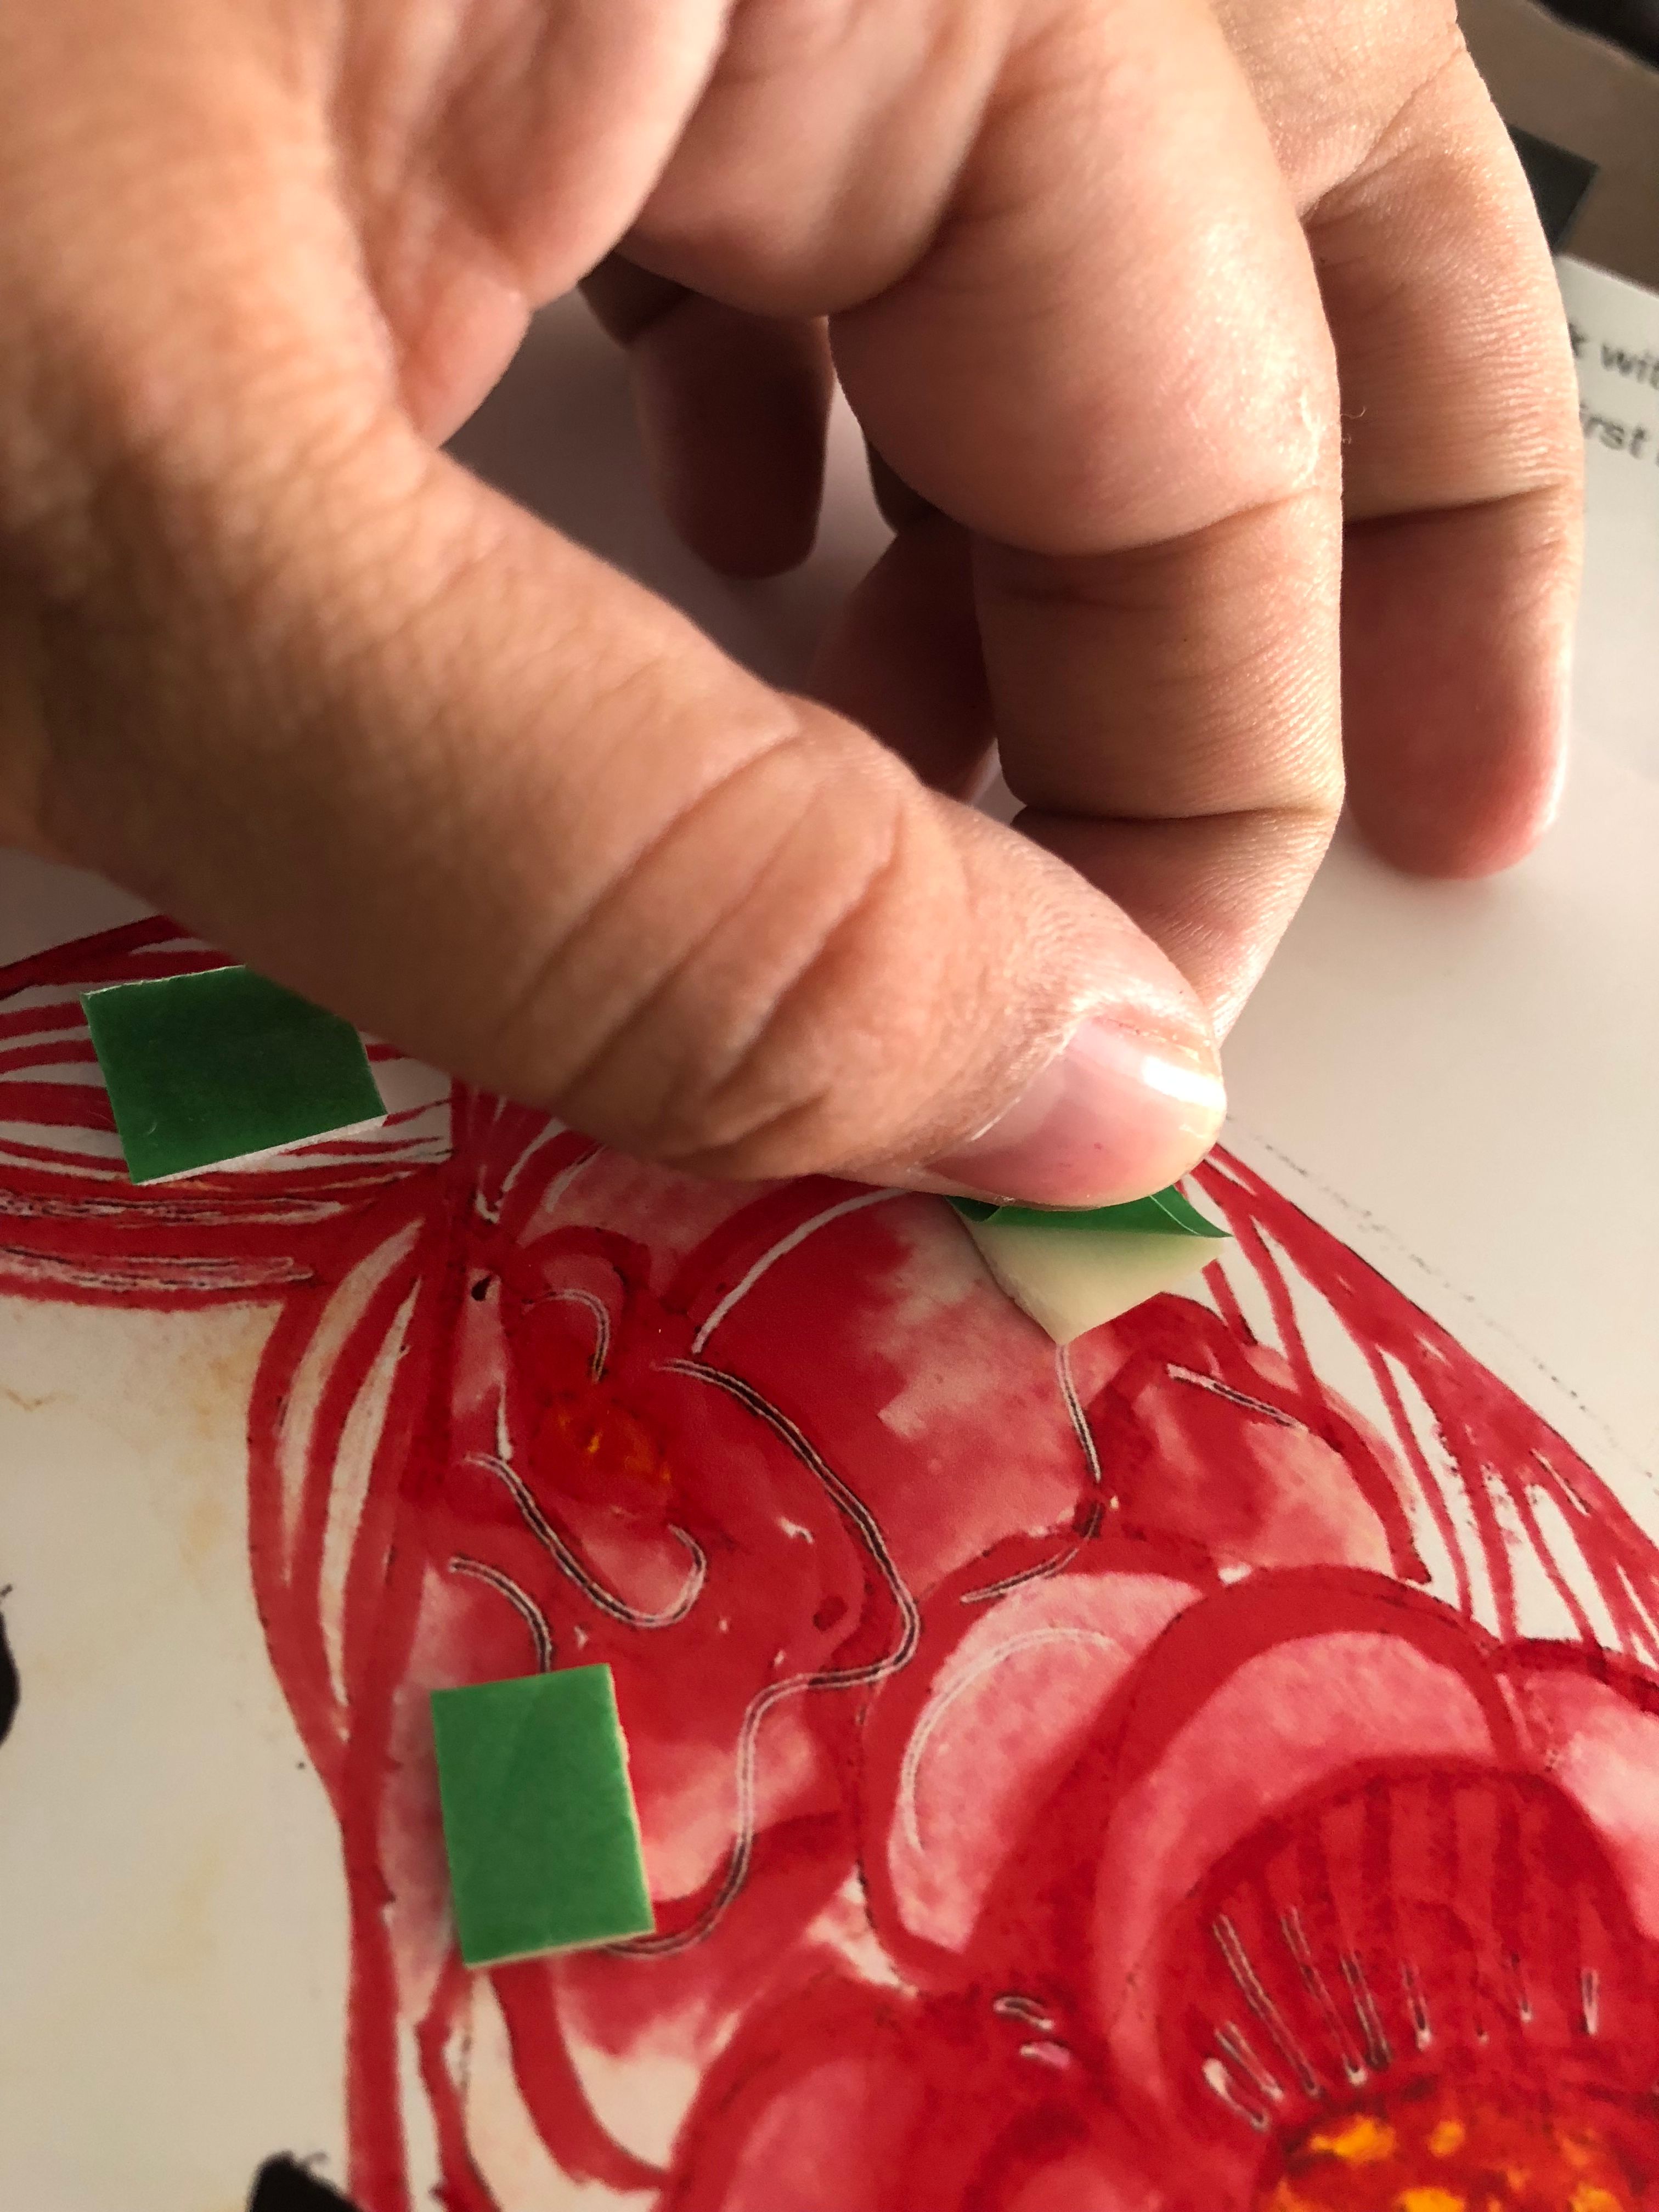
Carefully peel off the tape.
I had to include this as a separate step because double sided tapes don’t come off easy and they sometimes peel of completely, peeling off paper, too.
Step 6:
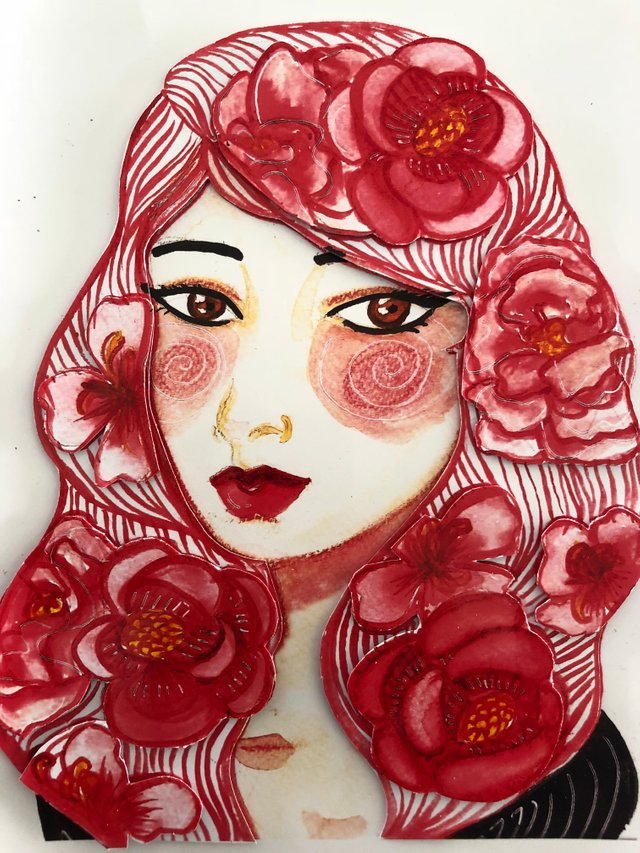
Place the next layer.
In placing the layers, you have to make sure that they are aligned. Some would prefer to move the layers a bit lower to give the illusion of a ‘bigger gap’. Whichever you prefer is fine :)
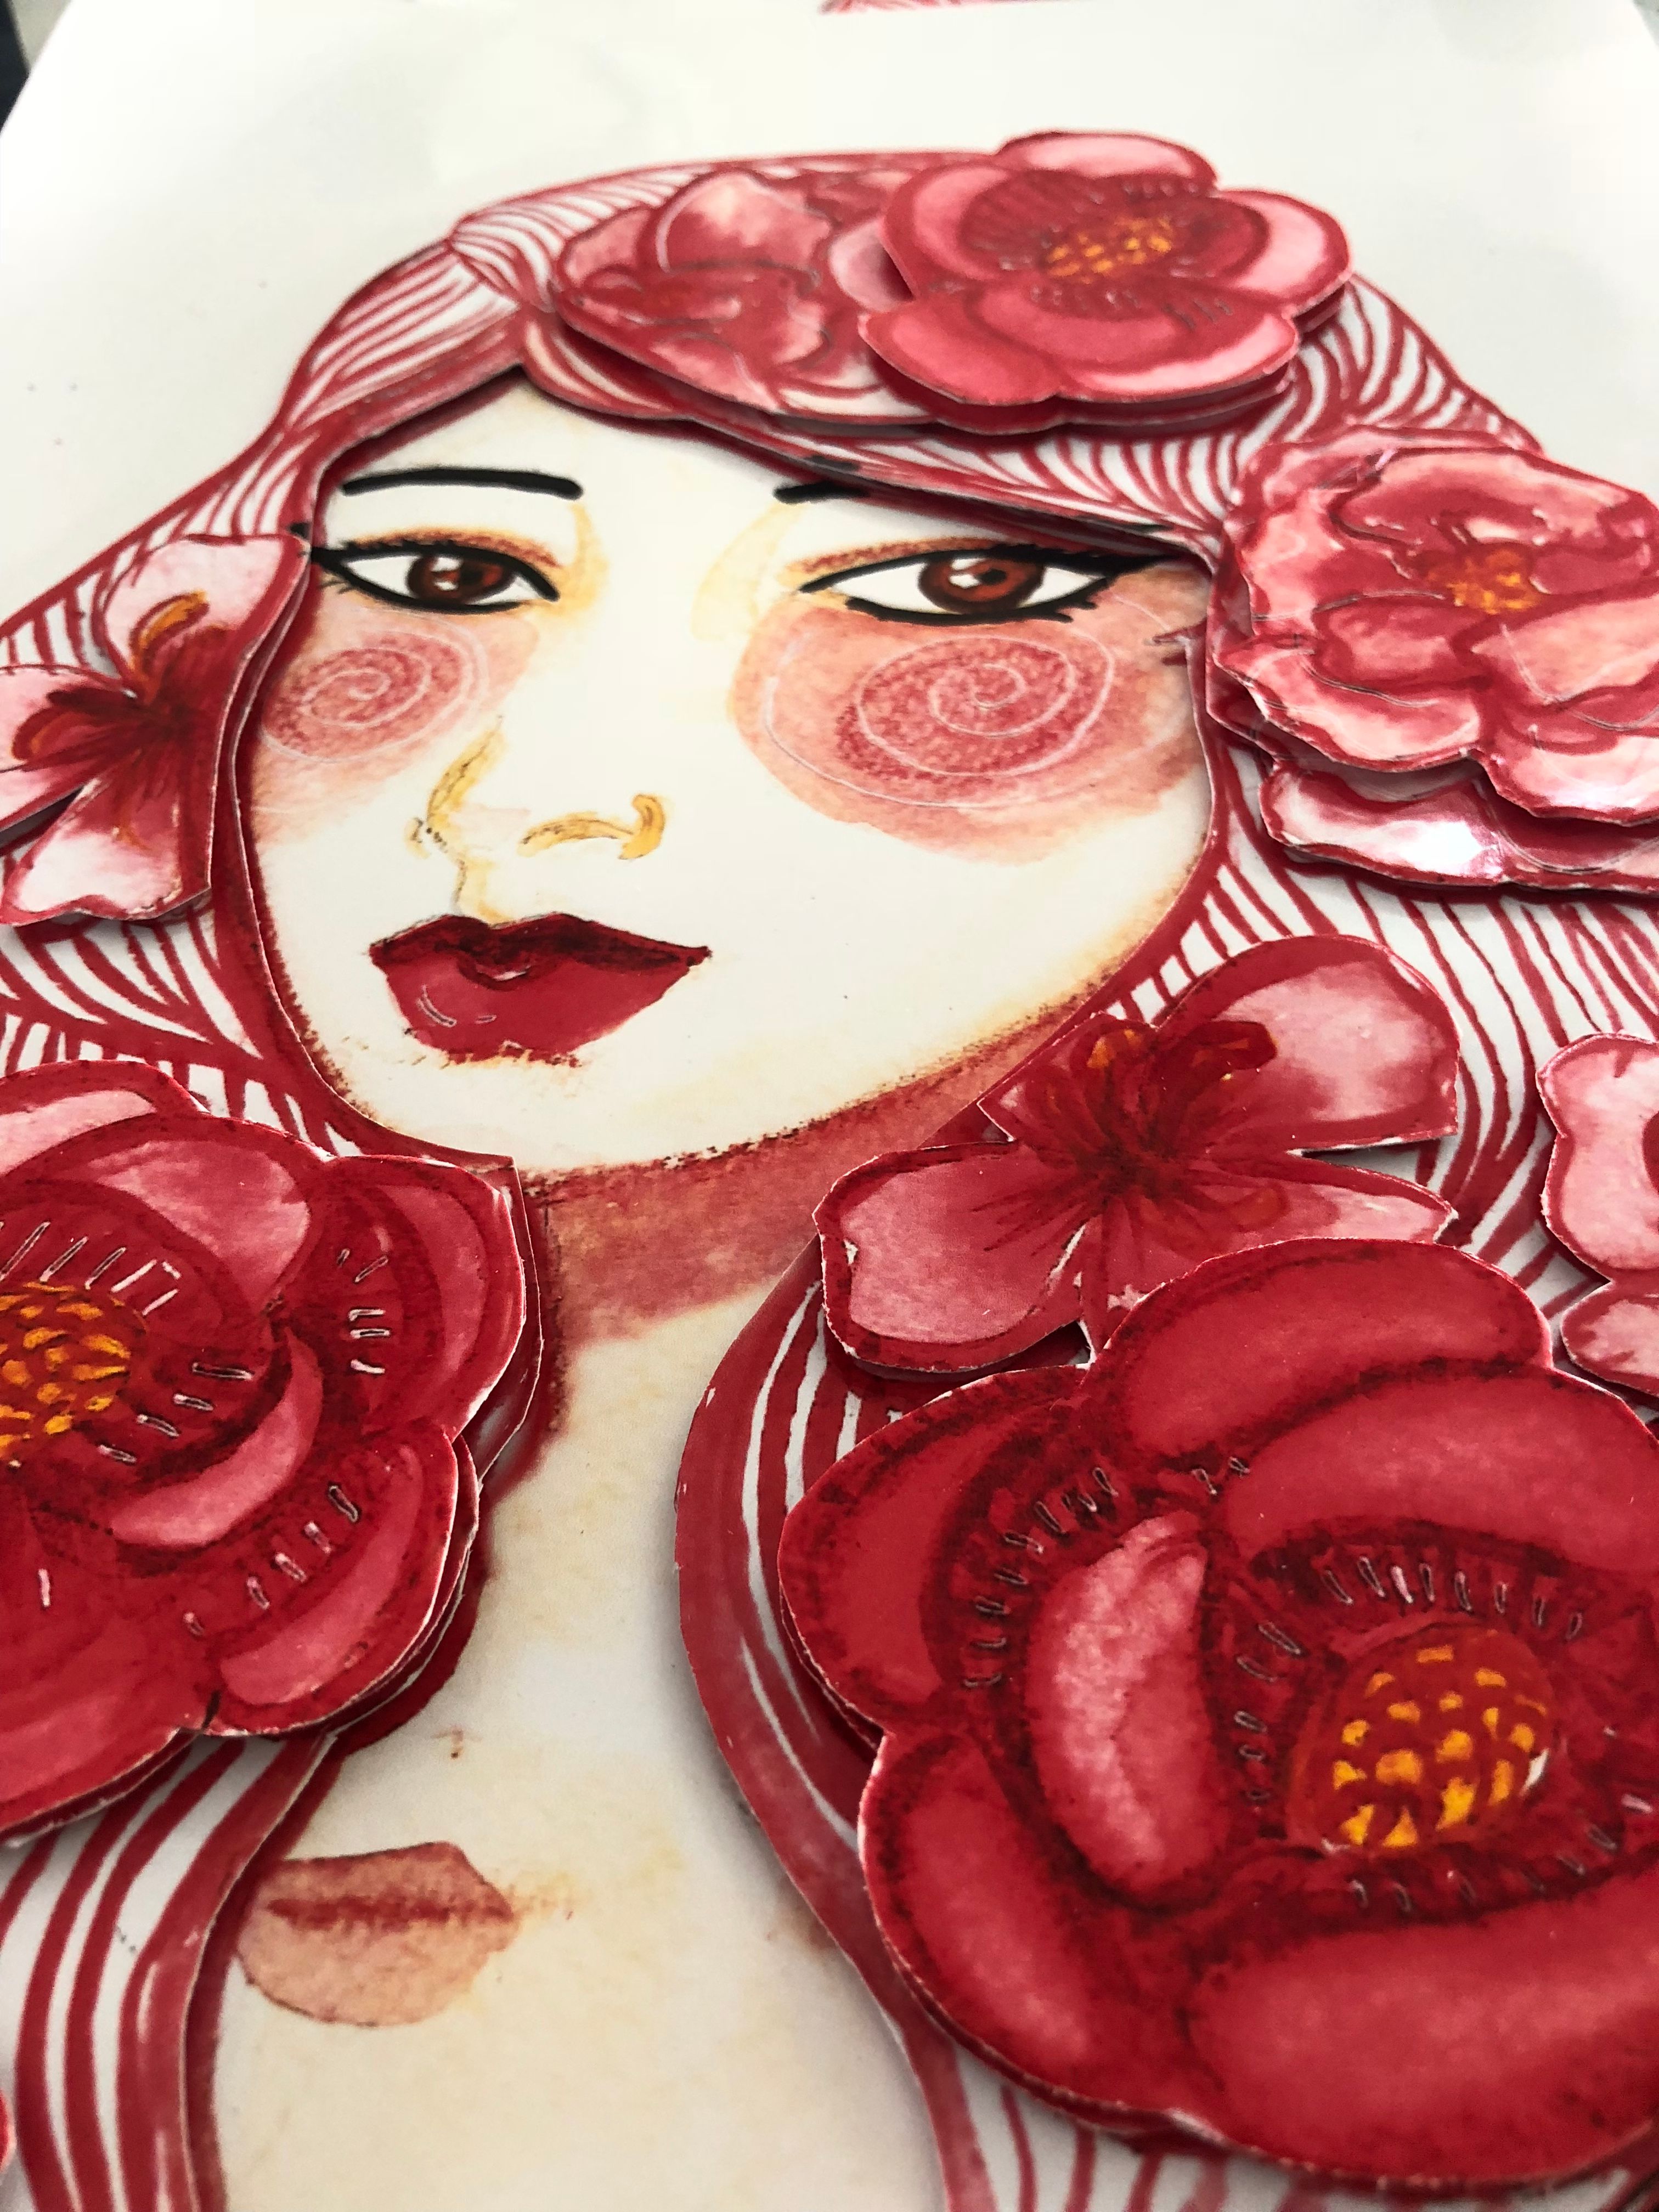
Keep on repeating steps 3 to 6 for each layer until you finish! If you notice, the more the layers, the better the details. In this piece, I just used 5 layers, but you can actually have less or more.
Step 7:
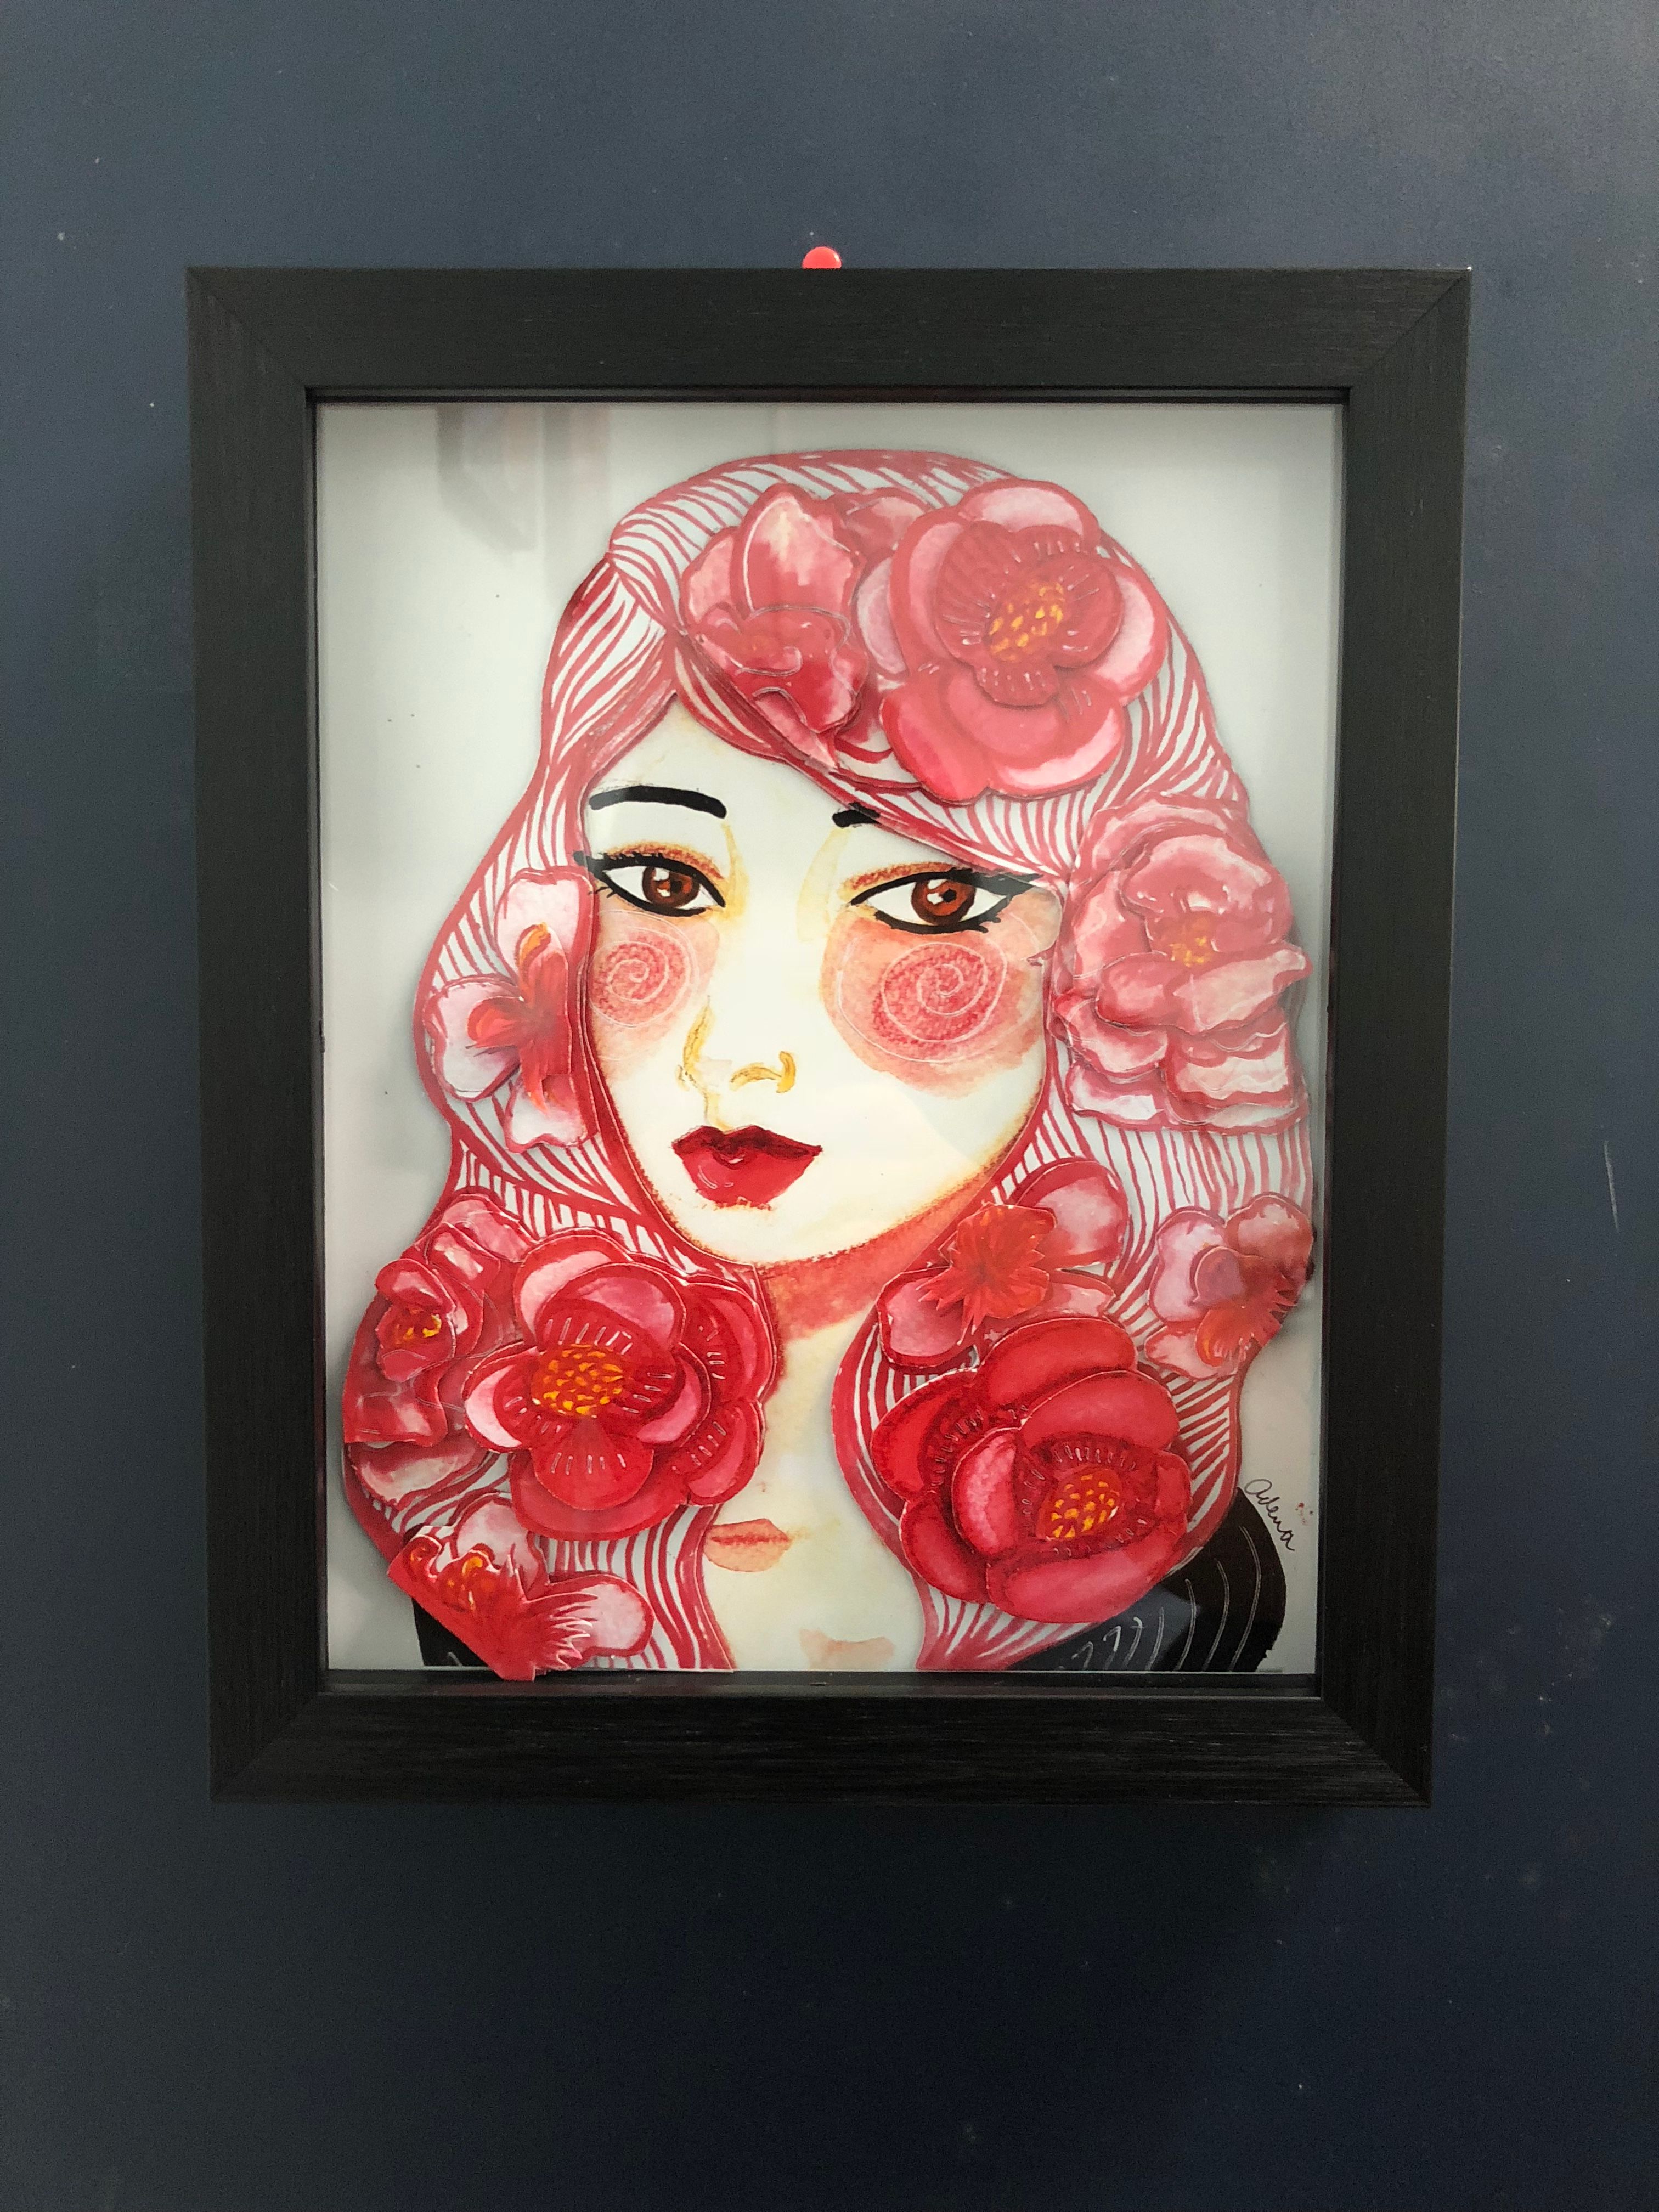
Frame your work.
Framing gives your work the ‘focus’ it deserves. Since this is layered art, this also calls for extra protection so your work won’t go to waste. If your work is too small for the frame, you may use a chipboard or mat board for the lining.
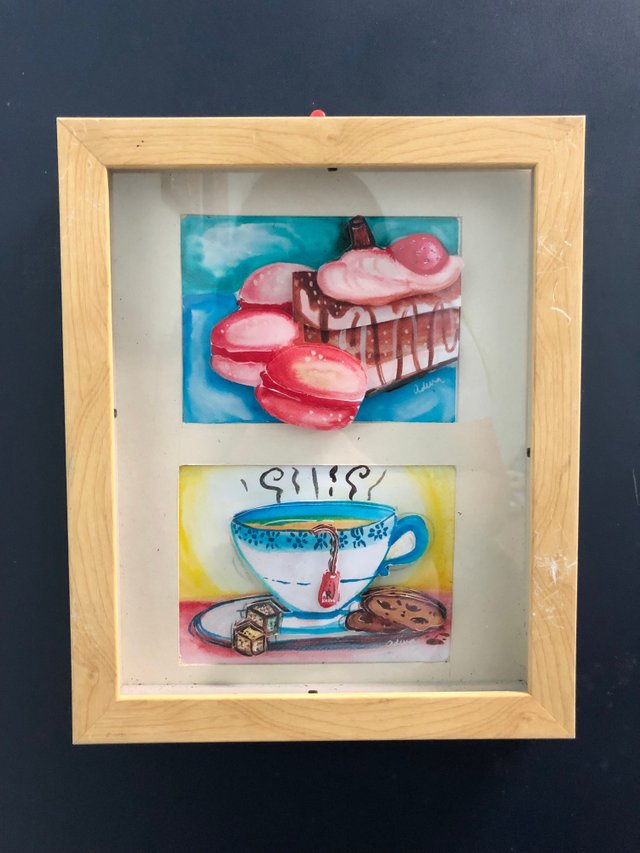
A Mat board was used for framing the work. A lighter frame was used, too.
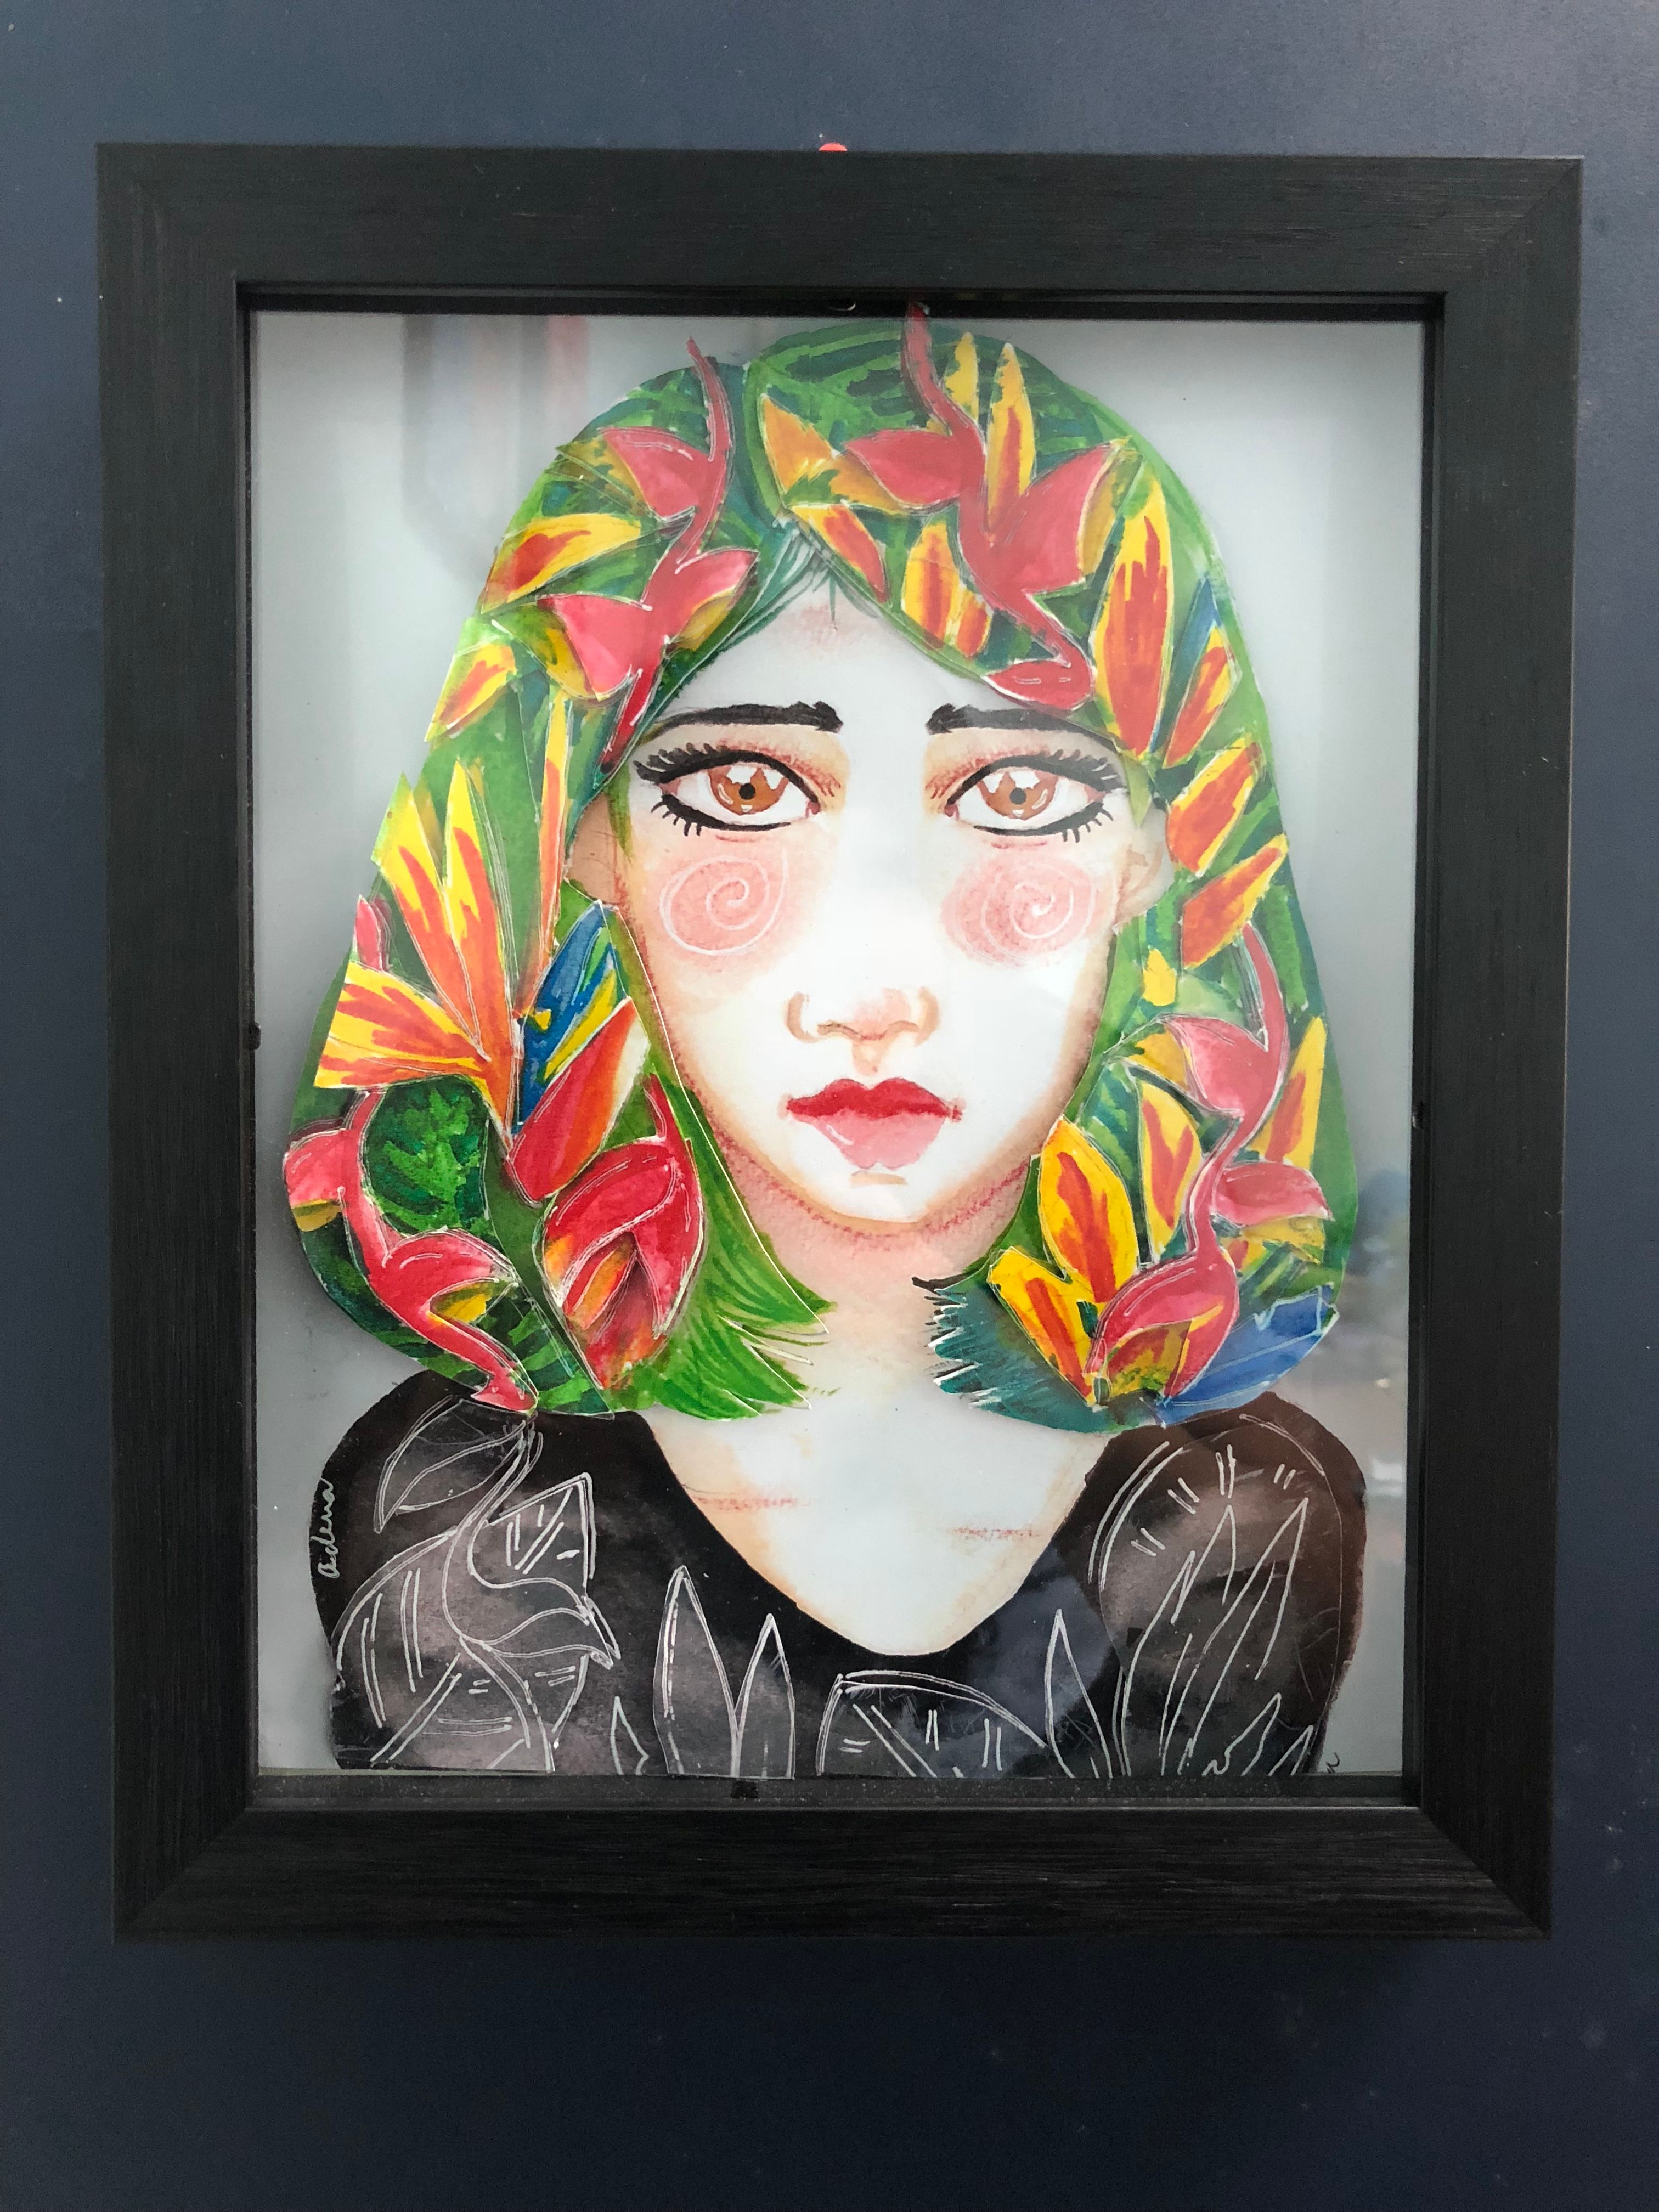
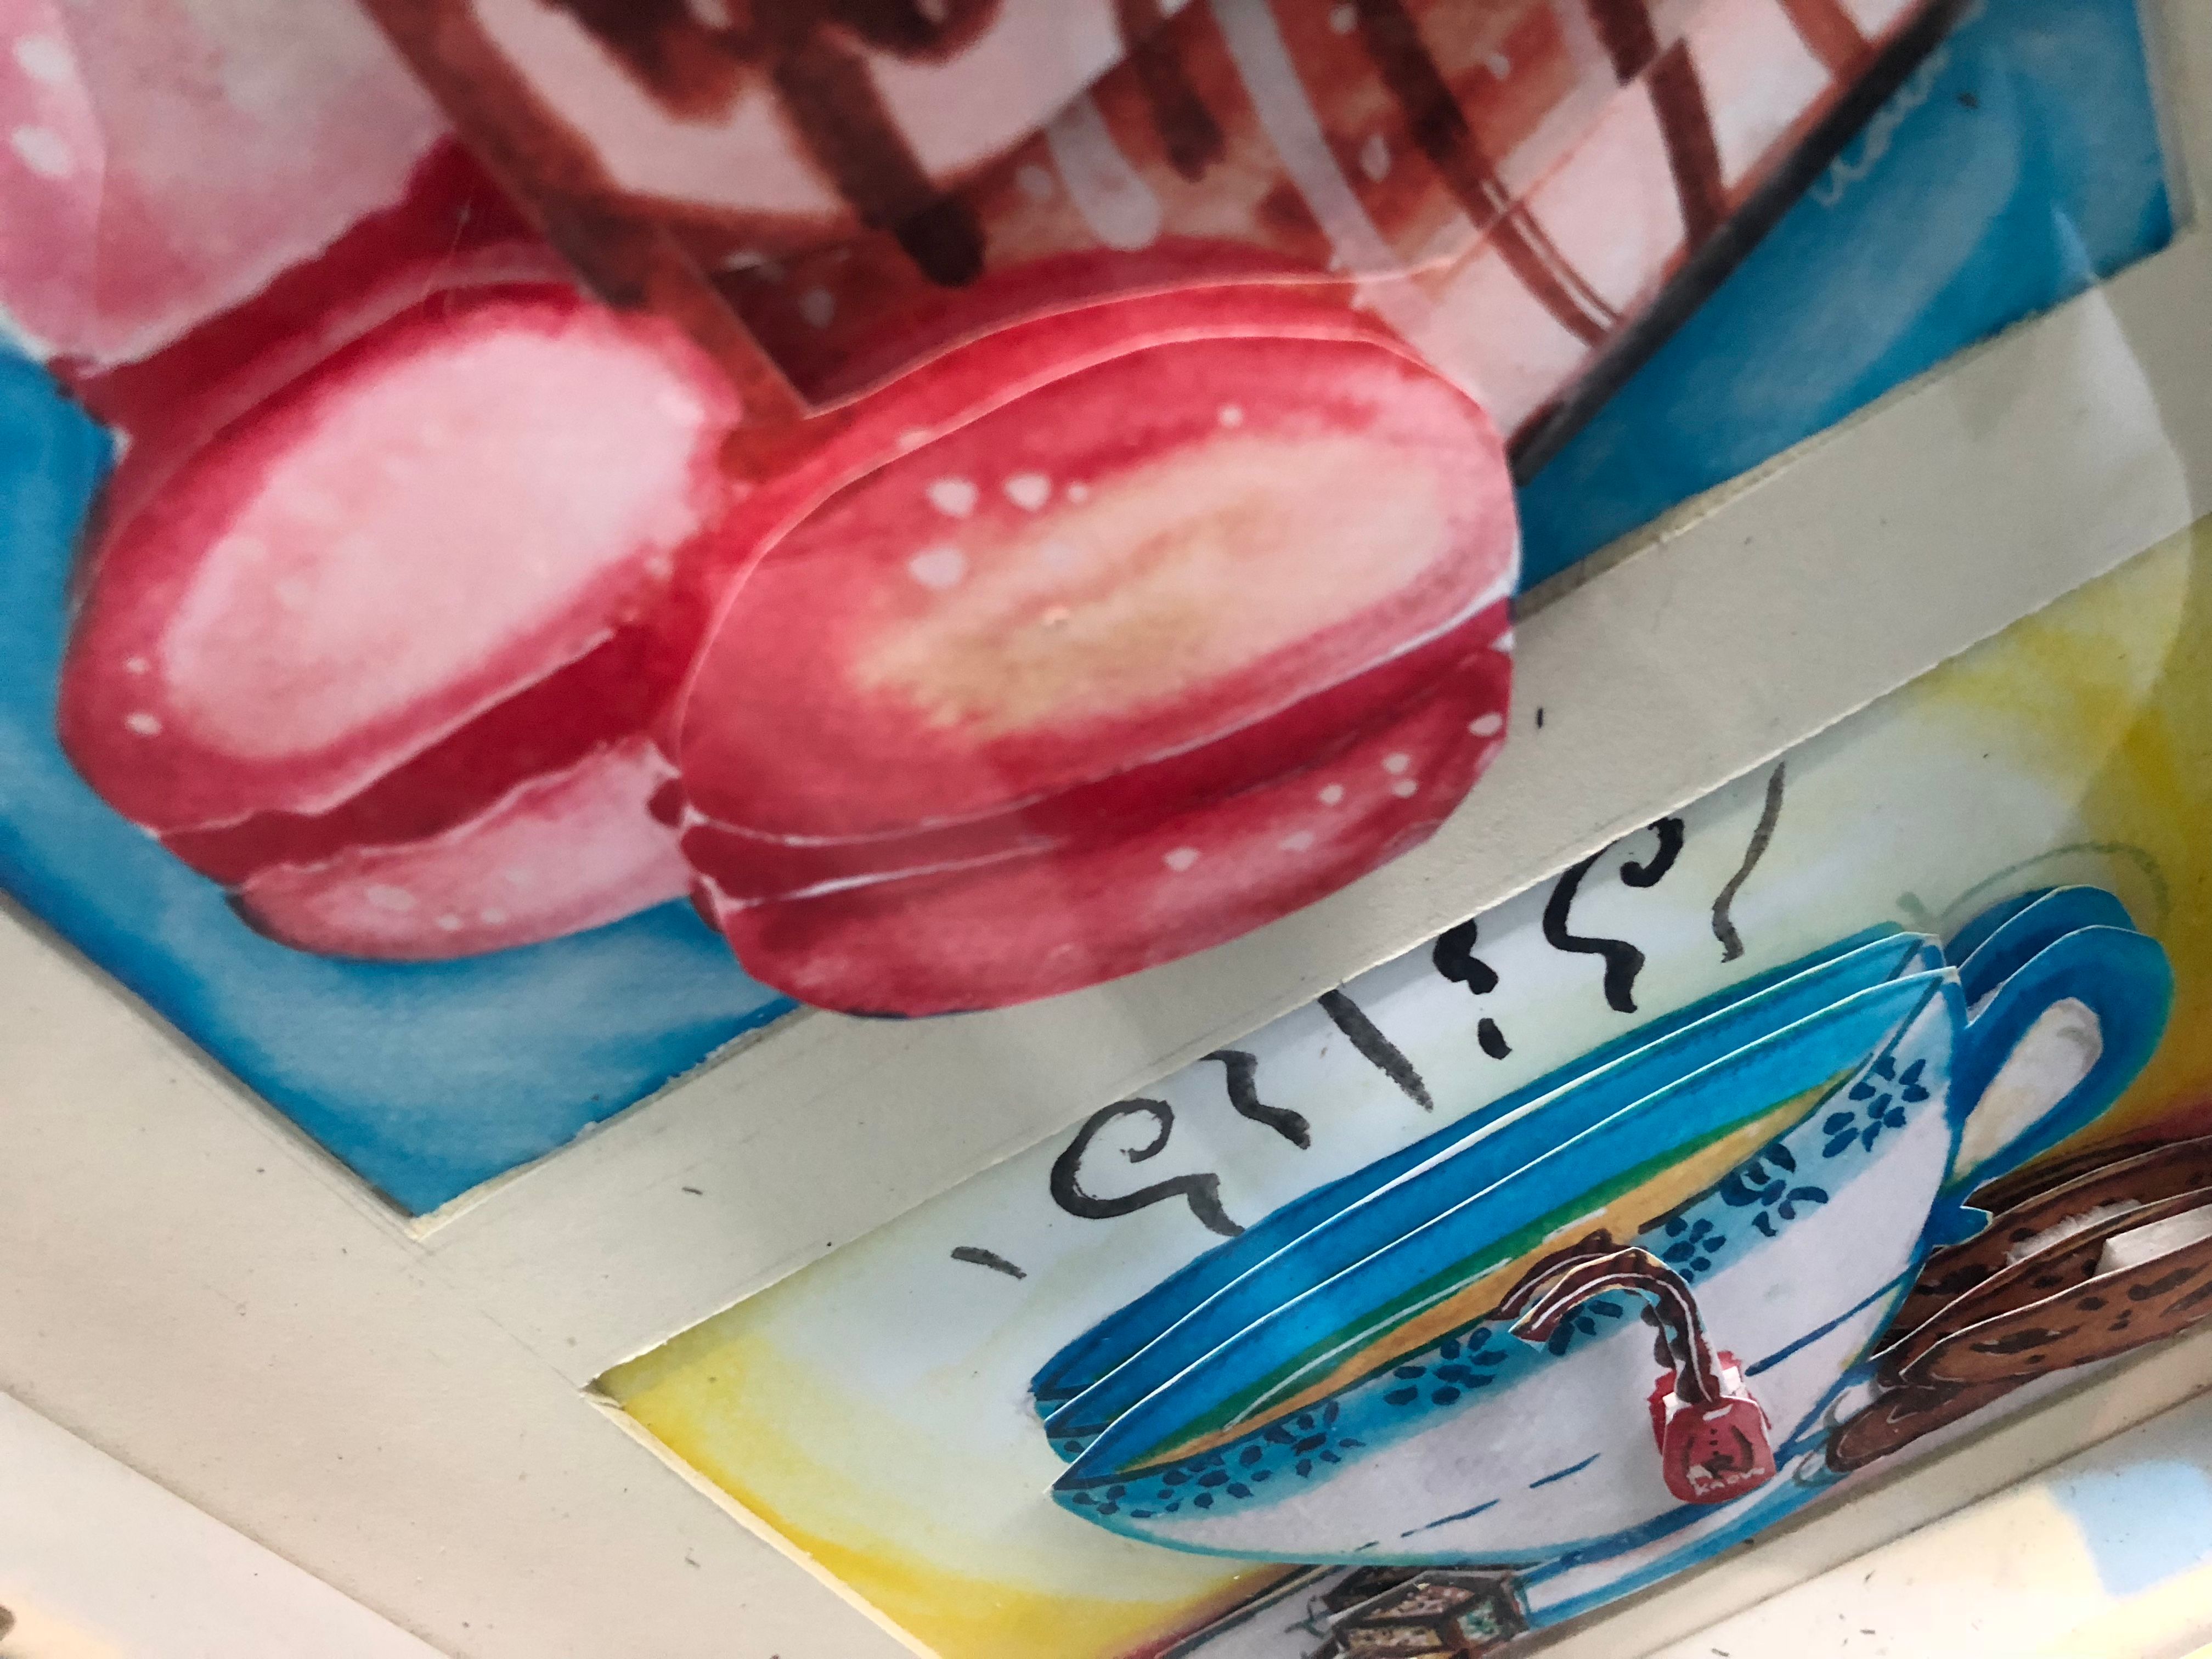
Here are some more details of my other works:
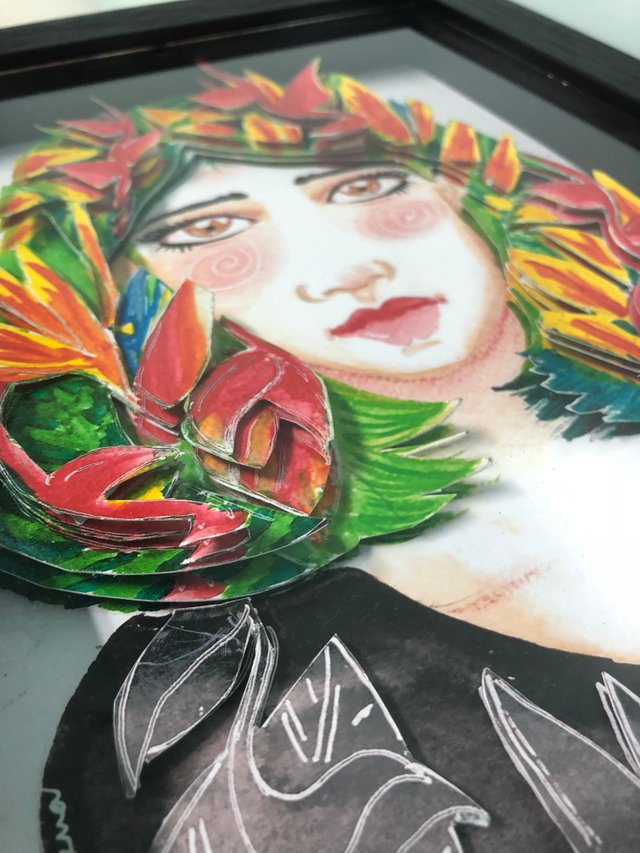
For this one I used Foam board and glue. This was very difficult because of all the details.
Hope you learned a lot and hope you take the time to make your own masterpiece, too! It may be time consuming and sometimes even difficult, but when you see your art out there- it’s just absolutely beautiful. Nothing that’s ‘worth it’ comes easy, after all :)
Have fun making your dimensional layered paper art!
Woah cool concept 😍
Thanksss! This is what I’ve been up to for the past few months haha. You should try it out! :)
Art what is art. Hahaha I've honestly been having a hard time to make time for art, let alone conceptualize a full piece hahaha dayjob is getting in the way!!
Great post. This gives the image a 3d feel. Thanks for sharing
Thanks @fooddadiph! :)
wow! it takes a lot of creativity and effort to do this🙌🙌you nailed it girl,u have a unique masterpiece, it deserves to hang in galleries😍😍😍
Thanks @orhem! We will be having an exhibit soon! :)
where? I hope in Cebu, I'll be the first in line if it will happen hihih.
It’s in Mindanao @orhem! I know it’s far, but I’ll update you guys through steemit! :)
@adevaesparrago wow! i want to try this!!!
@elidy.balmes it’s real fun! I hope you do :)
oh, pwede! Di ko pa na-try yan. :D
Go go @artgirl! Have fun :)
Hello my D:) friend @adevaesparrago , how are you, i'm new to your blog, really your art is awesome i like your post,
Thank you! :)
This has been featured in our Daily Featured Posts and you got a 100% upvote from both @steemph.iligan and @steemph.curator. Congratulations! Continue putting out good/high quality contents in the platform. :)
Thank you my friends from @steemph.iligan! Much appreciated :)
This post has received a 0.45 % upvote from @drotto thanks to: @banjo.