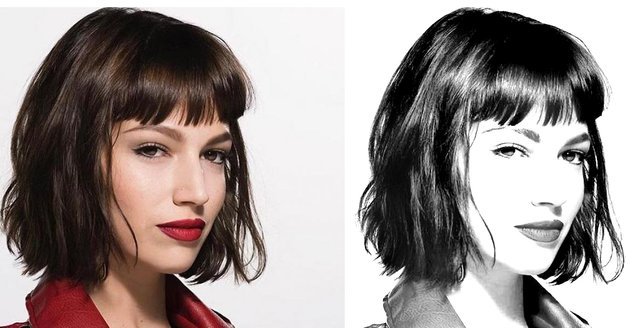
Step by Step Transform Photos into Pencil Drawings in Photoshop
Hi steemians. I will explain step by step how to transform photos into georgous pencil drawings.
I tried to make it understandable for everyone, I hope you like it.
(Shortcuts are for PC users, not MAC)
Let's start.
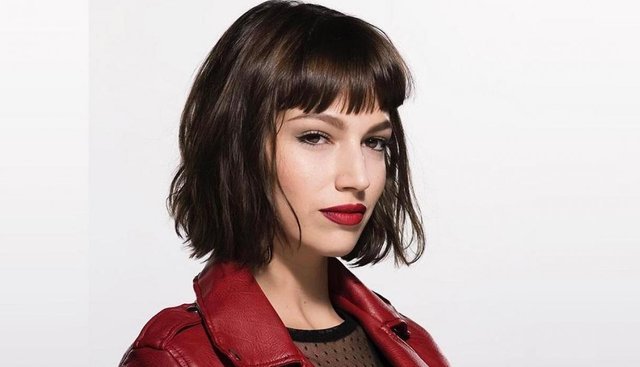
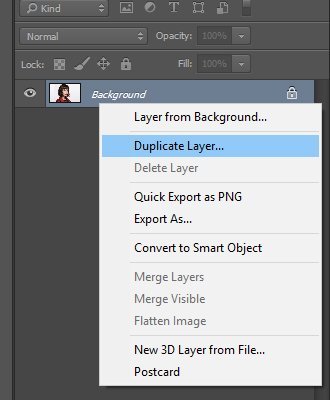
Open a photo in Photoshop
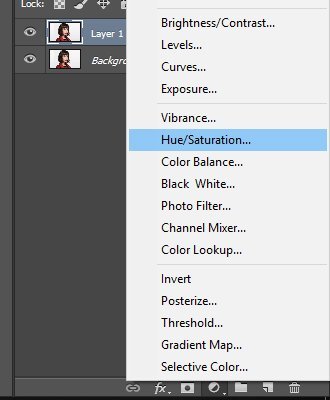
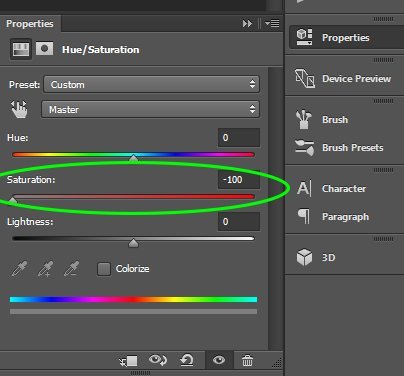
Click on the adjustment layer button, choose Hue/Saturation
Reduce the Saturation to -100
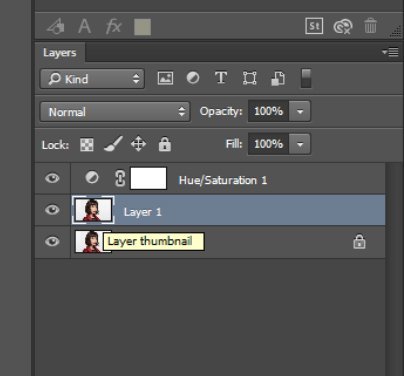
Click on the thumbnail of Layer 1 to make it active
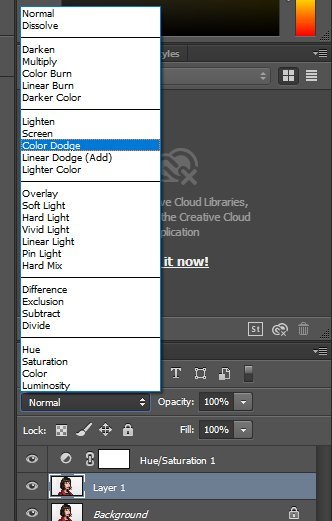
And change the blend mode to Color Dodge
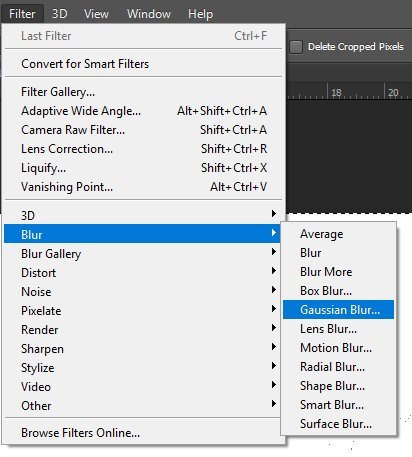
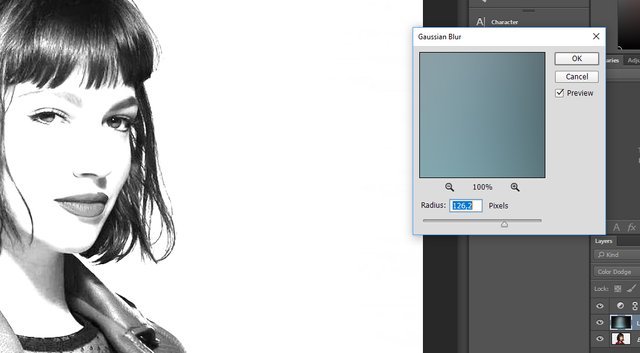
Invert it by pressing CTRL+i, the image should look white. Go to
Slide the radius where that looks good to you
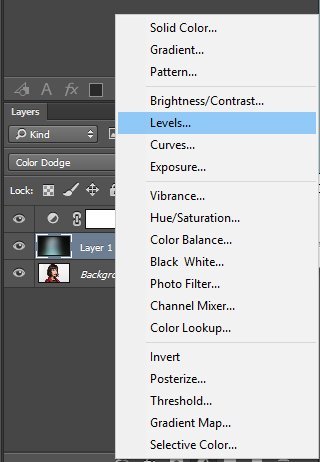
To make the overall image look more denser, click on the Adjustment Layer button again, choose Levels
Slide the input Darks to the right, focus on the face of the image or wherever is important
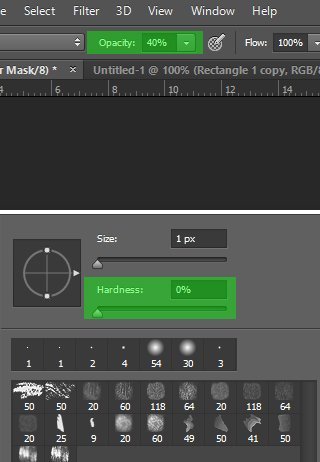
If other areas are too dark, go to Brush Tool, adjust the brush size as you want, make the Hardness to %0, and Opacity %40
Make sure the foreground color is black
Brush over areas you want to make less dense.
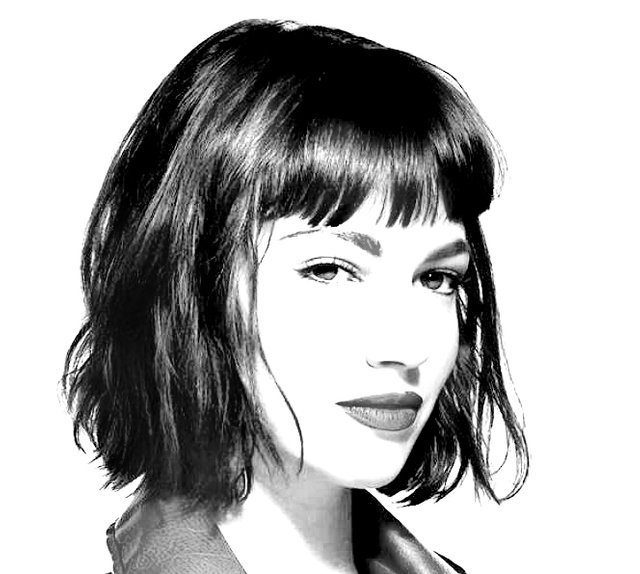
Done
By this simple techniques you can transform any photo to a nice looking pencil drawing.
