DIY: Slider Card (Step by Step)
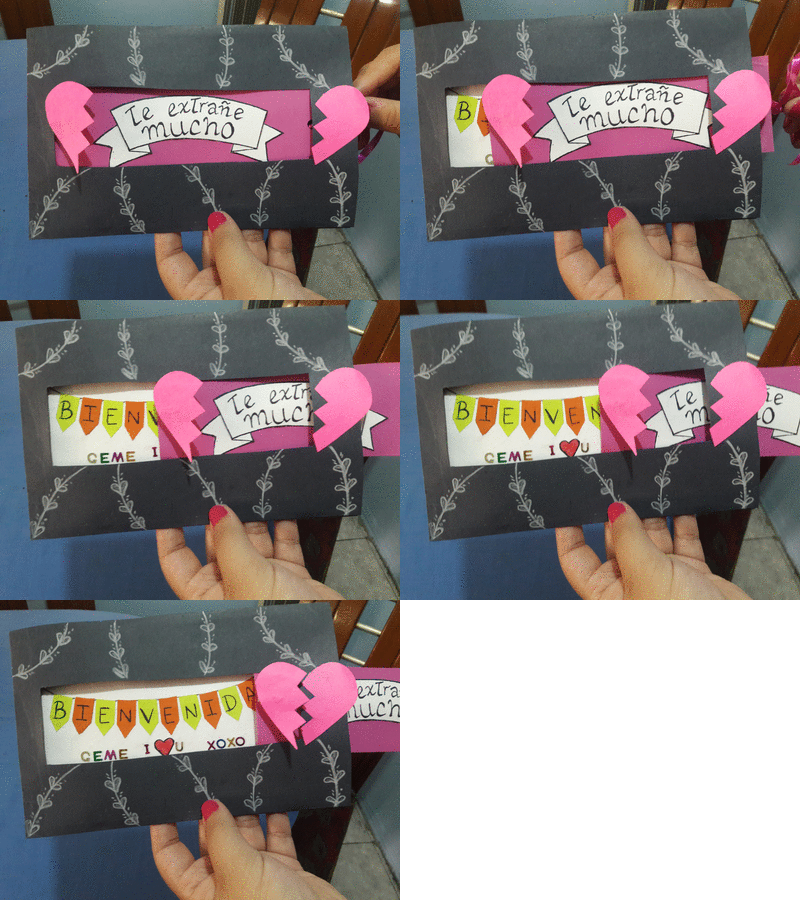

MATERIALS
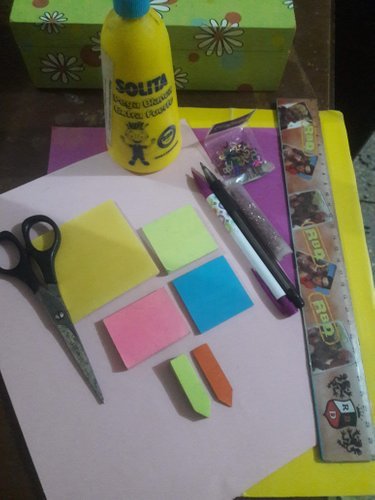
The main materials that you need to elaborate this card are:
- Cardboards.
- Black marker.
- Scissors.
- Ruler.
- Glue.
- Ribbon (10 cm)
- Colored post-it notes.
- White pencil.
- Metallic decorative letters.

PROCESS
Once you have devised the design, you select the colors you want to work with. In this case, I decided to use black cardboard as a base, and fuchsia and white for decorations.
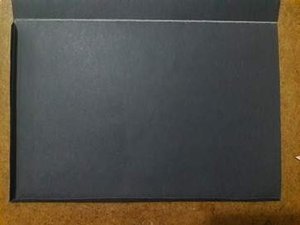
Step 1. Fold the base card (A4 size) in half, make a mark in the middle and extend it again. On one side we draw a rectangle using the measurements shown below and on the other side we draw the lines that will serve as a guide to fold the tabs of the envelope.
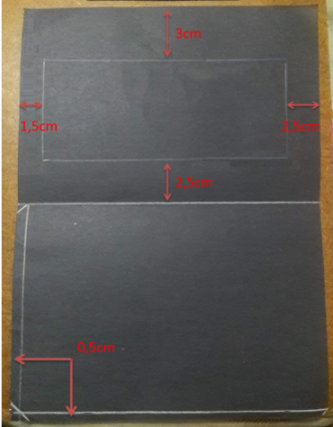
Step 2. Cut out the rectangle we previously marked on the top and the corners of the tabs at the bottom to fold them inwards as shown in the following image.
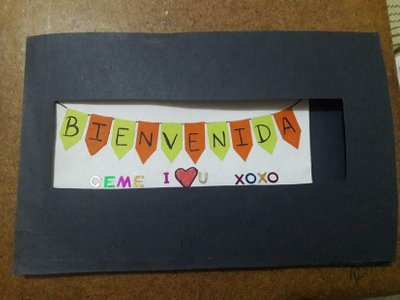
Step 3. Cut out a rectangle of cardboard of 13cm x 7cm. It must be a little larger than the opening we did on the previous step since this will have the internal message of the card written and we do not want the edges to look messy.
Step 4. Decorate the internal message according to the celebration. In this case I cut small sheets separators to create a garland of pennants and I wrote the word ”BIENVENIDA" (that's spanish for Welcome) and I added the words ”Geme" (my bestie's nickname), ”I love U” and ”XOXO” using metallic decorative letters. Then glue this decorated cardboard on the bottom of the base card.

Step 5. Fold the base card in half again and stick the tabs to the top to form the envelope. It is important to note that in this step you will have a small surplus (0,5cm) of cardboard in the lower and left part of the envelope that you simply have to cut out when the tabs dry.
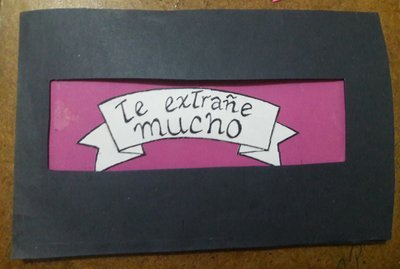
Step 6. In this step we must create the sliding part of the card, for it, select a card of contrasting color and cut it with the measures indicated in the following image:

Step 7. Decorate this last piece with the materials that you have at home and make sure it fits perfectly inside the envelope that we created previously. In this case, I simply use a piece of white paper and a black marker to create a kind of band with the phrase "Te extrañé mucho" that is translated to "I missed you so much"
Step 8. Make a small hole in the end of the sliding cardboard using a paper hole punch and tie a piece of ribbon approximately 10 cm long so you can pull it out.
Step 9. Draw a heart or any other figure you want and cut it in half. Then, take a small piece of cardboard folded in the shape of an accordion and stick it on the back of the heart.
 |  |  |
Step 10. Glue one of the sides of the heart to the right frame of the envelope and the other side to the left end of the sliding piece as shown in the following image:

Paso 11. Finally, decorate and add the final touches to your card. In this case, I used a white pencil to draw a cute pattern that makes everything look very cohesive.


RESULTADO FINAL
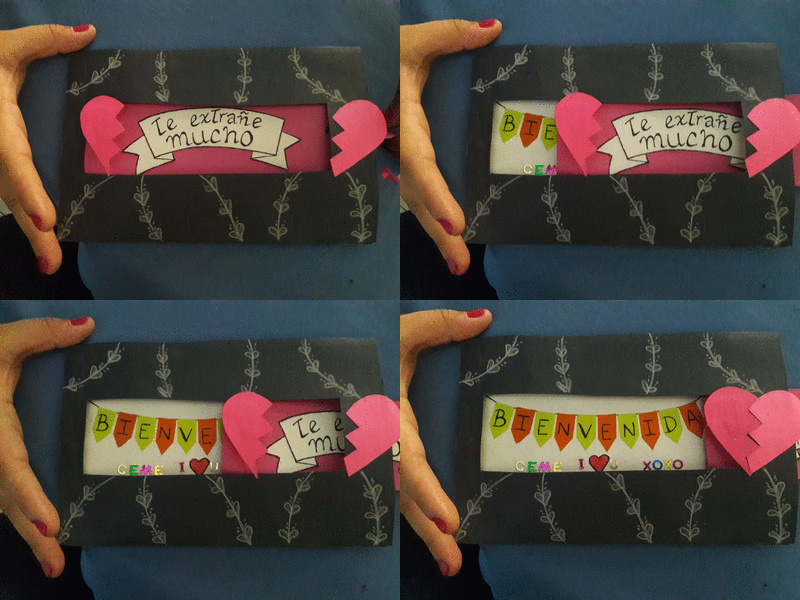

My bestie loved this card and I hope you like it too. Thanks for reading and a virtual hug in the distance for you all!


So creative :) Love the idea ! I think the sliding makes the card SO much more special :) The step by step is done super nicely also ... and I really like that animated gif!
This post was shared in the Curation Collective Discord community for curators, and upvoted and resteemed by the @c-squared community account after manual review.
Congratulations! This post has been upvoted from the communal account, @minnowsupport, by leribyleri from the Minnow Support Project. It's a witness project run by aggroed, ausbitbank, teamsteem, someguy123, neoxian, followbtcnews, and netuoso. The goal is to help Steemit grow by supporting Minnows. Please find us at the Peace, Abundance, and Liberty Network (PALnet) Discord Channel. It's a completely public and open space to all members of the Steemit community who voluntarily choose to be there.
If you would like to delegate to the Minnow Support Project you can do so by clicking on the following links: 50SP, 100SP, 250SP, 500SP, 1000SP, 5000SP.
Be sure to leave at least 50SP undelegated on your account.