Pottery Break Down: Earring Hangers/Trinket Jars (Photographic)
Good Day Steemians,
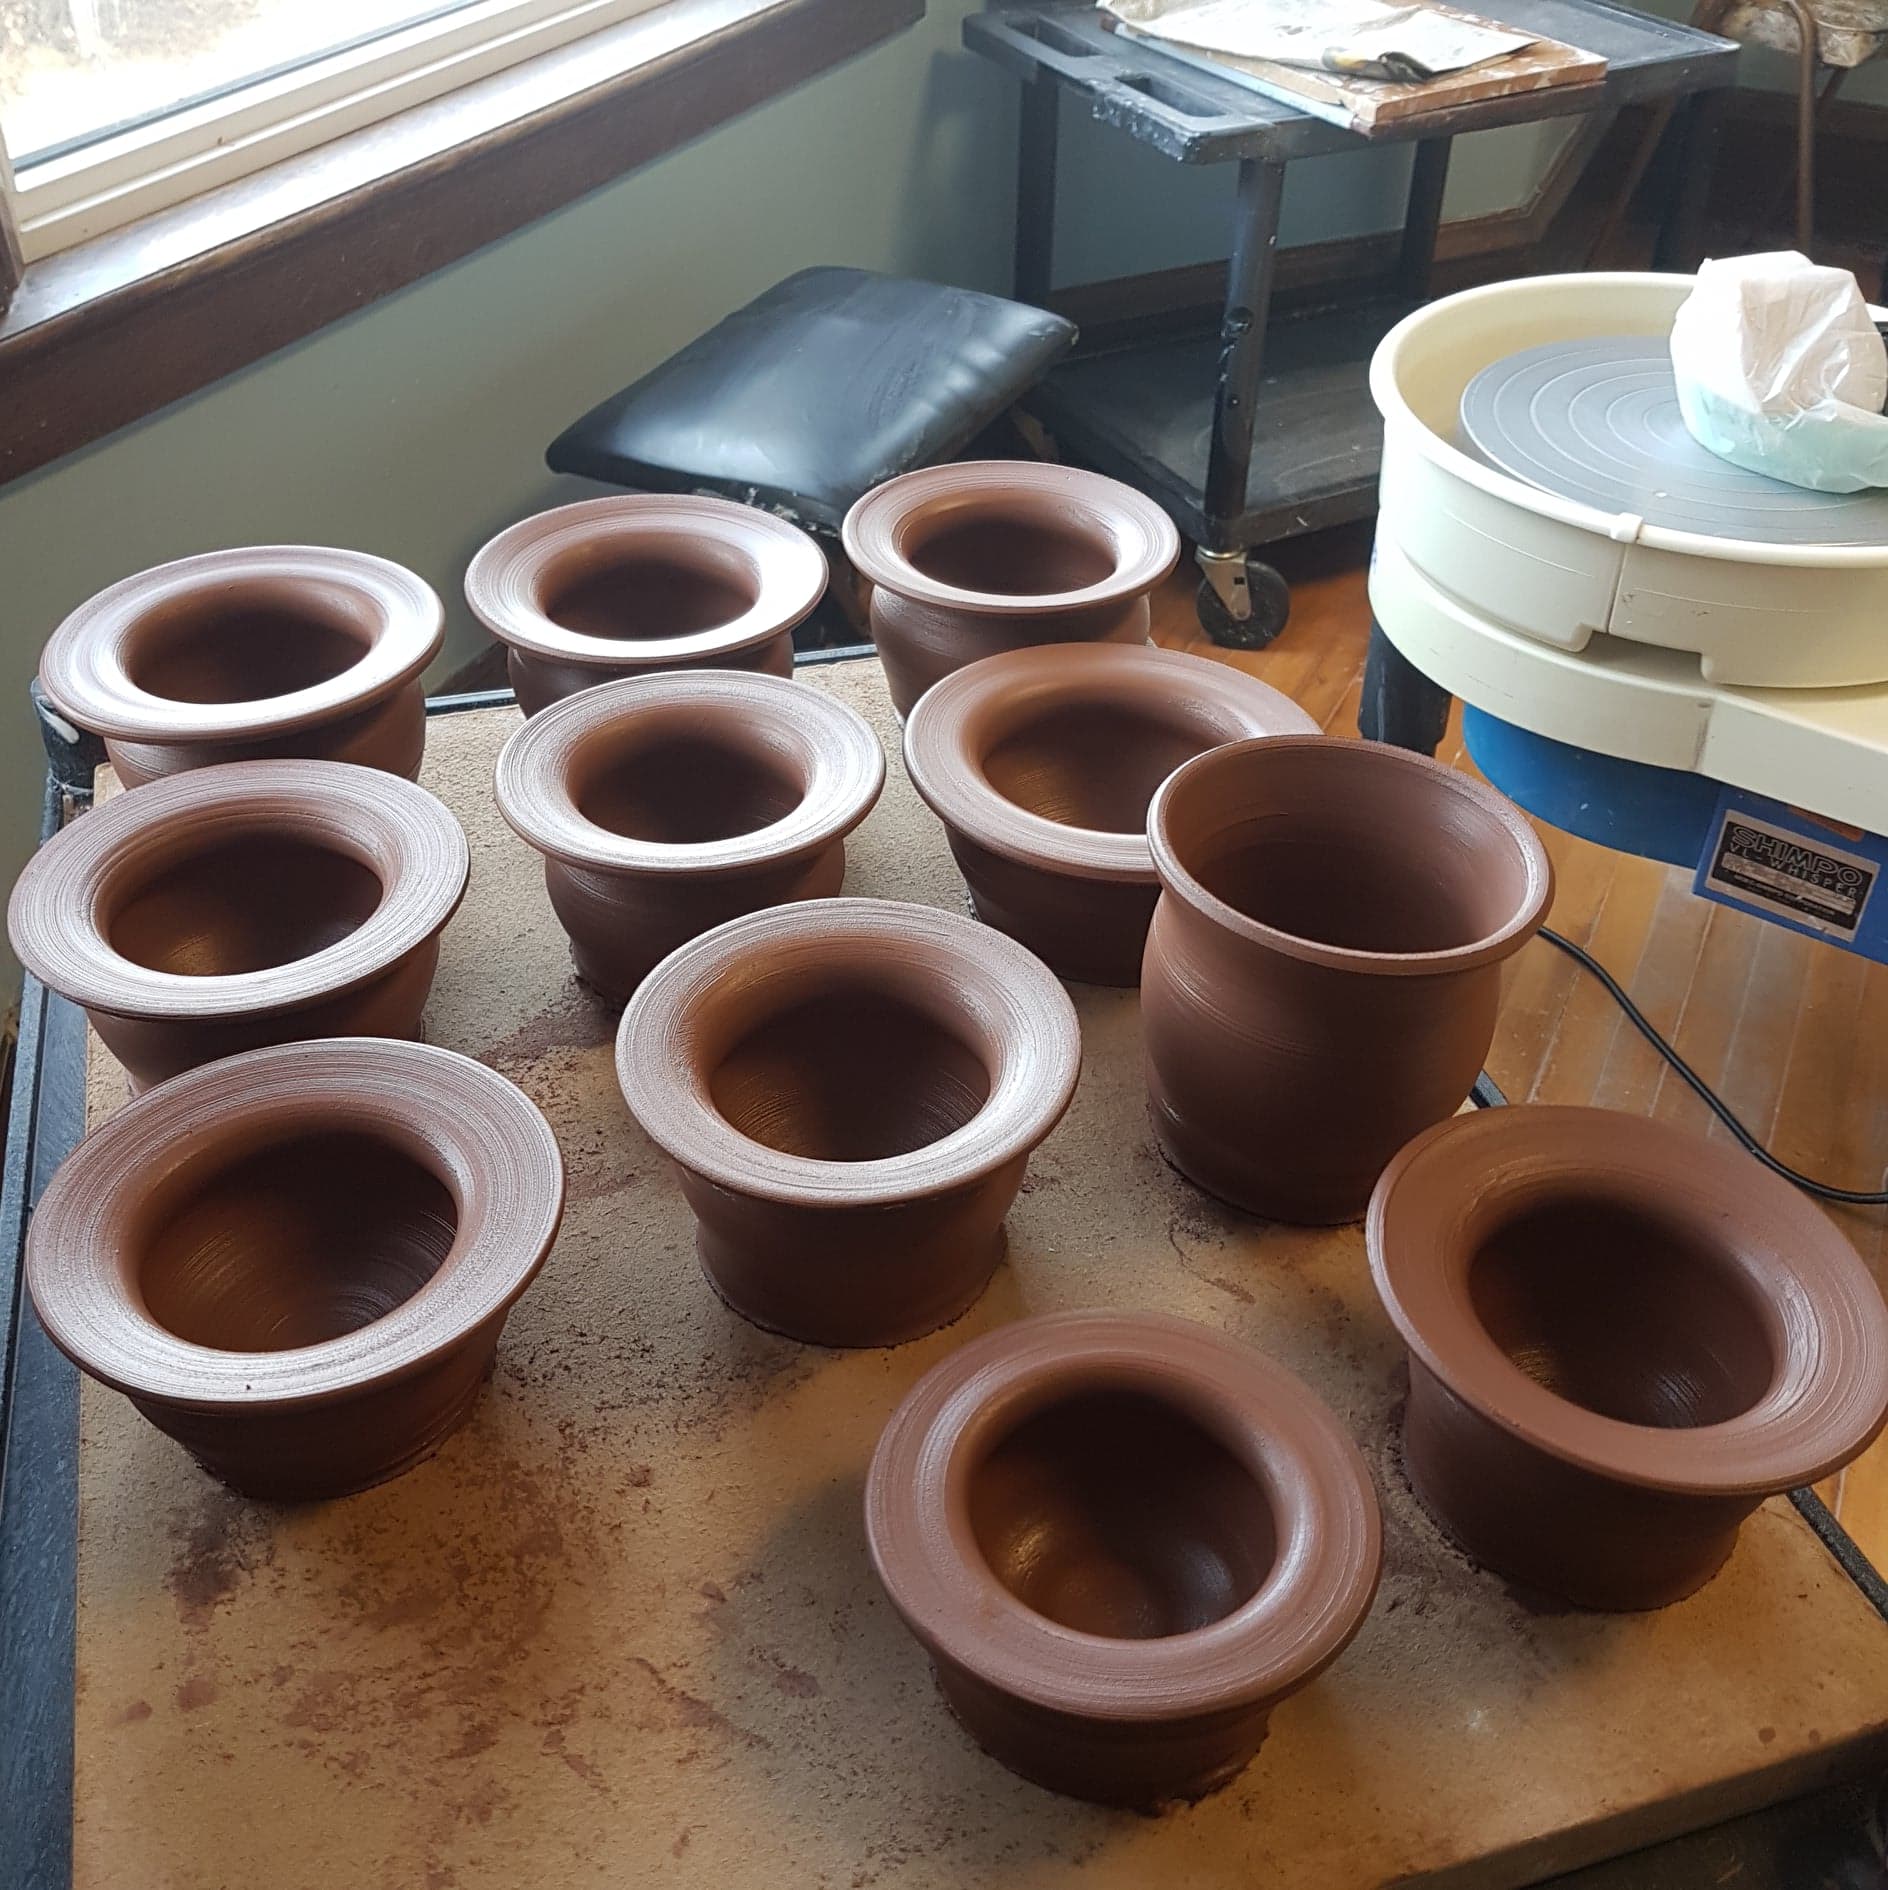
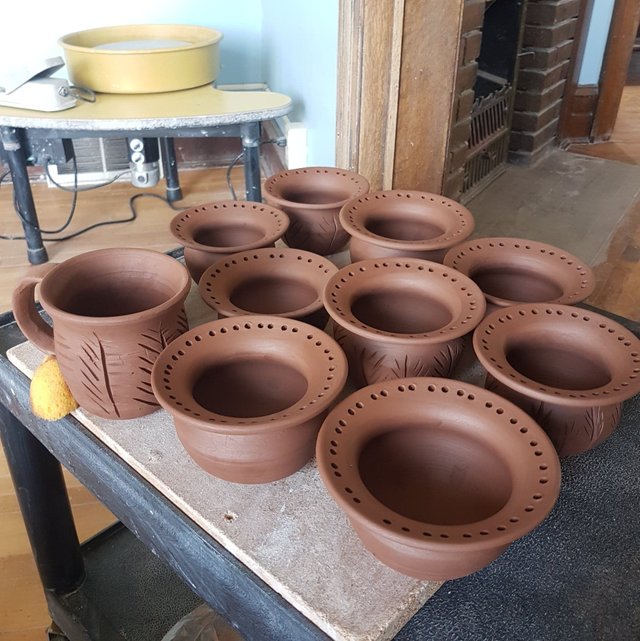
Today, I am going to demonstrate how I do my Earring Hangers/Trinket Jars. These begin as a lump of unformed clay that is shaped and thrown on the pottery wheel. The clay I am using is a red clay (Plainsman 390). Here is an image of some of the vessels right of the wheel.
The pieces are then left for a day or two in the drying room to get leather hard. Once they are set up and a little more firm they will need to be trimmed, shaped, tooled and carved to get the finished result.
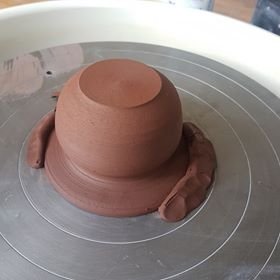
Here is a piece that has had the bottom trimmed and some further shaping. I hold the piece down on the wheel with two pieces of clay so it won't fly off the wheel as it is being trimmed. Although, the piece, on occasion, can still "fly" off the wheel and then it's sad times for everyone! True story.
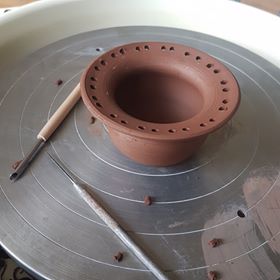
The jar at this point needs to have tiny holes along the lip to place the hanging earrings in. This is accomplished with a small boring tool. Here is the after image of that:
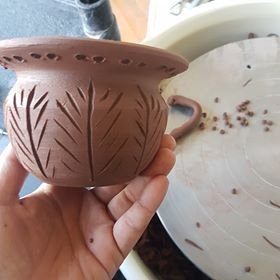
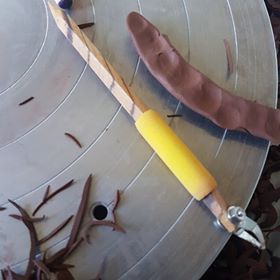
I then will carve into some pieces to give them some texture and to increase the tactile sensation of a piece. Some people find the texture and designs to be more visually interested and they tend to grab the glazes differently. Personally, I like carving as the pieces then are usually one of kind and unique. Here is the tool I use for that as well as an after image of the carving.
Here are a few of my finished pieces. They will need to become bone dry before then can go into the bisque (a kiln firing to turn greenware into stoneware).
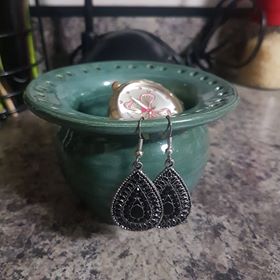
Once the pieces come out of the bisque they will be sanded, lightly brushed off with a damp sponge and then glazed. Once glazed they will go back into the kiln for the final result. Here is an image of a finished piece.
Hope you enjoyed the post and the process broken down. Have a great day!
Kobie (AKA Existential Hippy)
