Sketching Rembrandts Portrait of an Old Man - in Charcoal - Original content for Steemit

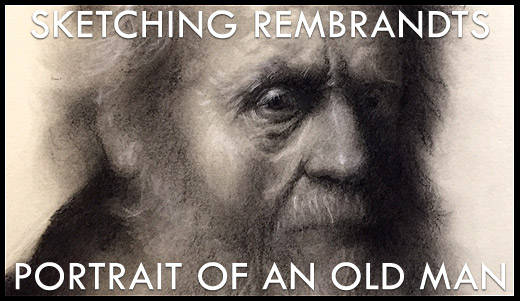
Hey everyone, it's been about a week since i've posted something new - i have been drawing but just didn't get anything together that i liked enough to share. So i went back to the well - drawing a Rembrandt - which always helps me get back into it when i have one of those weeks where nothing seems to work. For me, drawing a Rembrandt just helps train on the things i like: high contrast, great expression and a painterly feel to my strokes. So here it is, Drawing Rembrandts Portrait of an Old Man.
Firstly, the paper is Rising Stonehenge in Cream (the yellow was kinda hard to photograph, camera kept wanting to balance it white). It's a 100% cotton fibre paper at 245 gsm. I had this paper amongst the shelf i keep my papers on but hadn't used it before so I thought i'd try it out. It handles differently to other cotton papers like Strathmore, doesn't feel as tough and gets a bit 'fluffy' but that also helps in creating a nice smokey 'sfumato' effect. I think i'll get some more of this paper and try to improve my technique on it. It's usually listed as a 'print makers paper' and commonly used for etchings & ink work.
For the pencils, I just used a standard 6b General's Charcoal pencil and a paper towel, also a bit of white charcoal for some highlights.
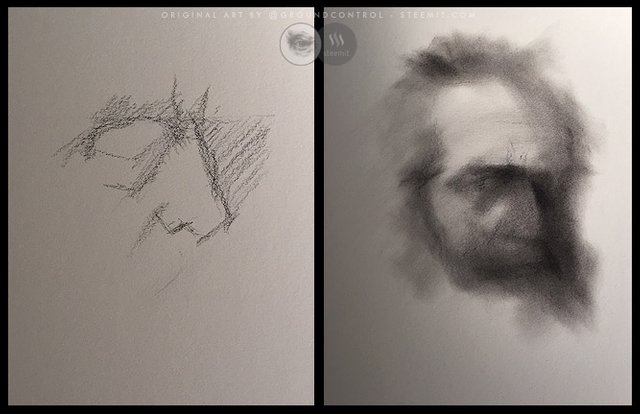
These first two photos show how i sat there wondering how to start. Those first few marks are the hardest to make, especially if your coming off a week of 'bad drawing'. It was a rough beginning - i almost made the mistake of trying to outline too much detail around the eye. I had to remind myself to ignore the detail and just block in the shadow masses. Once that was done, it all started to flow.
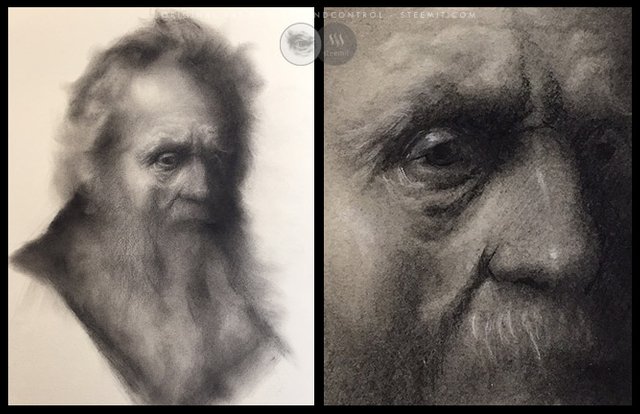
Next i wanted to get the eye in place, the whole drawing revolves around that eye and the expression in the face. Most of the portrait is in shadow or under fluffy hair so that eye was my anchor point to build the drawing out from.
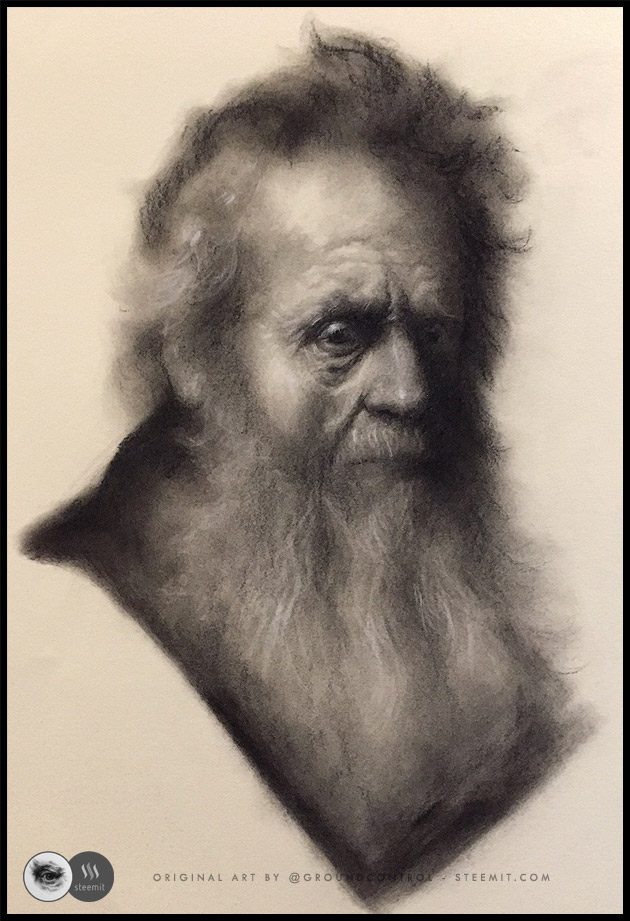
Here's the finished sketch. Not the greatest photo but it wasn't an easy one to photograph with the yellow paper and the smokey effect of the drawing! Anyway, i hope you like it.
Thank You!
Thanks for reading, if you like my post please vote & follow and re-steem if you can or leave a comment or question and i'll do my best to answer.I appreciate the support from the Steemit community and this is my only social media outlet - Thanks!


Congratulations. This post features in my latest Curation Article. This post received a 100% upvote from Mr Squiggle the #TeamAustralia Curation Martian.
Great work done again, you are mastering Rembrandt definitely! Eyes are perfect, I have feeling that he is going to blink every second..
Thanks @jungwatercolor. Rembrandt has been a great one to study lately, keeps giving out new lessons each time.
He blinks when people upvote 😉
:) good one :)
:-D
Love your step by step posts - resteemed!
Thanks @art-universe - the step by step photos are becoming useful to look at it from a different lens and help find areas for improvement. Gives a second look at the progress of the drawing, i can see areas i 'should have' and 'shouldn't have' which can be useful to remember next time.
Enjoy following your work.
Upvoted, resteemed.
Thanks a lot @leoplaw - your resteem is much appreciated!
I really enjoy seeing your drawings pop up in my feed. Love the painterly/smoky effect in this one. Again, the detailed, focused eye, and the soft edges are so nice to look at... I keep going back to look at it again and again.
Thank you @offbeatbroad - i really enjoy reading your comments!
I need a better camera to take photos of these soft edged images, the old phone camera doesn't pick up enough detail, kinda clumps it together a bit.
You're welcome! I'm glad they're appreciated. :)
Ugh it is so hard to digitize artwork. If you use a scanner a lot of the quality is lost, if you use a camera the focus or color is usually off. But a good camera is definitely kinder than a phone camera. lol
I do appreciate your comments!
The best is to use an SLR camera with a nice 50mm lens, closest lens to eye focus length. Set up the artwork properly on a wall, light it the way it was meant to be lit and use a tripod at the perfect distance to get a perfect picture.
Capturing the artwork as close to how a human eye views it is about the only way to do it justice and our eyes have a specific focal point which creates a distortion that you can't get from a scanner, plus artwork isn't meant to be viewed at nose length which is what it feels like when digitised.
So much easier to just whip out the phone thou! :)
This one looks pretty bad online in this post but under the right light it looks really nice, framed it would look pretty decent.
WOW - Master Piece - great Talent :-)
Resteemed - upvote
Thanks for the resteem!
You are awesome! I really get inspired by your work, thank you for sharing step by step!
Pretty dope...! ^
Oh and the best is - they always inspire me to draw! :-)
I found you on the ten best Steemit artists post. Such beautiful work! I am gathering a tribe of Steemit artists so I will be following you.