Creating "Fairy Forest" collage in Adobe Photoshop CC 2019 Part 4
Step 4. Add a bird.
Step 1.
Separate the bird from the background and place it in our document.
Using the free transformation Ctrl + T make it smaller.

Step 2.
Add a hue / saturation adjustment layer / hue / saturation and lower the saturation value to maximum.

Step 3.
Add a Curves / Curves adjustment layer and darken the bird.

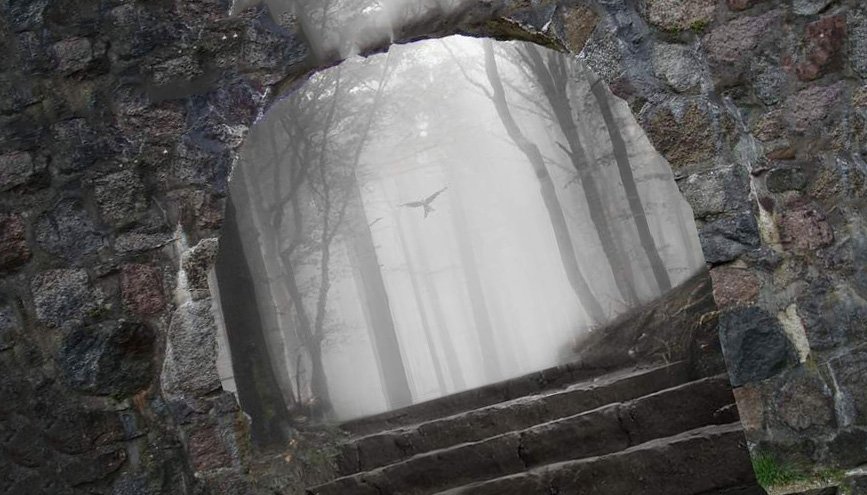
Step 5. Add an arch.
Step 1.
Open the “Arch” image from the background and place in our document.
Using a layer mask, blend the bottom of the arch with the base.

Step 2.
Add a Hue / Saturation / Hue / Saturation adjustment layer and set the Saturation / Saturation value to -100.

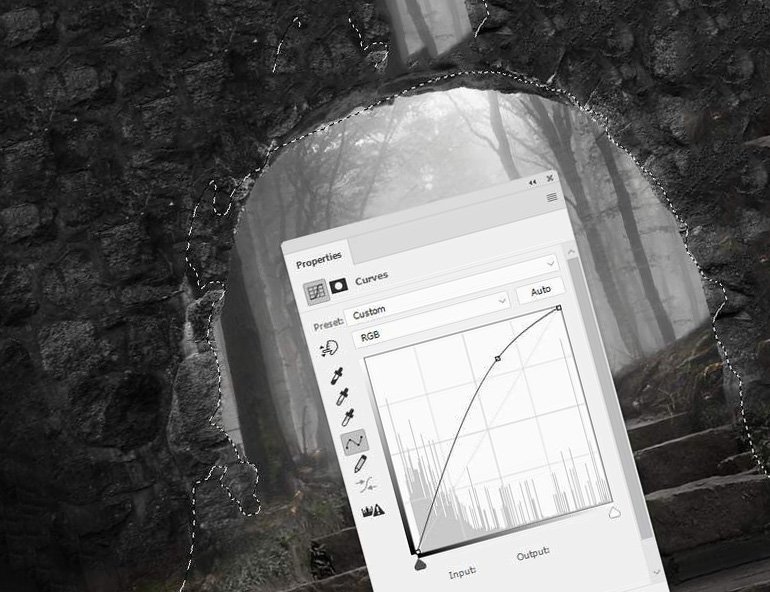
Step 3.
Add a Curves / Curves adjustment layer and darken the arch.
Using the mask layer mask the area of dark areas.

Step 4.
Add another Curves adjustment layer / Curves and brighten the arch.
On the mask of the adjustment layer mask the remaining area.
Step 5.
Add a new layer, set it to blend mode Overlay / Overlap, and fill type 50% gray.
Using the Dodge Tool / Clarifier Tool and the Burn Tool / Dimmer Tool (O), by setting the Range / Range to Midtones / Mid Tones, and the Exposure value / Exposure around 10-20% specify the bright and dark places. You can see the result on the screenshot below in the Normal mode / Normal and in the Overlay / Overlap mode.

