Helicopter Dragonfly on Mechanical Plant Build Pics #2
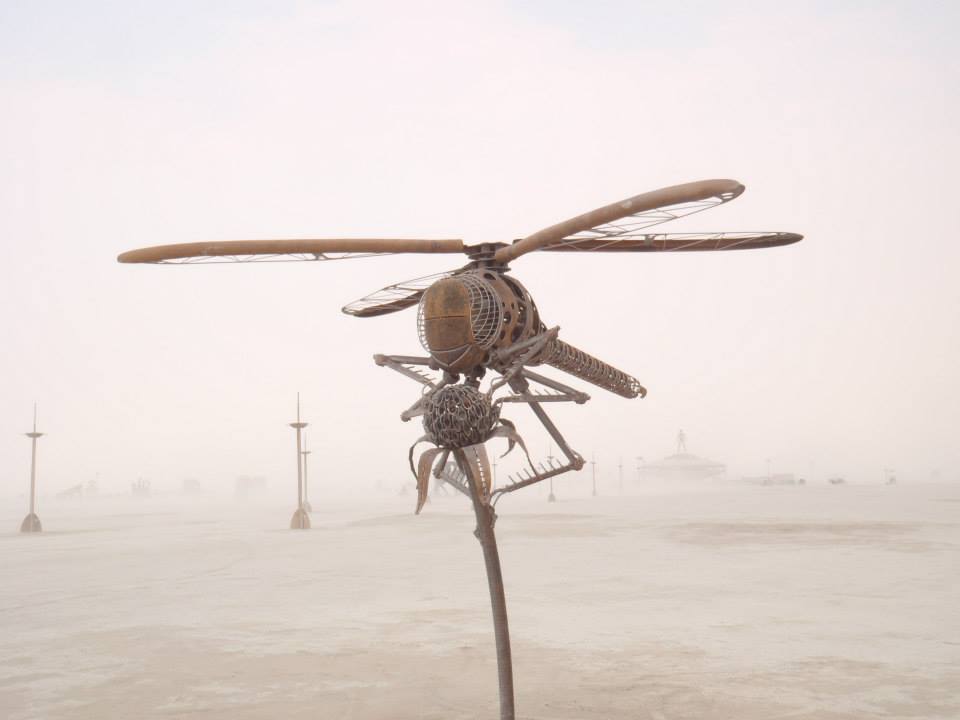
Greetings Fellow Humans,
Last time I wrote about the construction of my 2013 Burning Man honorarium sculpture "Helicopter Dragonfly on Mechanical Plant," I covered the plant, the legs, and the body mechanical parts. Today, I will pick up where I left off, and show you a little more about how the piece was made.
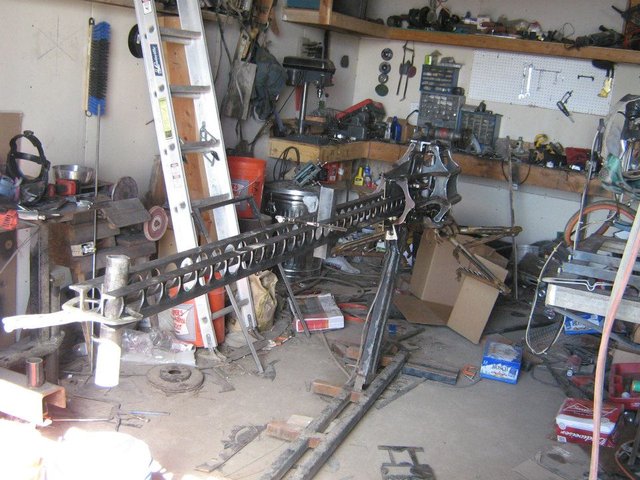
The tail frame was not a particularly complicated part, but it was a time consuming one. I had to cut 2.5 inch holes every 3 inches with a hole saw, which if you have used one on steel, you know is slow going, and it takes a lot of oil to keep the hole saw from burning up.
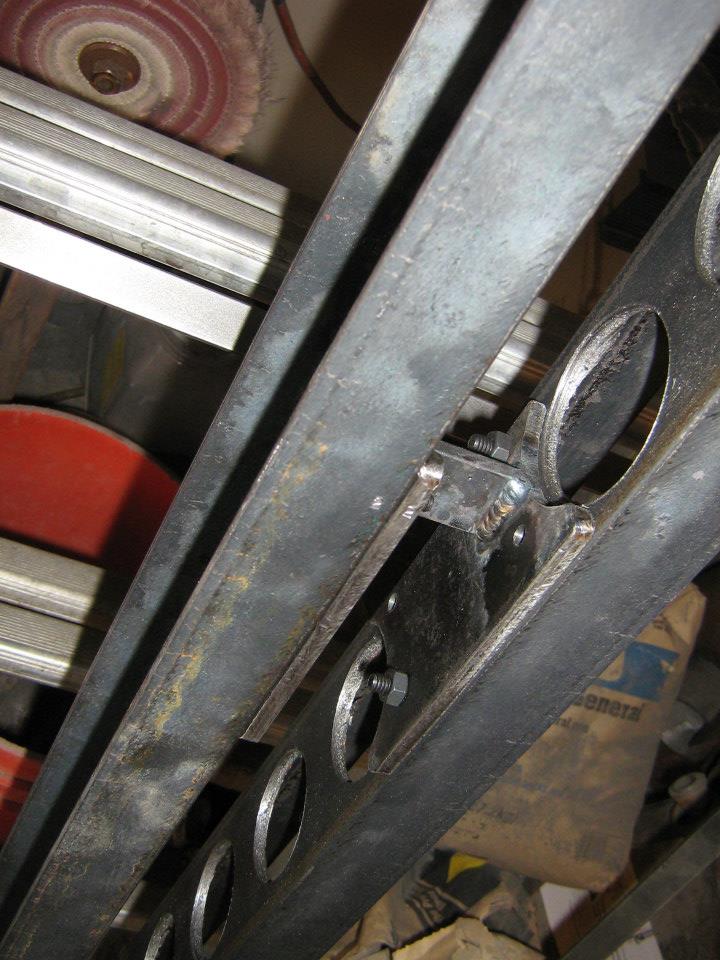
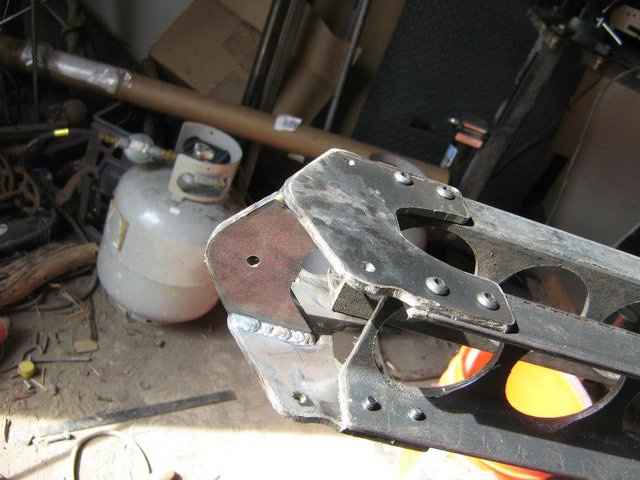
After the rails were drilled out, I made brackets to join them together. The middle brackets had to be positioned just right, since a system of levers needs to move inside of the rails.
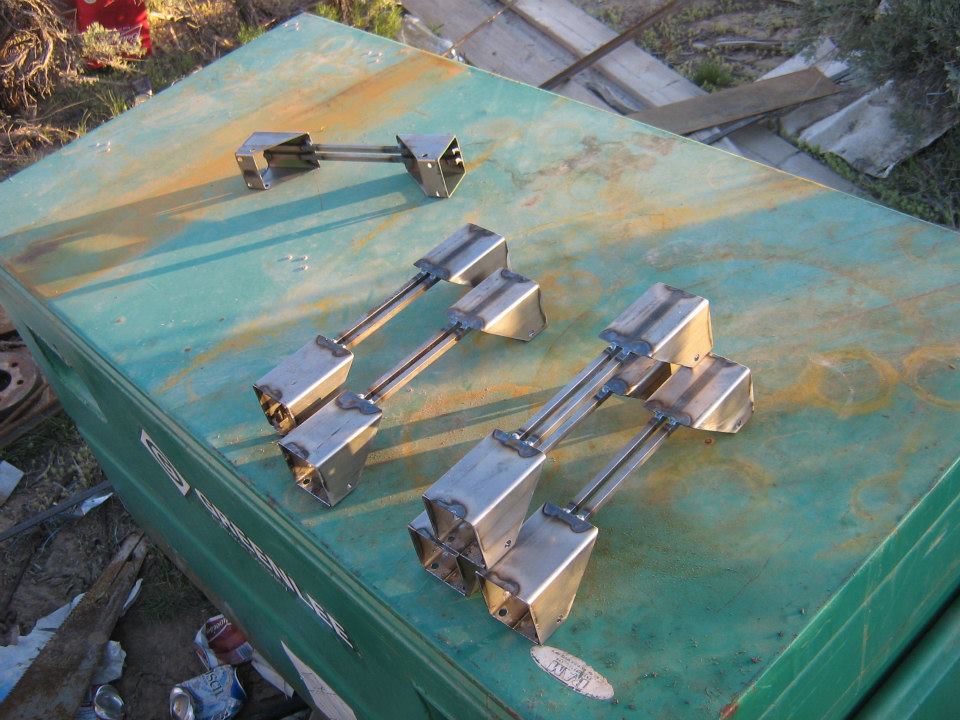
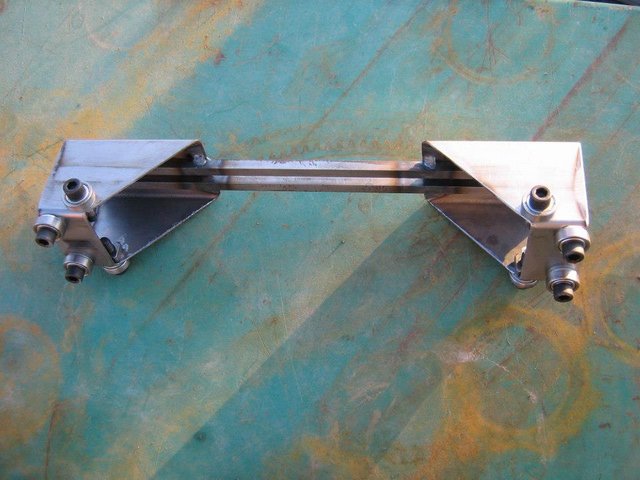
Each of these carts carries a tail segment, and rolls along the rails on the bearings.
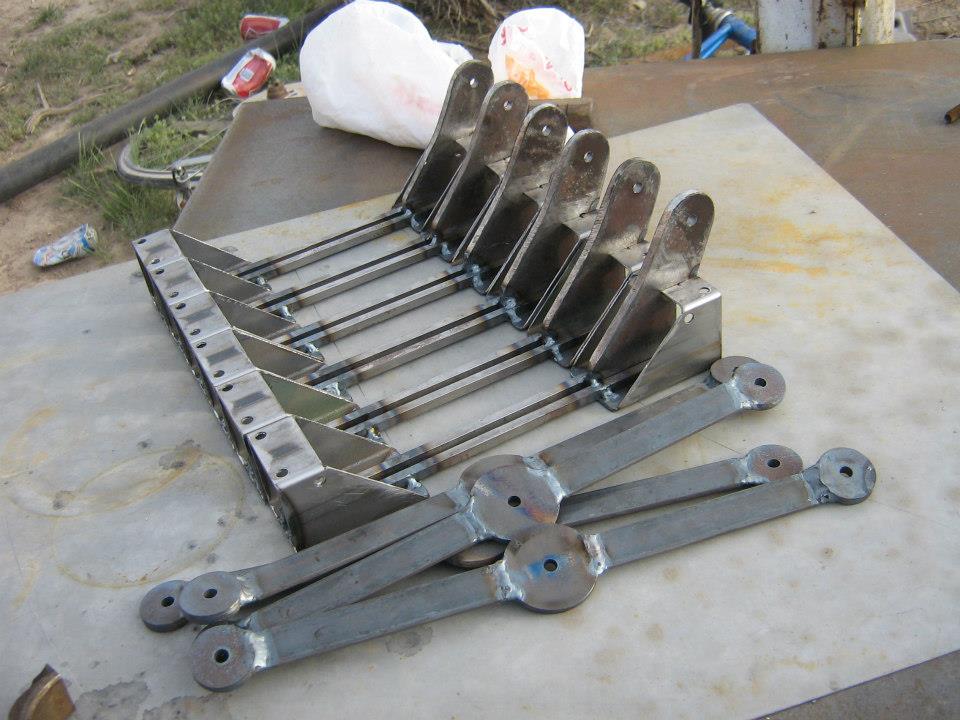
The levers I mentioned earlier keep the carts spaced evenly as the tail extends and contracts. The tongue on the carts supports the center hinge for it's corresponding lever set.
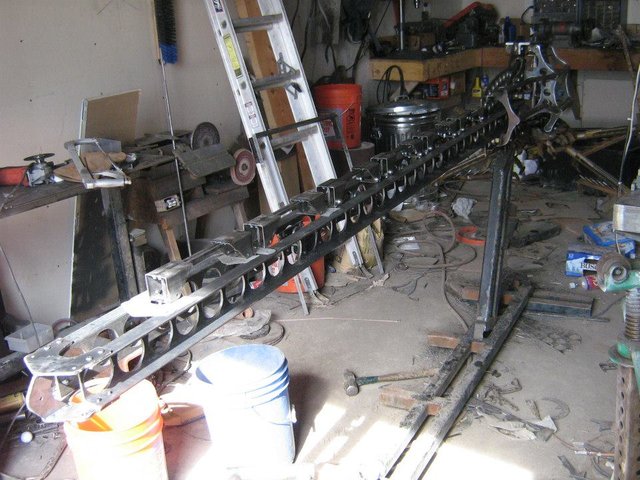
Here I am checking the spacing on the carts to make sure they fit as they should.
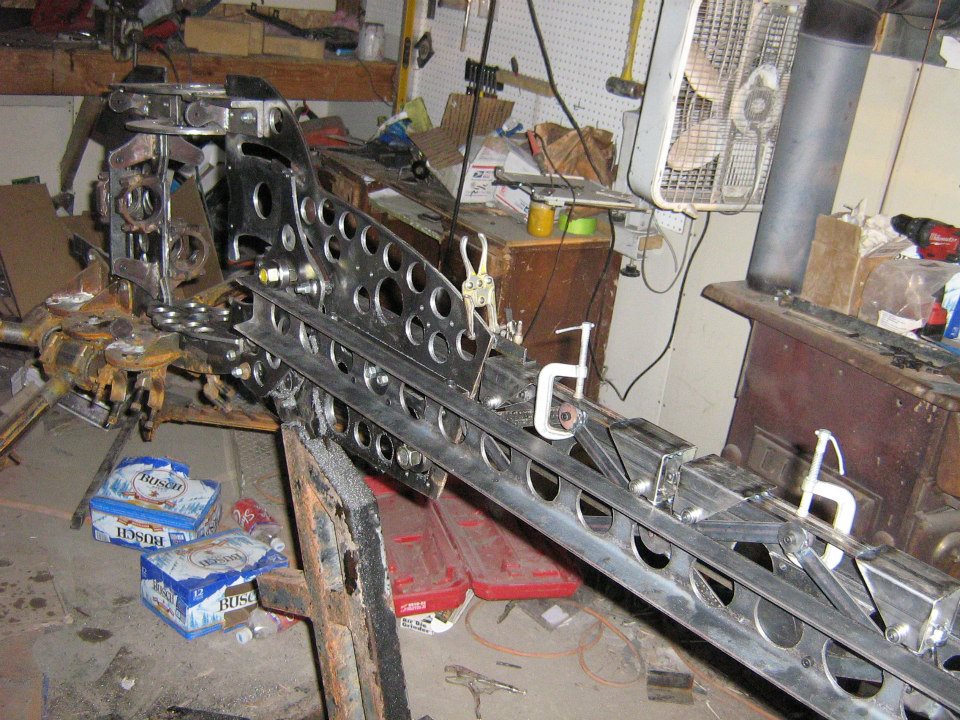
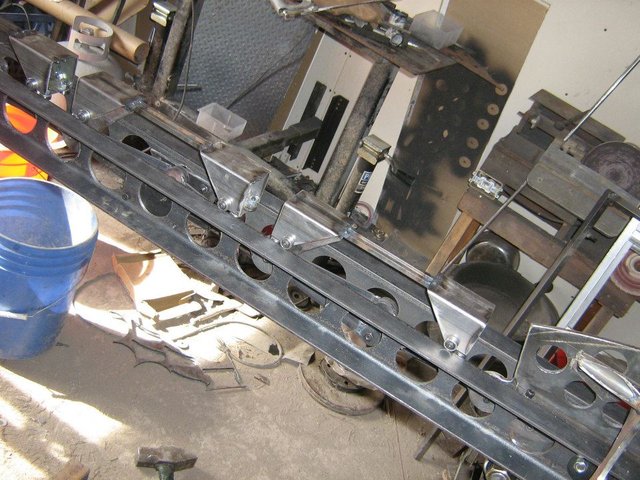
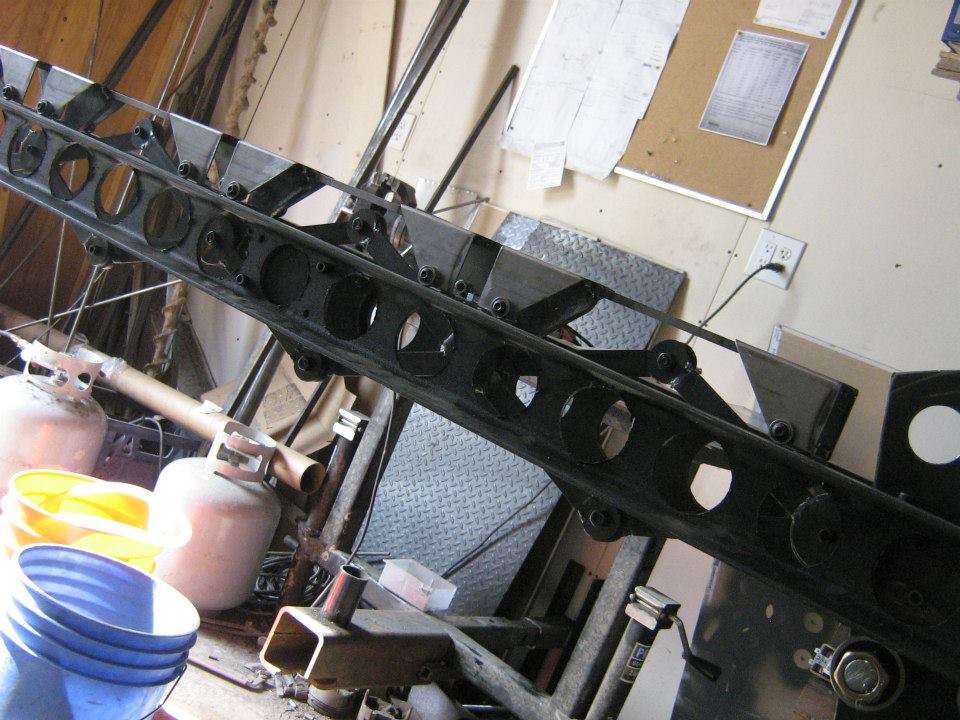
And here they are all linked together by the levers to test the movement.
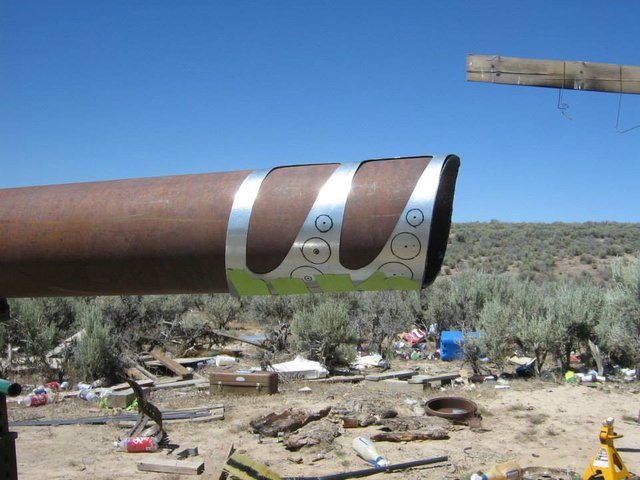
The tail segments are cut from a large pipe a friend found for me. I had to remove a lot of material to make them light enough for the tail to move easily. This sheet metal pattern was my guide so that they would all come out the same.
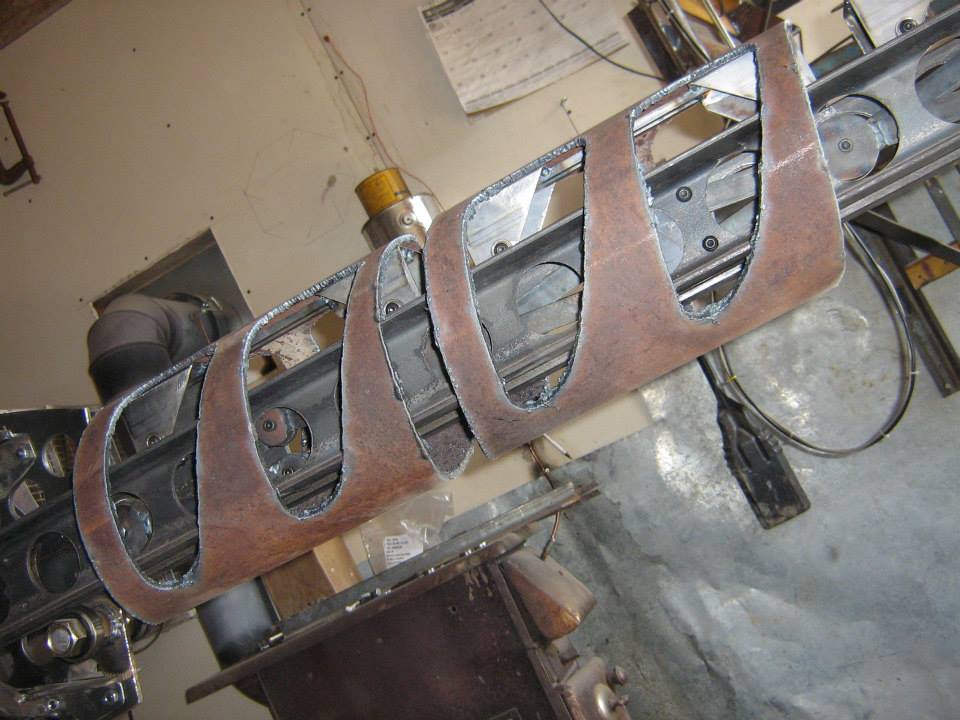
Here is a test fitting of some segments.
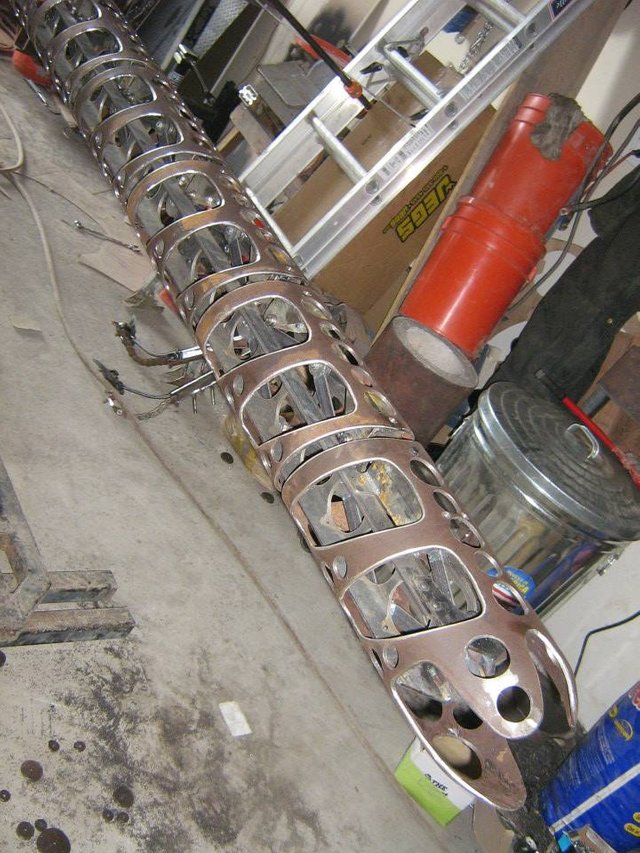
After much drilling and grinding, the completed segments are ready for patina.
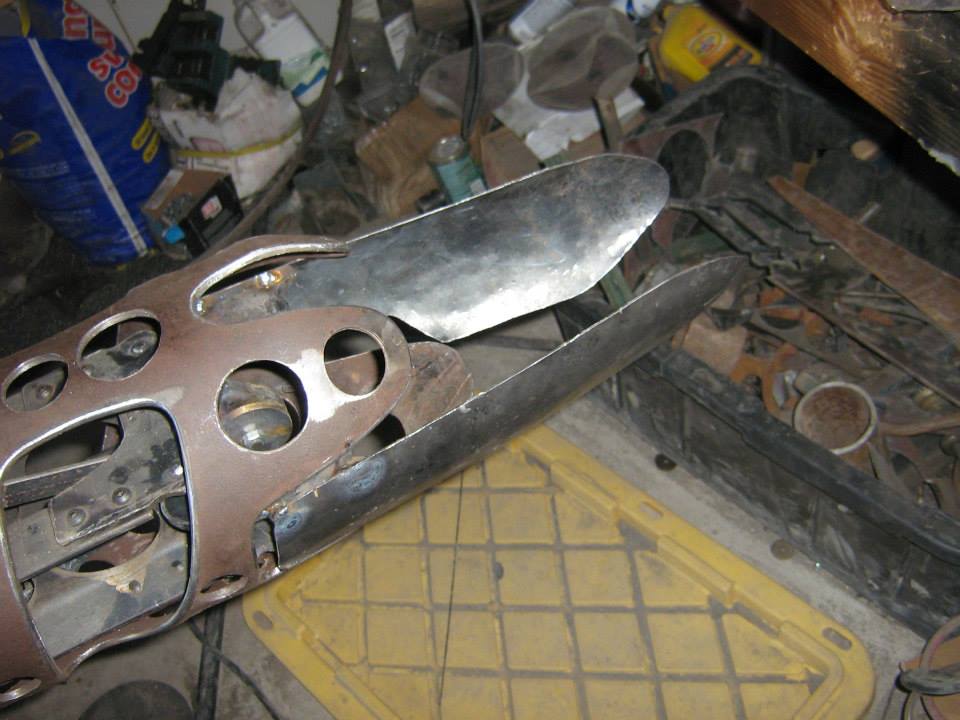
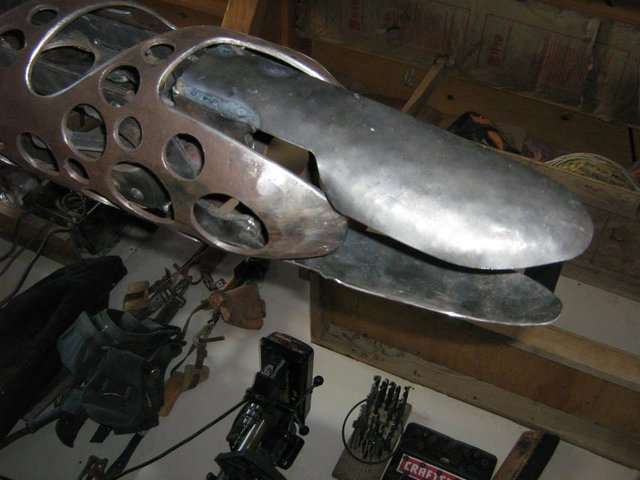
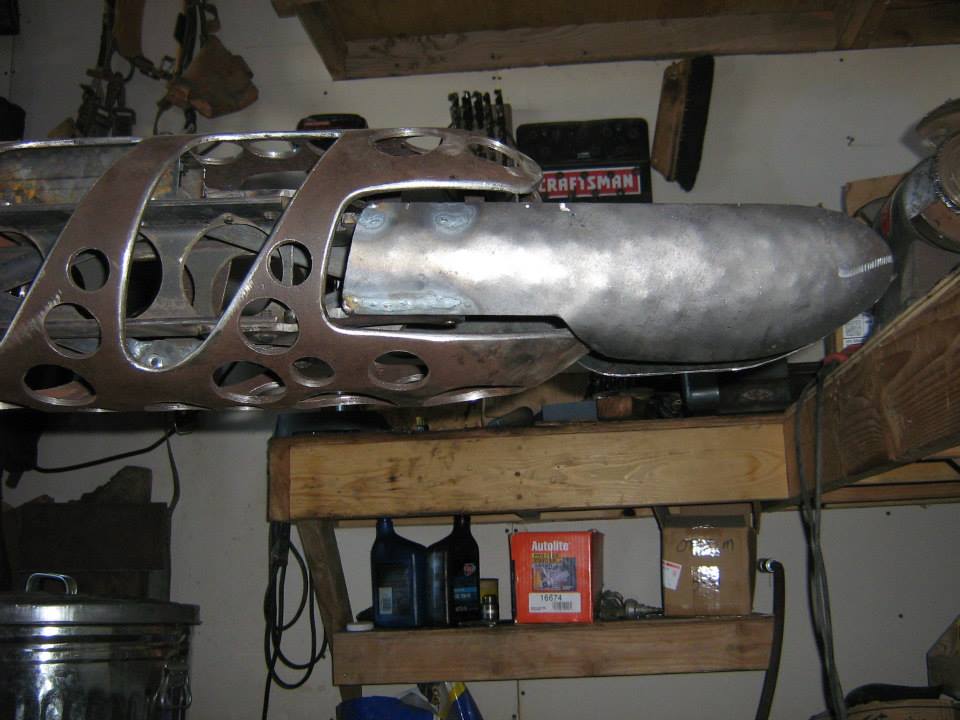
The tail flaps move in and out slightly as the tail extends and contracts.
Having the tail constructed, all I needed was some wings in order to test the main mechanical system. The wings had to be strong enough to support themselves, able to catch enough wind to power the sculpture, and be shaped in such a way that they still looked like wings. This was not as easy as it seems, since the aerodynamic effect they were supposed to produce is not at all like the aerodynamic effect they needed to LOOK like the produce.
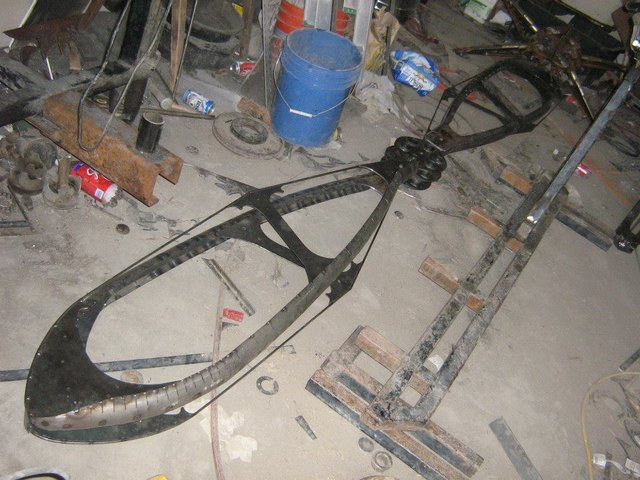
I formed the leading edge as a scoop from a thin guage steel tube. I cut the tube in half, then made slits along it's length in places that it needed to curve. Later I welded up the slits and sanded them smooth. The horizontal frame plates on the wings provide the outline for the appearance of a proper wing shape.
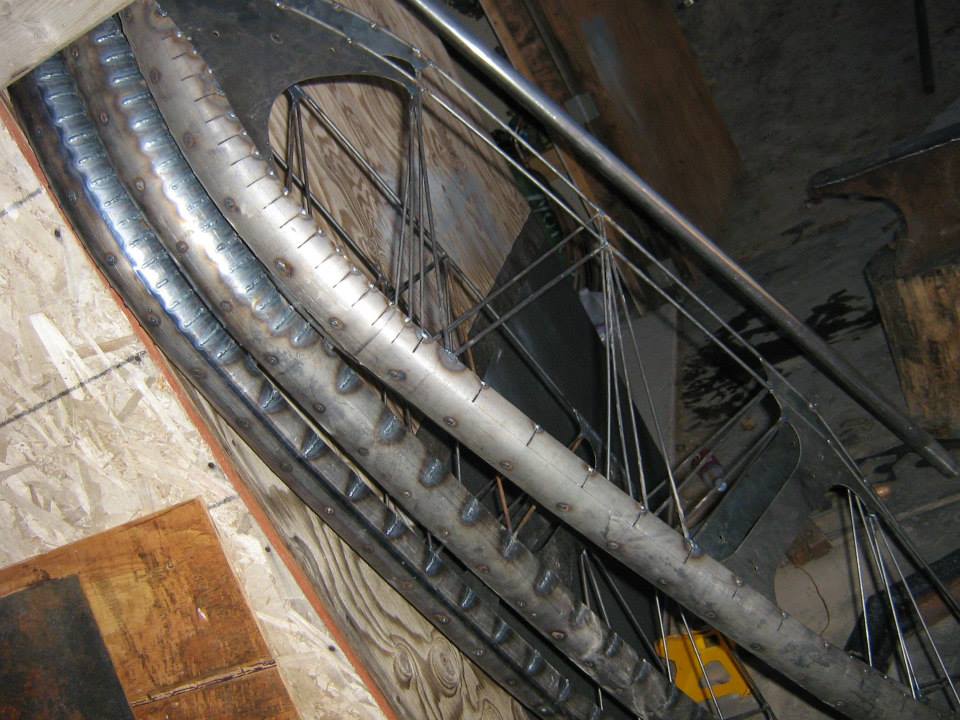
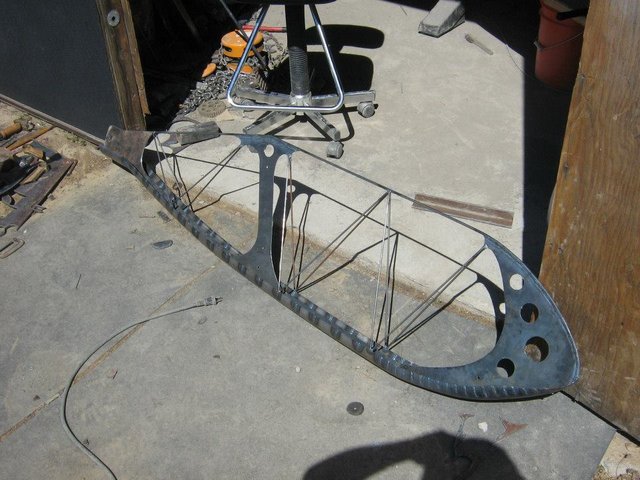
I then added trussing from thin round stock to stiffen the trailing edge of the wings so they would support themselves adequately.
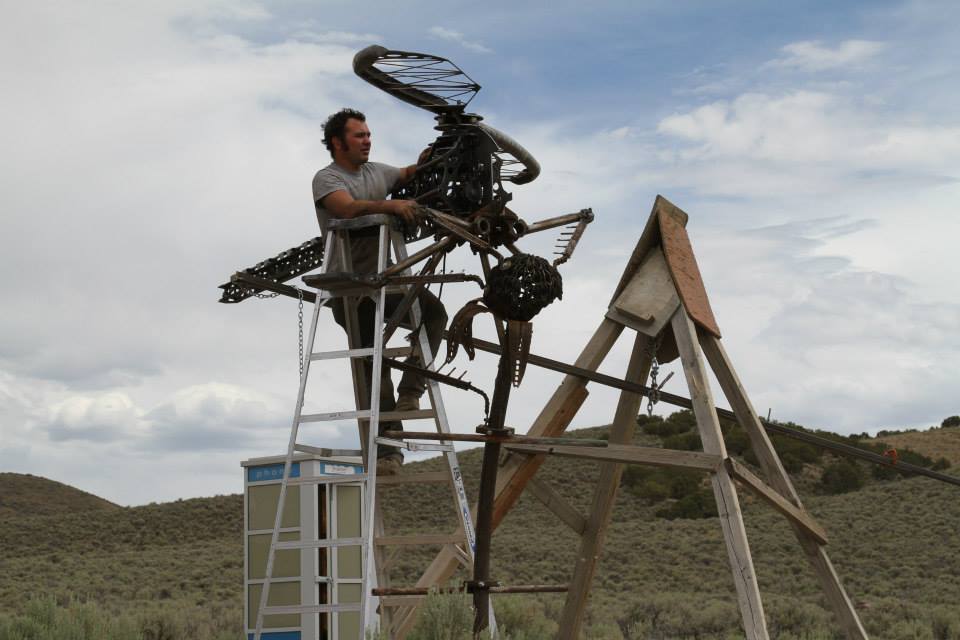
And here is a lovely photo of me putting the wings on for testing.
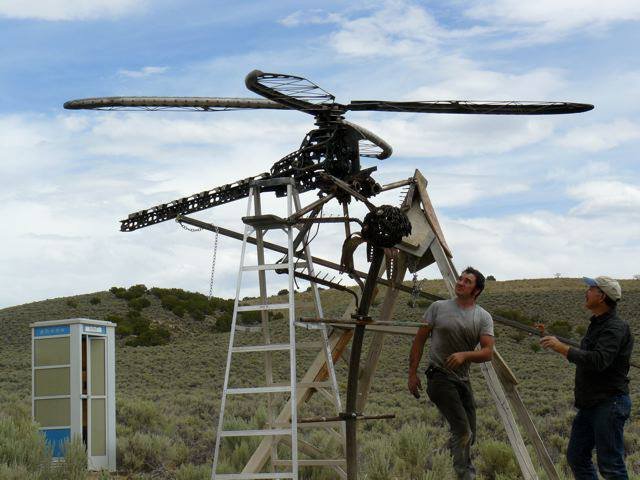
Ooh, look at Mr. Inspector Man, walking around like he knows what he is looking at.
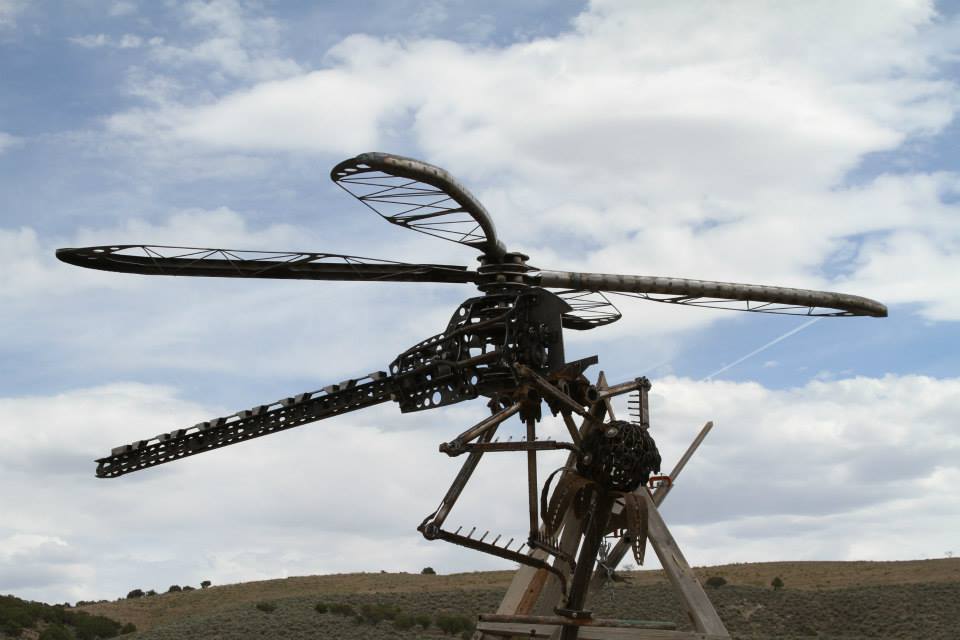
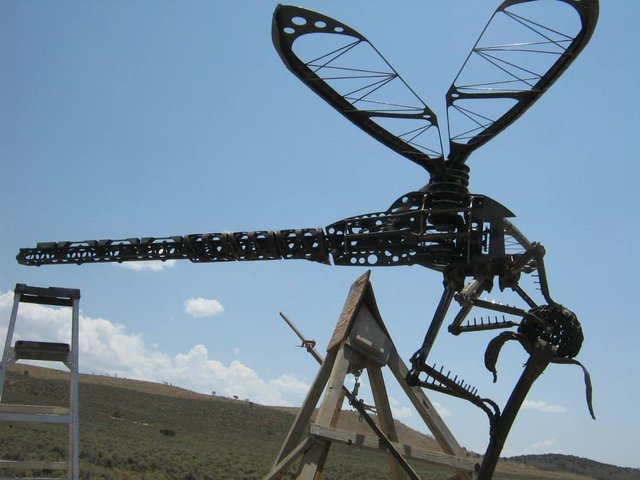
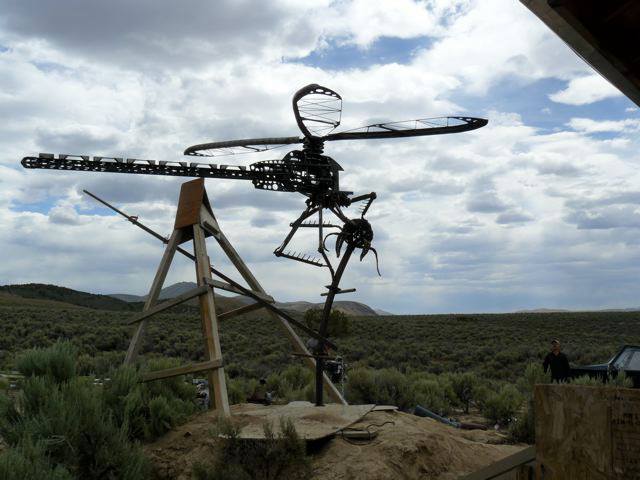
With my wings and tail in place I was ready for a mechanical test. Unfortunately I can not find any video of the test, even though I thought I had one. If there is sufficient interest, I will post part 3 of this series one of these days, which will cover the construction of the outer shell, mouth mechanics, and head. Part 1 can be found here: https://steemit.com/art/@captainyeeha/helicopter-dragonfly-on-mechanical-plant-build-pics-1
Thanks for reading!
Oh my, you made that?! Amazing. I've often wondered about the back story of these creations of Burning Man. Very cool. Thanks for bringing us behind the scenes.
Thanks, I am glad you liked it!
Sudah kami upvote yah.. :3
Congratulations, your post was discovered and featured by @OCD in its daily compilation 226!
You can follow @ocd – learn more about the project and see other Gems! We strive for transparency.
If you would like your posts to be resteemed by @ocd to reach a bigger audience, use the tag #ocd-resteem. You can read about it here.
@ocd now has a witness. You can vote for @ocd-witness with SteemConnect or on Steemit Witnesses to help support other undervalued authors!
Awesome! Thank you!