How to make a Logo Particles Effects using Adobe After Effects cc 2017
Today we're going to make Particle Logo Text in Adobe After Effects. If you missed my first tutorial you can check it out here.

You can follow the simple steps here
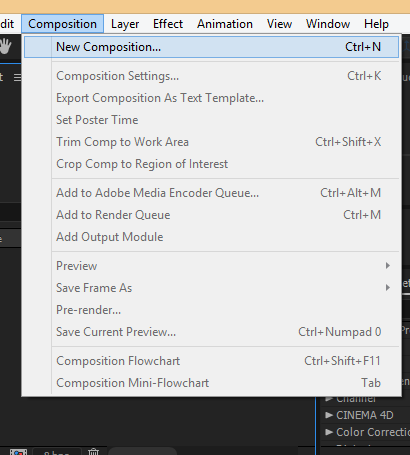
1st create a new composition just click Composition > New composition on the menu bar.
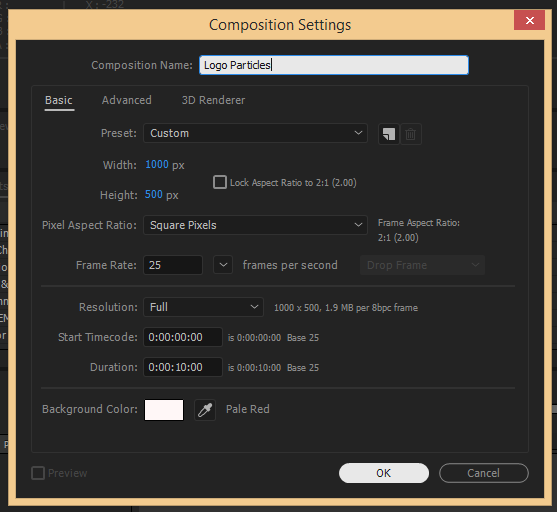
Set the settings of your new composition like this, you can name it any name you want. as for me i named it Logo Particles
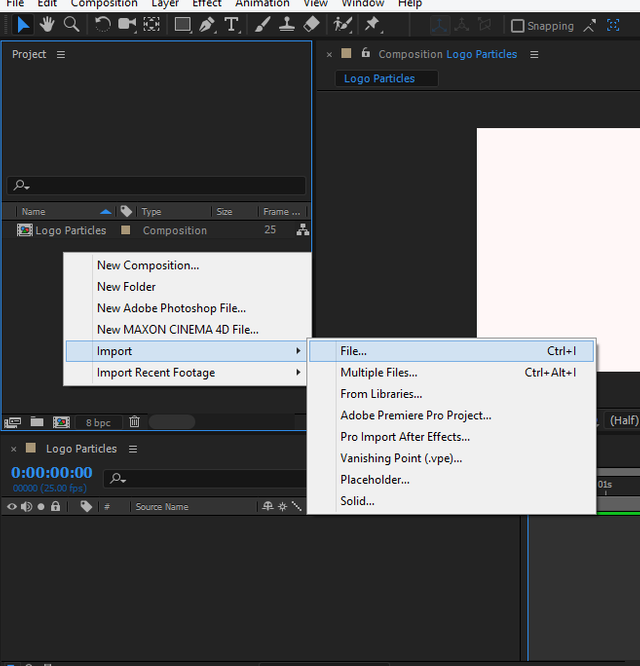
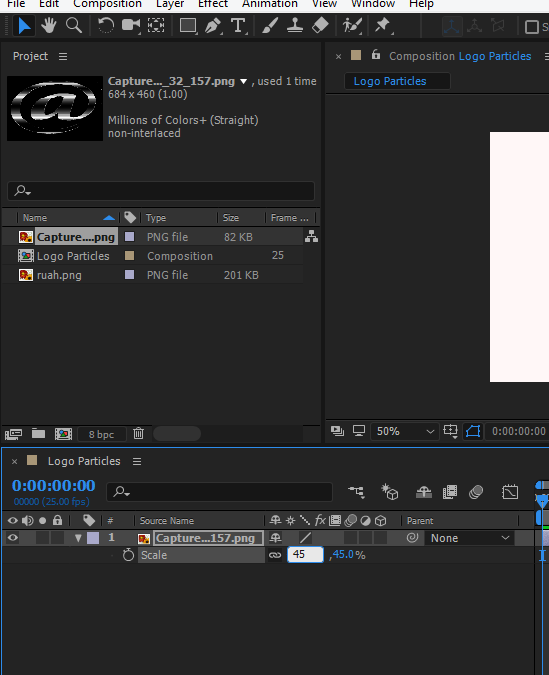
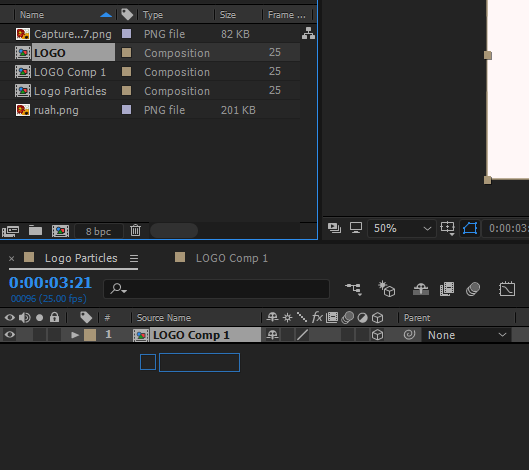
Now we are going to import our logo file on our project panel.
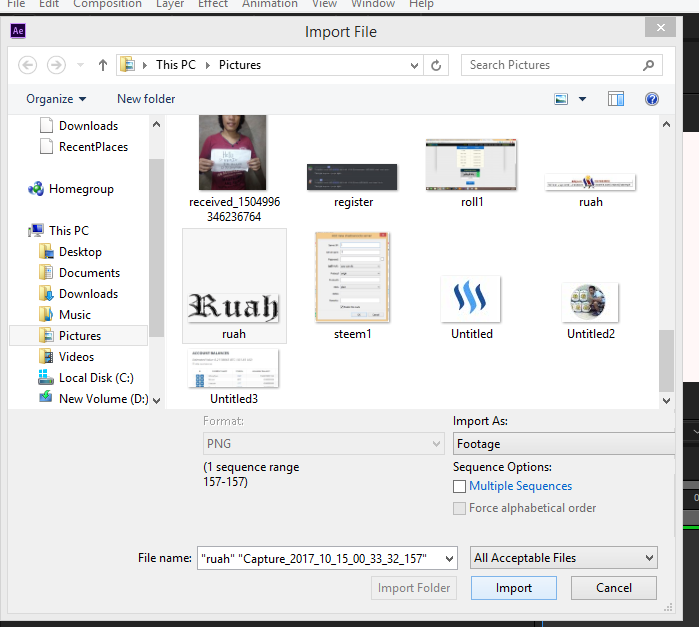
Select the files you want to import then click Import.
Drag the Logo and drop it down at the bottom panel of our after effects project select the logo and press "S" on your keyboard to show the scale option change it to 45,45
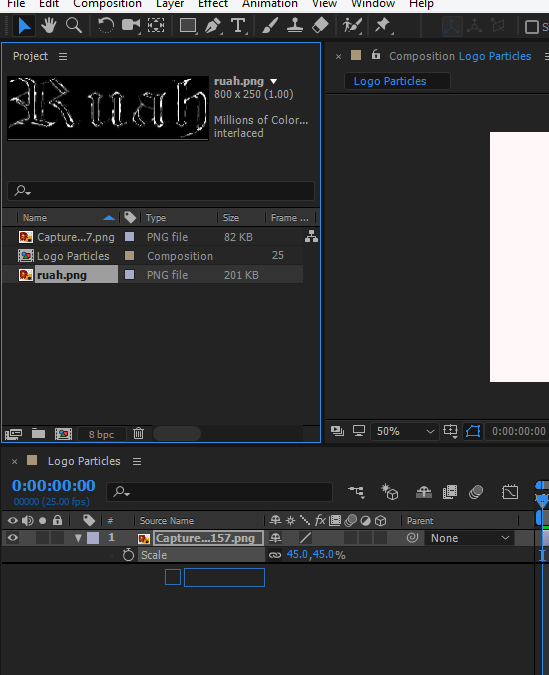
Drag your 2nd logo if you have one and do the same change on its scale until you are satisfied with the outcome.
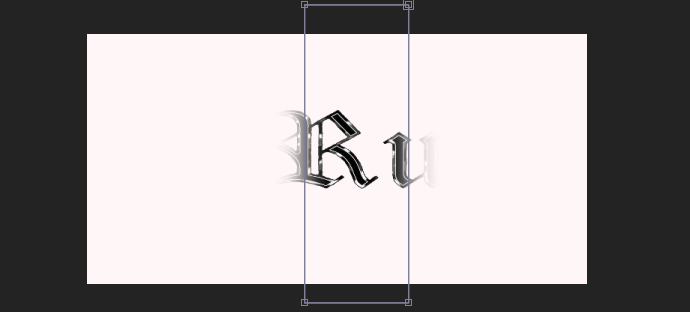
Arrange your logo at the center of our project's composition panel.
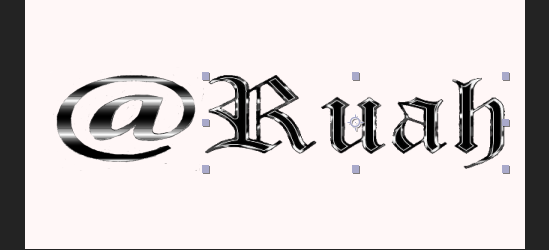
Select all the logo.
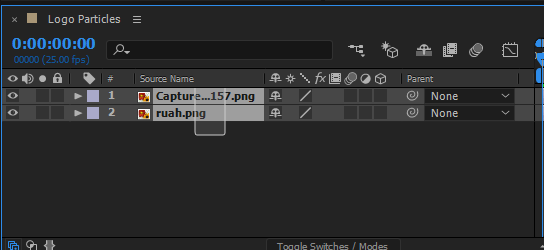
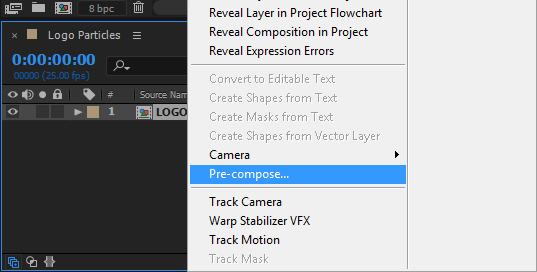
Right-click then click pre-composed

Follow this setting for your pre-composed project then click ok.
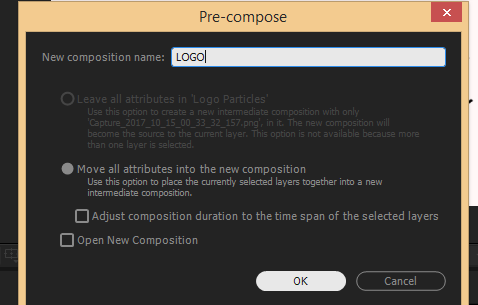
Pre-compose it again.
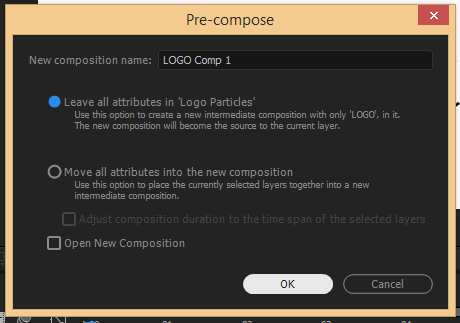
Click "leave all attributes' in 'Logo Particles'" then click ok.
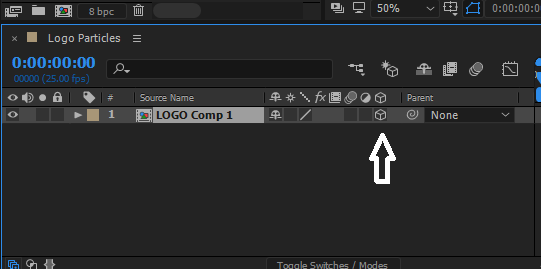
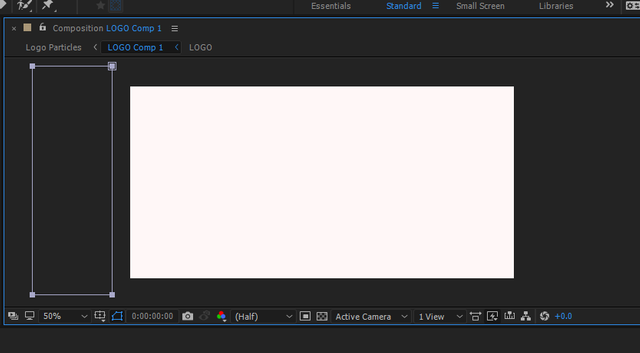
Click the 3D Layers then double click 'LOGO Comp 1'
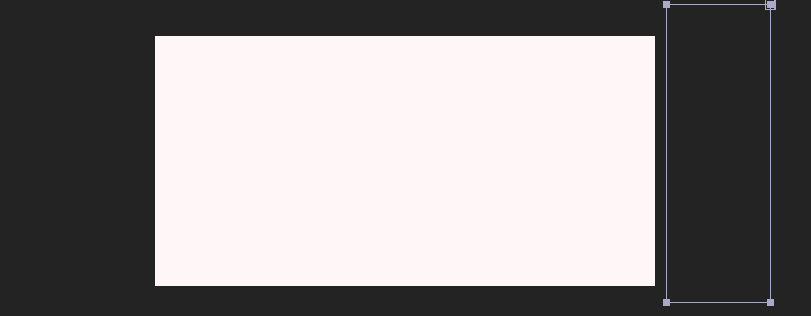
Click the rectangle shape on the tool bar.

Draw a rectangular shape outside our project.
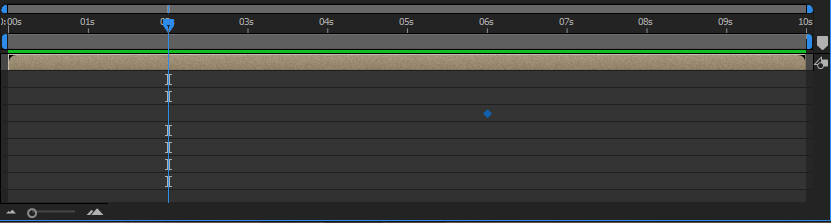
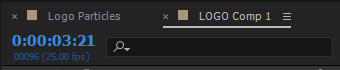
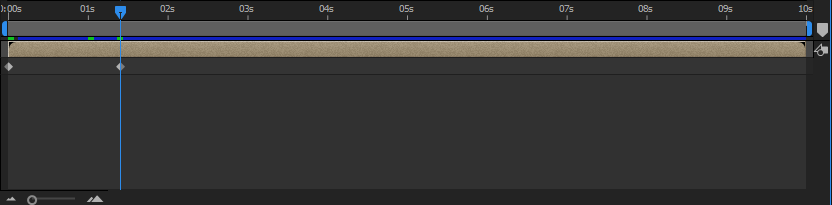
Go to time ruler and set it to 6 seconds

Enable the Time-Vary of Mask Path by clicking it.

Go back to time ruler and set it to 2 seconds
On the Composition panel change the position of the rectangle, just follow the image shown below.
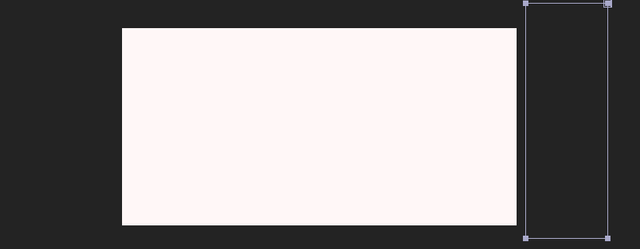
Go back to time ruler and change the settings to 4 seconds
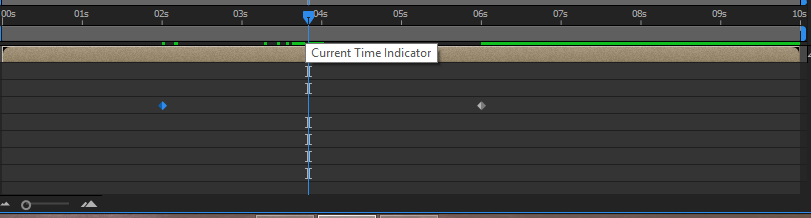
Make sure you have the same output as the image below

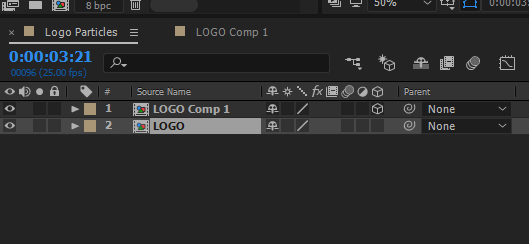
Click Logo Particles
Drag the LOGO Composition at the bottom of LOGO comp 1
Make sure you've selected 'LOGO' as active then follow the next step.
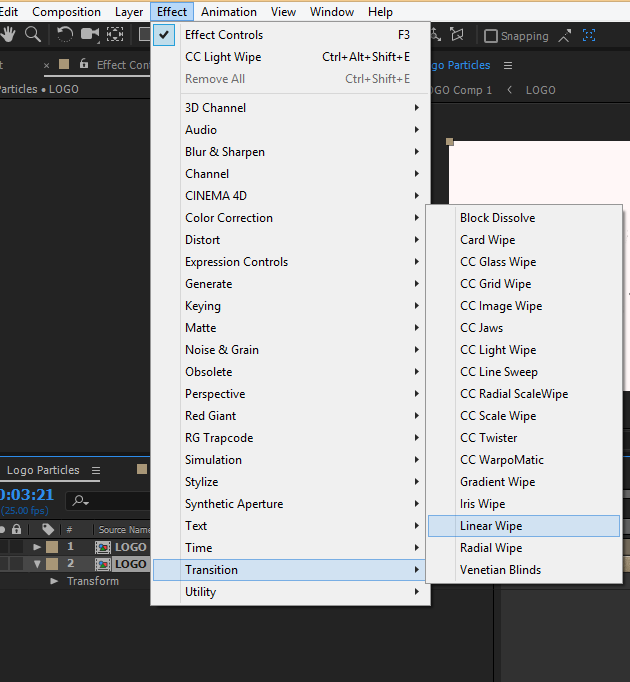
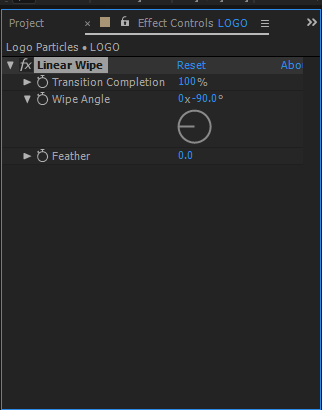
On the menu bar Click Effect> Transition> Linear Wipe.
Set Transition Completion to 100% and Wipe Angle to 0x,-90.
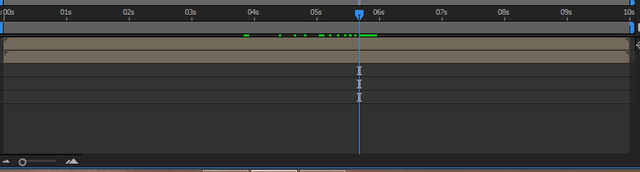
Go to Time ruler and follow the settings below.
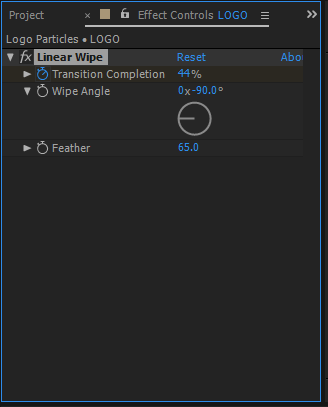
Click the clock like icon of Transition Completion and set the Feather to 65.
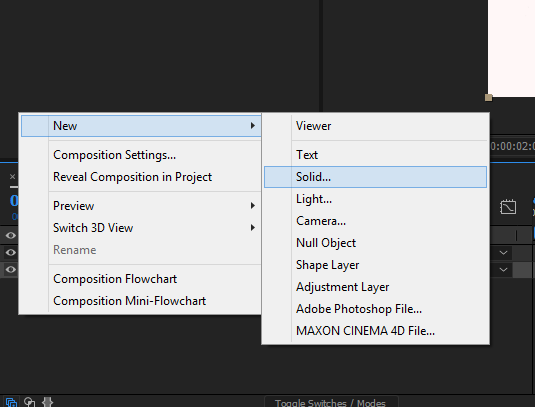
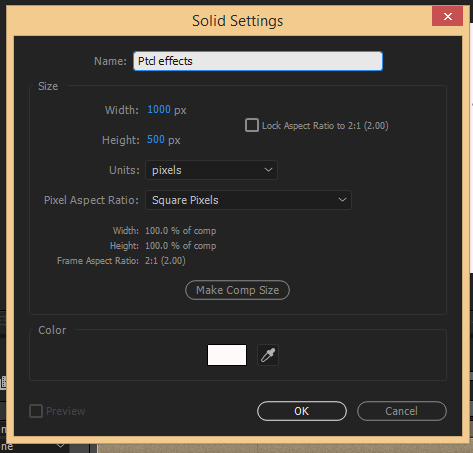
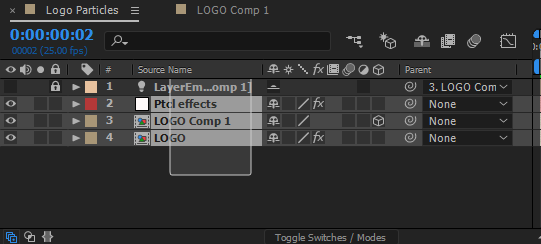
Right-click on the composition panel and make a new solid
I named my new solid as Ptcl effects. Follow the settings bellow and click ok.
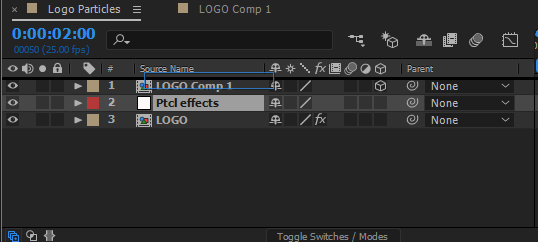
Make sure our new solid is in the top.
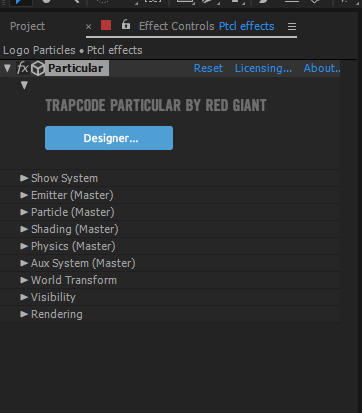
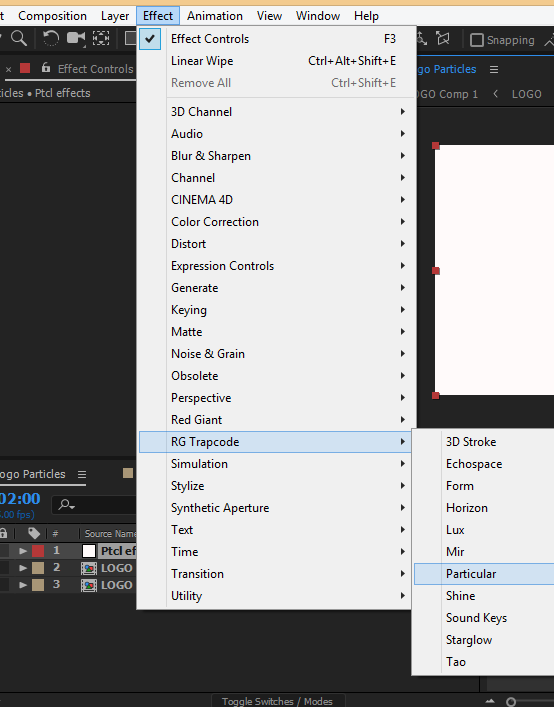
Now go to menu bar and click effect> RG trapcode> Particular.

Go to the particular options
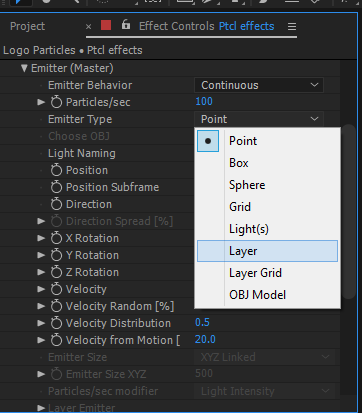
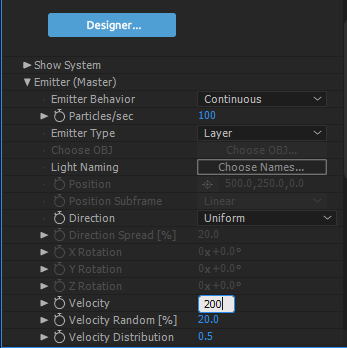
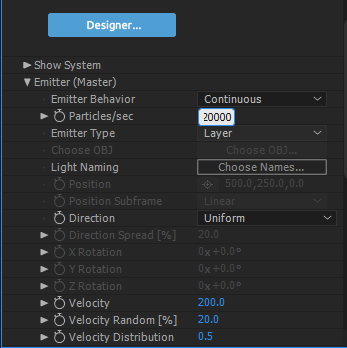
Click Emitter (Master) then follow this Settings:
Set Emitter Type to "Layer"
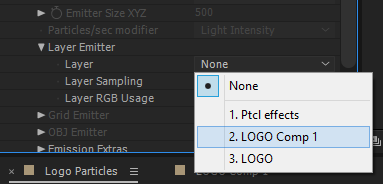
Go to Layer Emitter > Layer, change the layer type from none to LOGO comp1
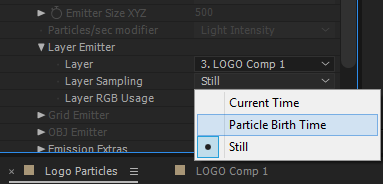
Change the Layer Sampling from still to Particle Birth Time
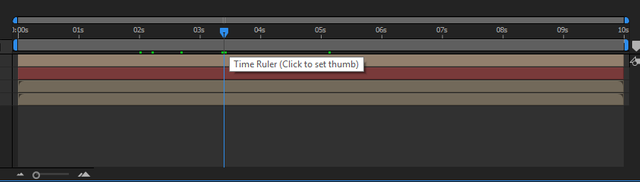
** Go to Time Ruler and change it to 3.5 seconds**
Back to Emitter (Master) change the Velocity to 200
Change the Particles/sec to 20,000
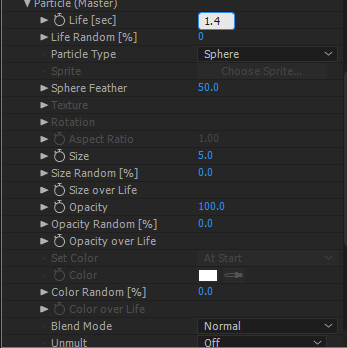
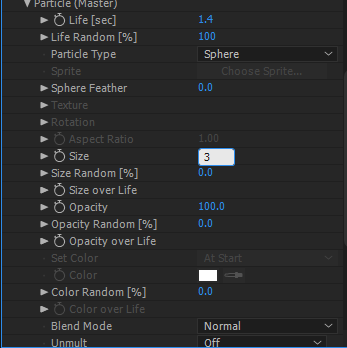
On Particle (Master) settings change the Life[sec] of our particles to 1.4
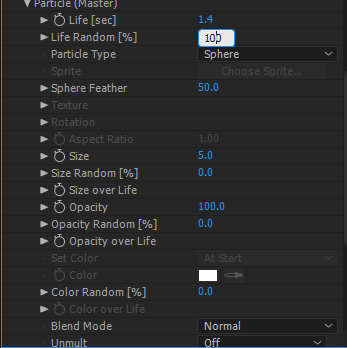
Change the Life Random to 100%
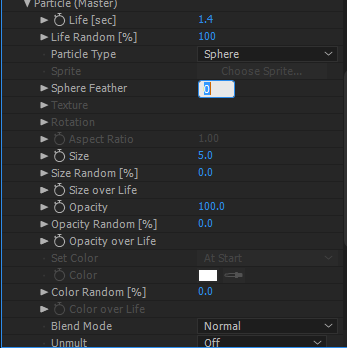
Change the Sphere Feather to 0
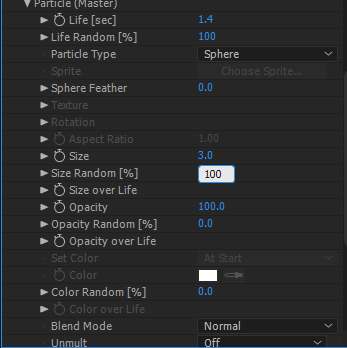
Change the size to 3
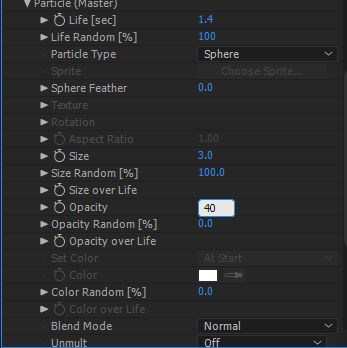
Change the size random to 100
Change the Opacity to 40
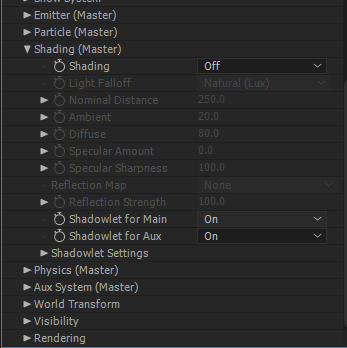
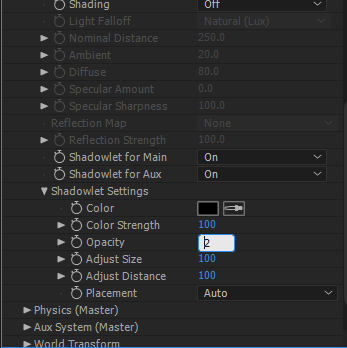
On the Shading (Master) settings on both of Shadwlet for Main and Shadowlet for Aux settings.
On Shadowlet Settings Change the Opacity to 2
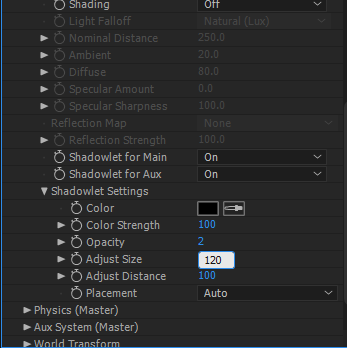
Change the Adjust Size to 120.
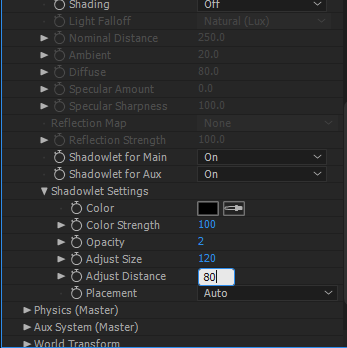
Change Adjust Distance to 80.
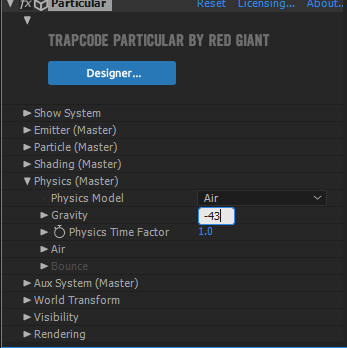
Go to Physics (Master) and change the Gravity to -43
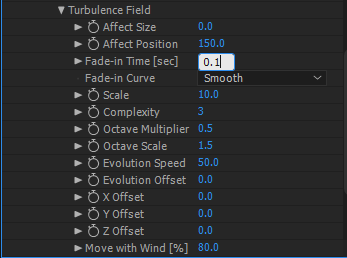
Now Go to Turbulence Field and change the Affect Position to 150.

Change the Fade-in Time[sec] to 0.1
Go to our Project tile then select them all, right-click and pre-composed name it Final
Click the Final named Composition and press T on your keyboard to show Opacity settings.
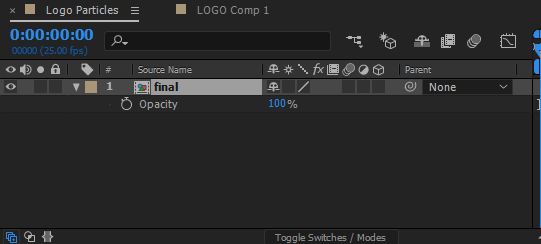
Click the Time like icon on Opacity settings and change it to 0
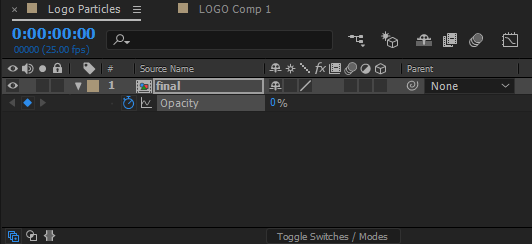
Go to Time Ruler and set it to 1.5 seconds.
Go back to Opacity settings of our Final Composition and change it to 100.

1st create a new composition just click Composition > New composition on the menu bar.

Set the settings of your new composition like this, you can name it any name you want. as for me i named it Logo Particles

Now we are going to import our logo file on our project panel.

Select the files you want to import then click Import.

Drag the Logo and drop it down at the bottom panel of our after effects project select the logo and press "S" on your keyboard to show the scale option change it to 45,45

Drag your 2nd logo if you have one and do the same change on its scale until you are satisfied with the outcome.

Arrange your logo at the center of our project's composition panel.

Select all the logo.

Right-click then click pre-composed

Follow this setting for your pre-composed project then click ok.

Pre-compose it again.

Click "leave all attributes' in 'Logo Particles'" then click ok.

Click the 3D Layers then double click 'LOGO Comp 1'

Click the rectangle shape on the tool bar.

Draw a rectangular shape outside our project.

Go to time ruler and set it to 6 seconds

Enable the Time-Vary of Mask Path by clicking it.

Go back to time ruler and set it to 2 seconds

On the Composition panel change the position of the rectangle, just follow the image shown below.
Go back to time ruler and change the settings to 4 seconds

Make sure you have the same output as the image below
Click Logo Particles

Drag the LOGO Composition at the bottom of LOGO comp 1

Make sure you've selected 'LOGO' as active then follow the next step.

On the menu bar Click Effect> Transition> Linear Wipe.

Set Transition Completion to 100% and Wipe Angle to 0x,-90.

Go to Time ruler and follow the settings below.

Click the clock like icon of Transition Completion and set the Feather to 65.

Right-click on the composition panel and make a new solid

I named my new solid as Ptcl effects. Follow the settings bellow and click ok.

Make sure our new solid is in the top.

Now go to menu bar and click effect> RG trapcode> Particular.
Go to the particular options

Click Emitter (Master) then follow this Settings:
Set Emitter Type to "Layer"

Go to Layer Emitter > Layer, change the layer type from none to LOGO comp1

Change the Layer Sampling from still to Particle Birth Time

** Go to Time Ruler and change it to 3.5 seconds**

Back to Emitter (Master) change the Velocity to 200

Change the Particles/sec to 20,000

On Particle (Master) settings change the Life[sec] of our particles to 1.4

Change the Life Random to 100%

Change the Sphere Feather to 0

Change the size to 3

Change the size random to 100

Change the Opacity to 40

On the Shading (Master) settings on both of Shadwlet for Main and Shadowlet for Aux settings.

On Shadowlet Settings Change the Opacity to 2

Change the Adjust Size to 120.

Change Adjust Distance to 80.

Go to Physics (Master) and change the Gravity to -43

Now Go to Turbulence Field and change the Affect Position to 150.

Change the Fade-in Time[sec] to 0.1

Go to our Project tile then select them all, right-click and pre-composed name it Final

Click the Final named Composition and press T on your keyboard to show Opacity settings.

Click the Time like icon on Opacity settings and change it to 0

Go to Time Ruler and set it to 1.5 seconds.

Go back to Opacity settings of our Final Composition and change it to 100.

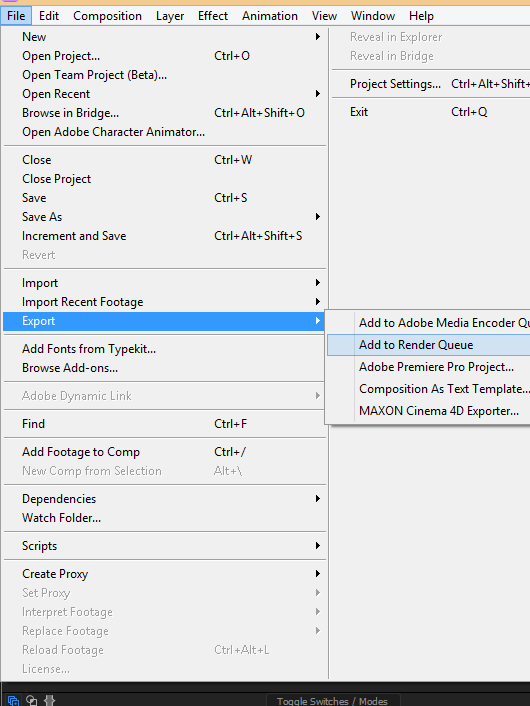
Final Step Click File> Import > Render to queue on the menu bar.
Click Render on the right side. Then wait for it to finish. Congrats! We are now done with our Logo Particles. You can now go and take a look at the folder which you've set as your destination folder.


Really nice tutorial. :)
thanks ate @zararina :)
@minnowpond1 has voted on behalf of @minnowpond. If you would like to recieve upvotes from minnowponds team on all your posts, simply FOLLOW @minnowpond.
As a follower of @followforupvotes this post has been randomly selected and upvoted! Enjoy your upvote and have a great day!
Congratulations @ruah! You have completed some achievement on Steemit and have been rewarded with new badge(s) :
Click on any badge to view your own Board of Honor on SteemitBoard.
For more information about SteemitBoard, click here
If you no longer want to receive notifications, reply to this comment with the word
STOPThis post was resteemed by @resteembot!
Good Luck!
Curious? Check out:
The @resteembot users are a small but growing community.
Check out the other resteemed posts in resteembot's feed.
Some of them are truly great.
Congratulations! This post has been upvoted from the communal account, @minnowsupport, by Ruah from the Minnow Support Project. It's a witness project run by aggroed, ausbitbank, teamsteem, theprophet0, someguy123, neoxian, followbtcnews/crimsonclad, and netuoso. The goal is to help Steemit grow by supporting Minnows and creating a social network. Please find us in the Peace, Abundance, and Liberty Network (PALnet) Discord Channel. It's a completely public and open space to all members of the Steemit community who voluntarily choose to be there.
nice post
thanks :) :)
Great . Very good explicatión
thanks @crypto-success :)
pag may time ako gagawa ako nito!
@junebride gawa ka tapos ipost mo like ni sir @flamered gumawa sya ng same ng sa tutorial ko mas maganda ang kinalabasan ng sa kanya.
Good work :D