Pencil sketching of Modern Cooking
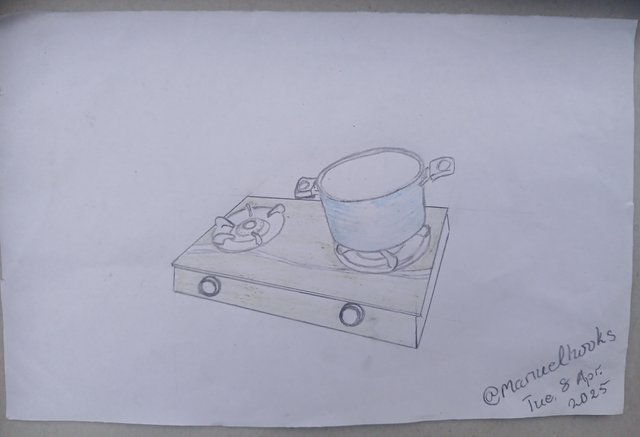
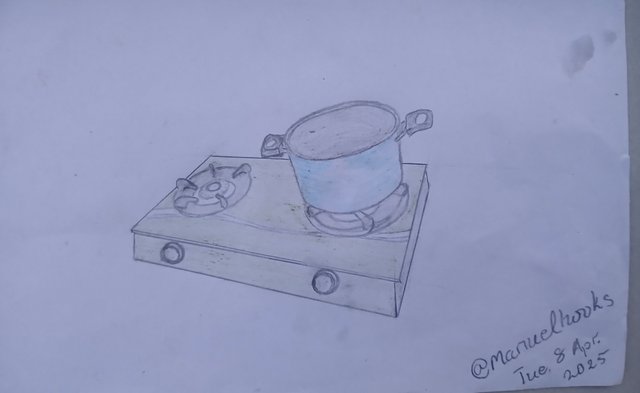
Drawing Some Model Cooktensils.
The African art of cooking has put in a lot of resistance to preserve the use of its utensils; the nature of our cooking pots and fireplaces, using grinding stones or mortars instead of blenders, have been passed down through generations, regardless of the fact that it required a lot of time and effort.
Slowly but steadily, with all its advantages, the modern cooking utensils have taken over the local kitchens. Gas burners have taken over wood-powered fireplaces, with nonstick pots replacing our earthenware pots. Some of us believe they added some natural ingredients to our cooking, but modern cooks love the gas and nonstick pot combo any time. Some local food will only have its complete flavour when the smoke from the fireplace has infused itself in the dish, adding that smoky flavour to it.
You really can't get that flavour from a gas-powered burner.
While we celebrate the victory of modern "cooktensils" our taste buds still crave for the good old days.
| What is needed for the drawing |
|---|
To draw a gas burner and pot, I needed the materials listed in the table below.
| Item | Qty | Description |
|---|---|---|
| A Guide | 1 | To look and draw |
| Galaxy A15 | 1 | Capturing the steps |
| An Eraser | 1 | Cleaning errors |
| Plain Paper | 1 | used as a canvas |
| HB/2 Pencil | 1 | For sketching |
| Crayons | 1 pack | Colouring |
| Procedure |
|---|
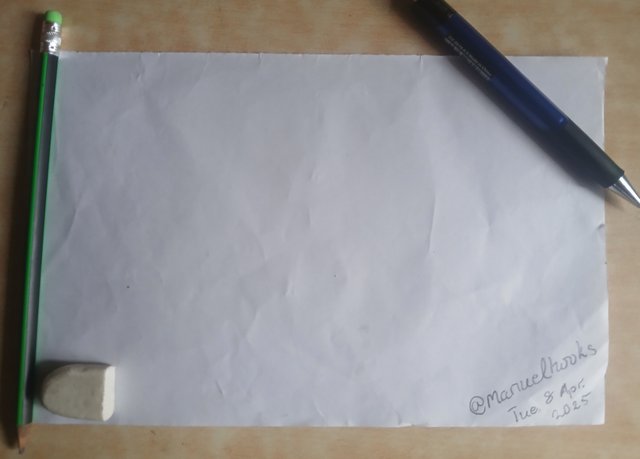
Step 1 [Preparing the Canvas]
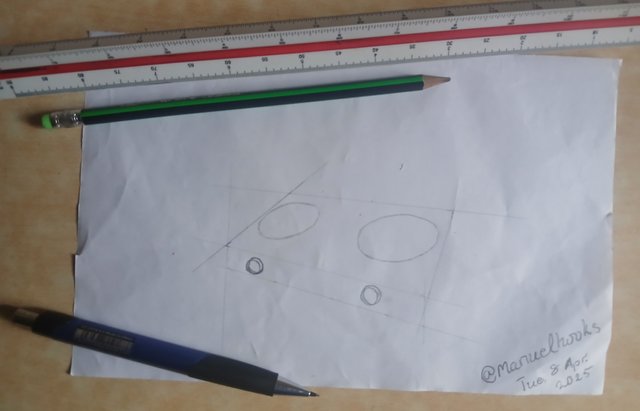
Here is my prepared drawing paper, cut and ready. My username and today's date being 8th April 2025 at the bottom right corner.
Step 2
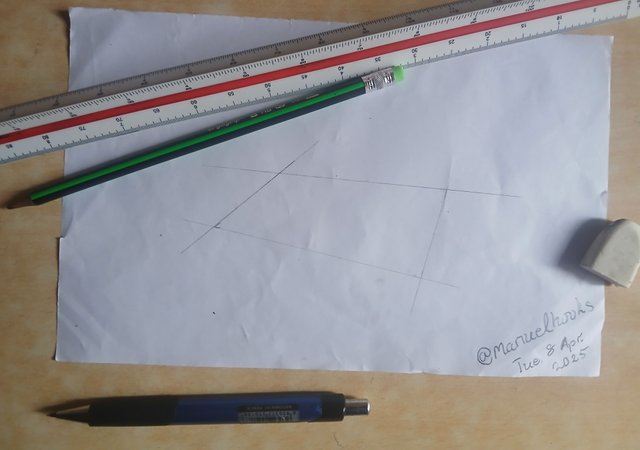
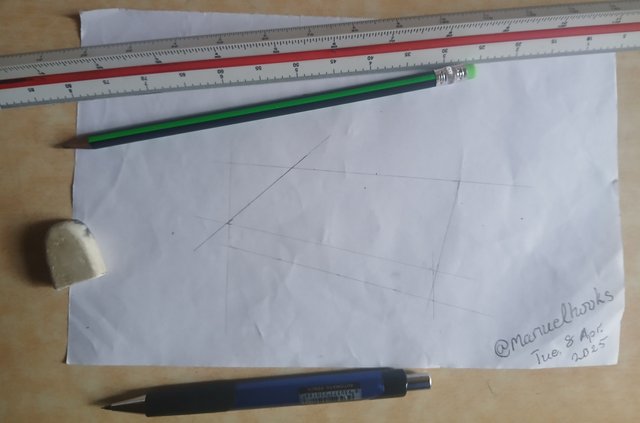
I had to start the drawing with construction guidelines for perspective and effective foreshadowing. The main outline here is the rectangular burner top.
At this point I am adding guidelines for a 3rd dimension to the drawing to make it more realistic
Step 3
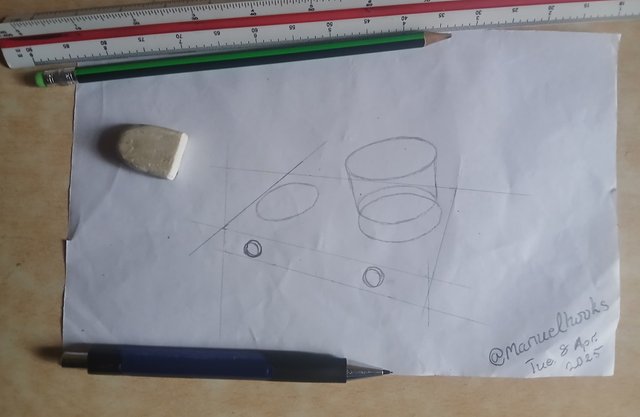
I have now added 4 elliptical shapes, two for the controls by the side and the two larger size elliptical shapes on top for the cooking areas.
Two more elliptical shapes connected with two vertical lines form the framework for the pot on the burner.
Step 4[Removing Excess Lines]
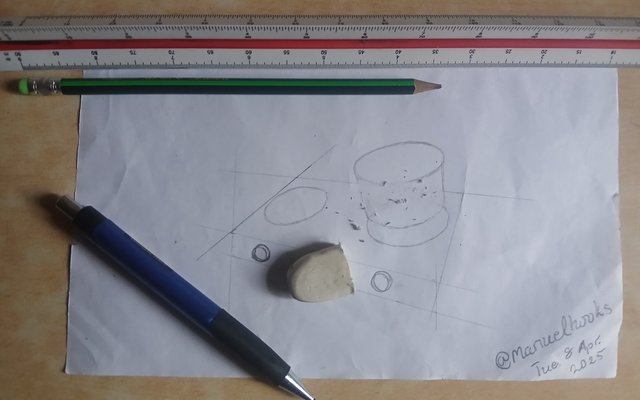
Erasing excess parts of the guidelines from the drawing was trckish. I just had to make sure I did not erase the useful sections of the guidelines.
Step 5
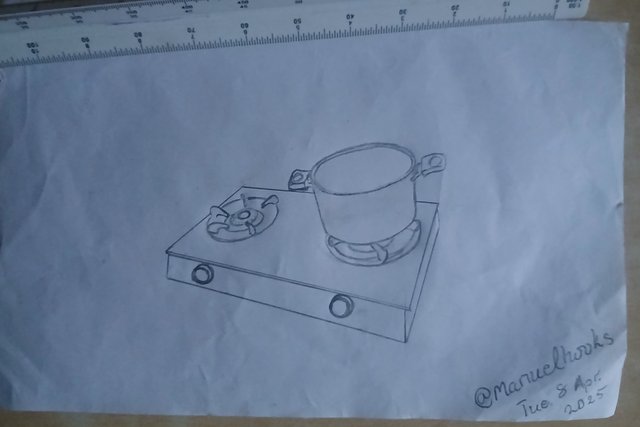
Finishing the structure with pot handles and the burner's pot holder.
Step 6[Shading]
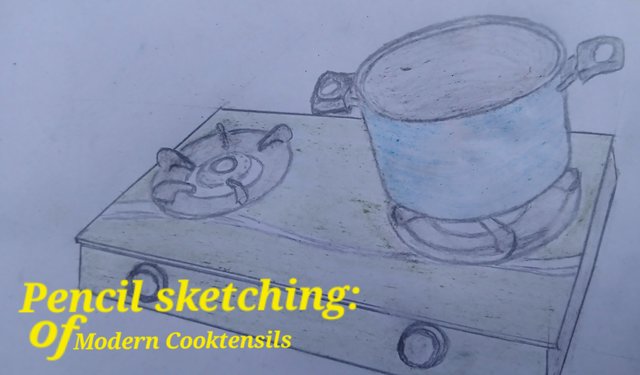
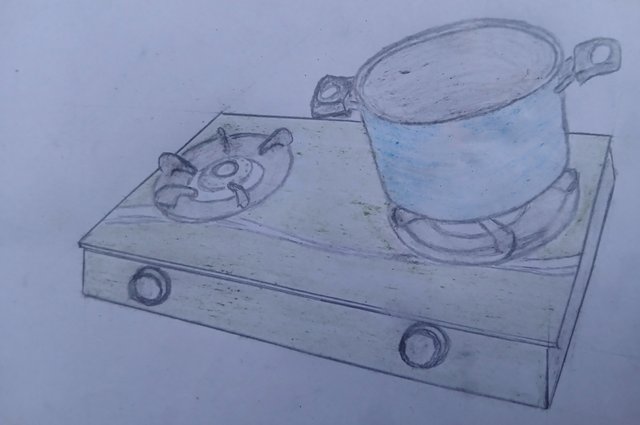
I shaded the burner in green and the pot in blue.
Step 6 [Finishing]
In my final finishing, I added grey to the inside of the pot and the pot holder on the burner.
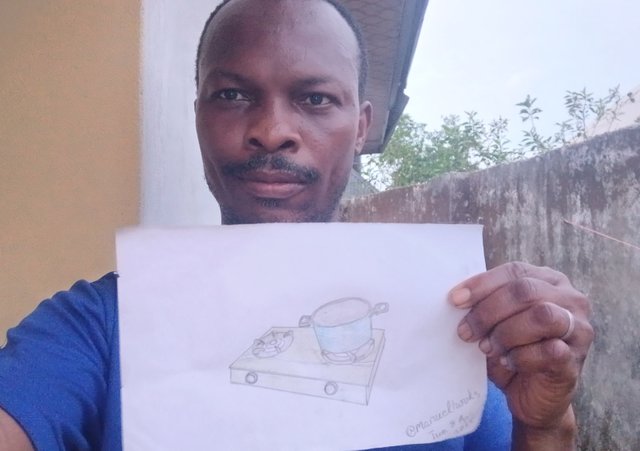
It's time to take a selfie
I would love to invite Steemians, who are artists, to help improve my work through constructive criticism. I will be expecting you and your comments in the comment section below.
Media Credit |
|---|
| Graphics by | @manuelhooks |
|---|---|
| Captured with | Galaxy A15 |
| Date | Tuesday. 7 April |
| [@]2025 |
