GIMP (open-source) tutorial: Extracting Film Grain Images !
EXTRACTING FILM GRAIN IMAGES
When most people think of photo editing tools, popular names like Adobe Photoshop or Illustrator come quickly come to mind. While these tools currently enjoy widespread acceptance in the industry, they are bit expensive to use (Adobe has a price tag of a $100 for the basic version of Photoshop) and there are usually extra charges for monthly subscriptions.
Today, I will like to introduce to you an open-source (Free) alternative program called GIMP.
GIMP is an acronym for GNU Image Manipulation Programme. It is a free-to-use software for editing pictures. It is the perfect alternative suitable for Photographers, Illustrators, and graphic designers.
Currently, GIMP is available on LINUX, Windows (XP and Upwards) and Mac system platforms.
One great thing about GIMP is the wide variety of customizations enabled.
Also, if you are a designer that needs to make life-like images out of computer-generated graphics, this tutorial will come in handy!
Keep reading and follow all the steps. By the end of this article, you should be able to extract image grains like a Pro using GIMP.
Extracting Film Grain using GIMP
- To extract film grain from images with GIMP you will need to follow these five basic steps.
- We will expand on each in further detail. Here are the basic steps:
STEP 1: Desaturating the Image
First, we will need to find a noisy image to duplicate. A noisy image is any image that has a lot of brightly-colored dots, or splotches scattered on it. Most digital cameras make pictures that have some level of noise in them. You can upload a few to your computer to work with.
To duplicate our image, we have to first desaturate it (Remove color).
Do this by going to Images > Colour > Desaturate or use Desaturate filter on the MathMap plugin of the software.
The final result should look like this:
STEP 2: Duplicating into a new Layer
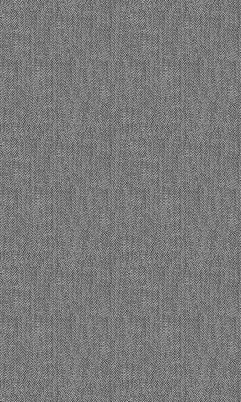
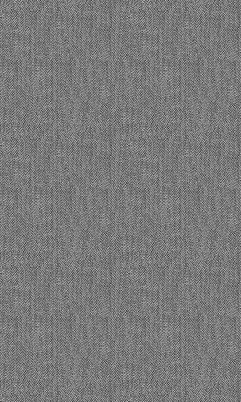
Next, we will need to duplicate the desaturated image and add a new layer. Use the bucket to fill it with tileable noise.
It should look like this:
STEP 3: Merging the Grain
To do this, you need to place the noisy layer above the image layer and set mode to 'Grain Merge’.
This is how it should look, if you did it correctly:
STEP 4: Using Grain extract mode to remove the noise
Now you need to remove the noise from the picture using Grain Extract mode. As you can see the noise is still present in the highlights and shadows of the image. To reduce it, apply a layer mask.
You can do this by adding a mask to the noisy layer, then duplicating the image with Gaussian blur at a small radius, then pasting it into the layer mask.
Use this to de-emphasize the noise:
Image >Colors> Invert
STEP 5: Adjusting the Mask Layer
Finally, you need to adjust the layer of the mask to increase the brightness and keep highlights and shadows dark. You can adjust the curves to suit your preferences.
The curves dialog increase grain in midtones and reduces it on other parts of the image.
Use: Image >Colors> Curves
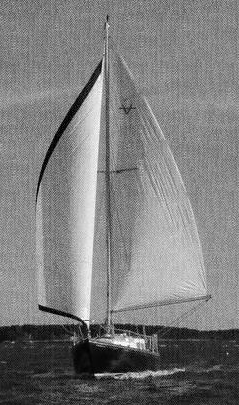
- The final image should look like this:
There are other advanced techniques for 'GIMPing’ images, feel free to explore other methods, but here are the basics.
Posted on Utopian.io - Rewarding Open Source Contributors


Thank you for the contribution. It has been approved.
You can contact us on Discord.
[utopian-moderator]
Hey @davcps I am @utopian-io. I have just upvoted you!
Achievements
Suggestions
Get Noticed!
Community-Driven Witness!
I am the first and only Steem Community-Driven Witness. Participate on Discord. Lets GROW TOGETHER!
Up-vote this comment to grow my power and help Open Source contributions like this one. Want to chat? Join me on Discord https://discord.gg/Pc8HG9x