"Homemade Recipe: Easy Method for Making Phuljhuri Pitha."
 Thumbnail image
Assalamu Alaikum to all friends, hope you are all well. There are many of us who are very foodies and love to make recipes and present them here. I also tried to make a small recipe out of love and respect for them. As soon as I opened the kitchen window I wanted to make something. I feel like I need to do something special today. Suddenly I remembered the desire to make phuljhuri pitha for a long time. Then today is not the day. Although I am not a regular cook but I will try making it from youtube.
I took out one by one eggs, salt, brown sugar, rice flour, flour, milk and my favorite pita maker. Seeing the rice powder in my palm, I thought that I will not enjoy this experience alone but share it with everyone. So I decided to share each step on Steemit so that others can make it easily. I am showing the ingredients for making it below.
| Recipe ingredients |
|---|
| Egg |  |
|---|
- Egg :- helps give puffiness and soft texture to the batter.
| salt |  |
|---|
- Salt :- Used to balance taste.
| Red sugar |  |
|---|
- Red sugar :- adds sweetness and a mild caramelized flavor.
| Rice powder |  |
|---|
- Rice powder :- creates the basic structure of the pita, brings crispness.
| Flour |  |
|---|
- Flour :- helps bind the mixture, giving it a soft and smooth texture.
| Milk |  |
|---|
- Milk :- Smoothens the batter mixture and improves the taste.
| Pitha Maker |  |
|---|
- Pitha Maker :- Helps shape the pita nicely and fry it smoothly.
| Recipe making process |
|---|
| Step-01 🍲 |
|---|
In the beginning I took two eggs and cracked them. After that, I mixed the two eggs completely with a mixer machine.


| Step-02 🍲 |
|---|
Now combine all the ingredients I mentioned above in a bowl. There I gave milk and light little water. Then I mixed everything with a mixer machine and thinned it out. Make sure there are no lumps attached.


| Step-03 🍲 |
|---|
Then I wiped my pita maker well. Then put it on the hot oil for a while until it gets hot. One to two minutes should be kept here. A small amount of heat should be given here. To get the oil hot, the heat should be high in the beginning and once the oil is hot, the flame should be reduced completely.


| Step-04 🍲 |
|---|
Then dip the heated pitha maker 90% over the liquid ingredients. The remaining 10% cannot be submerged so that it can be removed.

| Step-05 🍲 |
|---|
Now dip it on the hot oil and keep it for 2 to 3 seconds. Then it should be removed by shaking. Care should be taken at that time so that the hot oil does not spill on the hands. There is a possibility of hand burns.


| Step-06 🍲 |
|---|
For your convenience I have made a short video to show how to dip it in hot oil and remove it properly. You can easily see it.

| Step-07 🍲 |
|---|
Then dip in oil for at least five to seven seconds and flip. Then it should be removed with a strainer.

| Step-08 🍲 |
|---|
This is how I slowly fried all the Phuljhuri Pithas. After frying them, they should be kept on a certain tissue paper so that the oils drip off. I had the sun in front of me so put it in the sun to drain the oil which made it more sticky

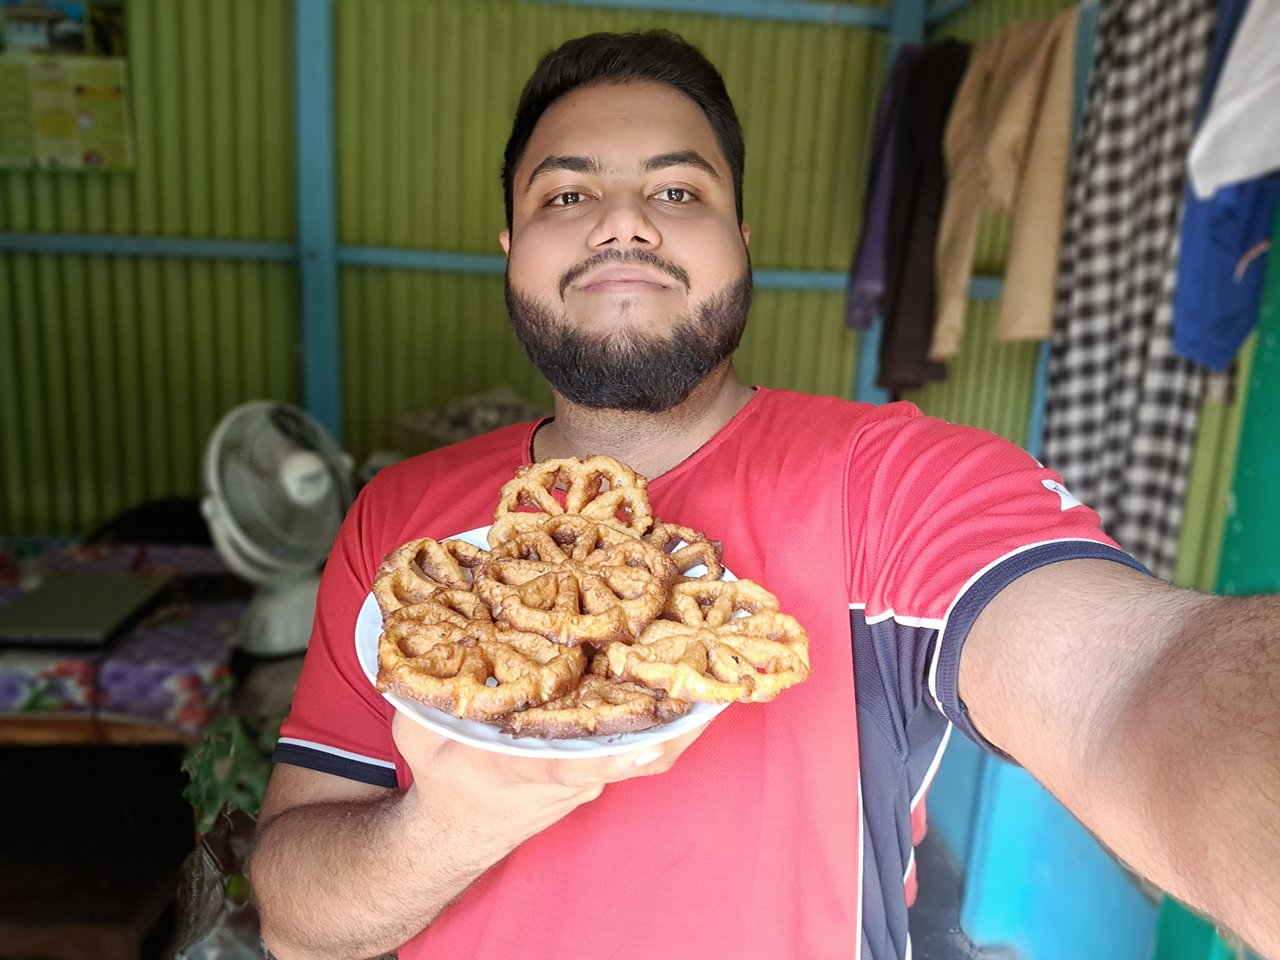
This is how I made all the pitas. Phulzhuri Pitha is very delicious as it is crispy on the outside and soft and mildly sweet on the inside. Adding red sugar or powdered milk makes it more aromatic and delicious. It can last for 2-3 days if kept in a dry and cool place. If kept in an airtight container in the refrigerator, it will be fine for 7-10 days, but it should be warmed a little before eating. It can be good for 1 month if stored in the deep freezer, but the texture will be fine if reheated in the oven or in a non-stick pan before eating. However after making it I gave it to everyone and they ate it and it tasted great. Everyone complimented my cooking so I stocked up and kept a few. I posted a short video of making it on YouTube.

X share link : https://x.com/maxpro1412/status/1932334563751272821?t=niPcyQfaQOY4K-gyFEcR3A&s=19