SLC27-W1: The Beginning of Becoming a Youtuber by @imohmitch

I have always wanted to get to a good point in content creation, and YouTube has been my target point but my problem was, how will I have those watch hours. I have a YouTube account, though it works with our Google mail directly but for the sake of this new project I decided to create a new one for my content creating YouTube account.
I will take you on a step by step detailing on how you can create a YouTube account for content creating. This will be very educative for the sake of those who would love to learn.
I will be using my Windows for this task, you can use your mobile phone too, since it has mostly the same features. Let's get to the first step which is creating your e-mail for this YouTube account.
On my windows I opened my Microsoft browser and searched for "Google", while the tap opened, I went straight to the "sign in" highlighted in blue. For this I decided to create new account for my Personal Use
 |  |
|---|
A bar came in and I filled the name I would love for this mail, I choosed "Mitchel" as first name then steem as the second name then clicked on next to get me to the other page.
| • |  |
|---|
This time I filled the basic information about me, I choose my Birth information which was arranged in other of month, day and year. I was given suggestions on what my Gmail name should be based on the names I provided, you can manually add the name you want to use but I decided to make use of the one suggested, "[email protected]"
 |  |
|---|
To confirm the safety of my account, I was asked to add a password to my Account which I added and also confirmed the account. You can also add a recovery email to support this mail Incase of any bridge. So I added one of the Gmail accounts as recovery.
 |  |
|---|
I am there already, the last thing I had to do was go agree to the terms listed and my account was created. That didn't take much time to create, and it was super easy.

To create my channel, I created a new tab on my windows and typed in "YouTube.com", this opened up to a YouTube dashboard page but it was empty because no account was logged in.
 |  |
|---|
I went to the sign in option and automatically the new Gmail account I just created logged in to be YouTube, this happened because I didn't have any other Gmail accounts in that browser. You can have a different option, then you can choose the Add account option to add your new account.
 |  |
|---|
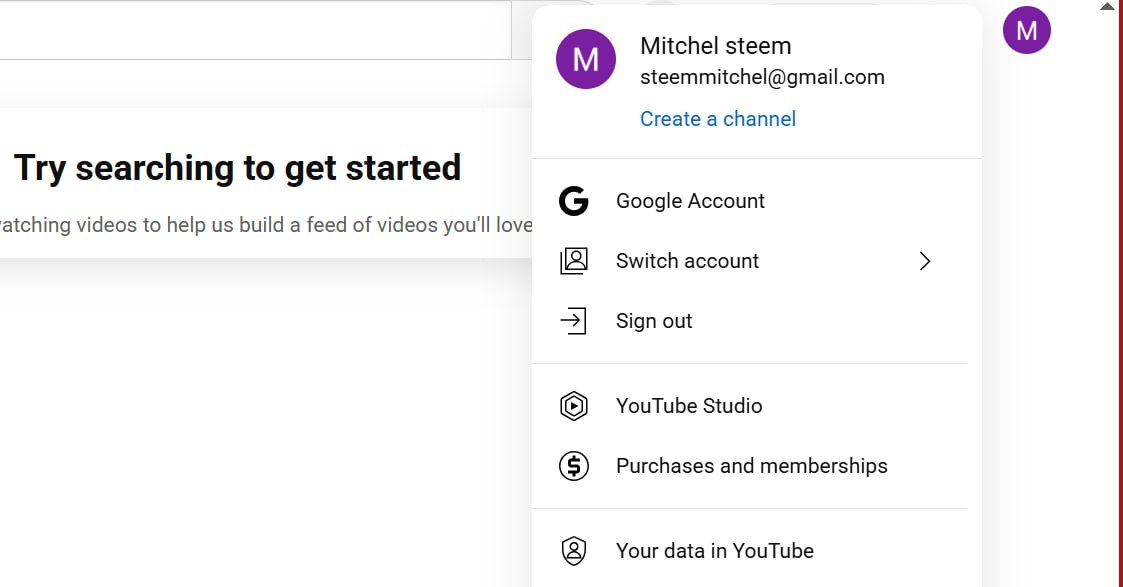
My account is logged in successfully and I went I tapped on the profile icon and I went to create channel to create a channel.
I was asked for a name for my channel and a handle, this thing automatically suggests an handle name whenever you write a name. Since I will be creating photography and Videography content, I decided to use the name "Framechaser" and an handle "Framechaser01".

My channel is successfully created and I was able to see how neat it looks but it's not complete. So I went to the profile icon, selected YouTube studio to give me more access to my account and tools
 |  |
|---|
Welcome to my YouTube studio, I have a lot of things to set in my account, so I went on to the settings and I filled the basic settings and feature eligiblity.
 |  |
|---|
In the basic info, I selected my country of residence which is Nigeria then went over to feature eligiblity to confirm my account for monetization.
 |  |
|---|
To make this feature, I easily went to number 2 on the list which was an intermediate feature, if I am eligible for the feature then I can upload videos of over 15 minutes.

- Verify
With this feature I was asked to verify my phone number to be eligible for this. I selected the option to send the code as text message, then included my phone number to get the verification code. Immediately the code came and I verified my account.
 |  |
|---|
As you can see, my phone number is verified and the intermediate level is verified.

I went to customization to add profile pictures and banners to my channel. I went to profile picture and went to add, I Prepared my photo already with the size 800x800px and banner with 2560x1440. This profile picture had a good fit and there was no crop.

I did same thing with the profile banner and I was able to get the best sized photo for my banner.
 |  |
|---|
I added a description to my channel, this will tell people more about my channel. I made a good description by welcoming them first to my channel then went on to talk about the purpose of my channel.

Lastly I published those settings and my channel was fully setup.
My channel handle is #framechaser01
I would love to invite @johnmitchel, @samuelbrilliant and @davidmarkgeorge to join.
Posted with Speem
https://x.com/web3warrhyor/status/1974950888897933387?t=C8Zuugqvy-kpf9BNXDv5cA&s=19
Twitter share
Upvoted! Thank you for supporting witness @jswit.
Here is your content summary:
By improving the marked items you could get Higher Votes! NOTE: The curator may modify the final percentage of votes, according to the quality and relevance of the content
Curated by @marvinvelasquez