Snowflake/ How to easily cut a snowflake/ Step by step snowflake making/22 May 2025

Assalamu Alaikum
I am Shilpi akter, @shilpi55 , from #Bangladesh
How are you all of my friends ? I hope you all are well by the grace of almighty Allah. I am also fine. Today I am presenting all of you about a very interesting thing. It is about a paper Craft of snowflake. Now I am presenting about step-by-step look at how I made this paper Craft.
The essential things I need are as follows:
★ A A4 size art paper
★ A Pen
★ A scissors

Making process:
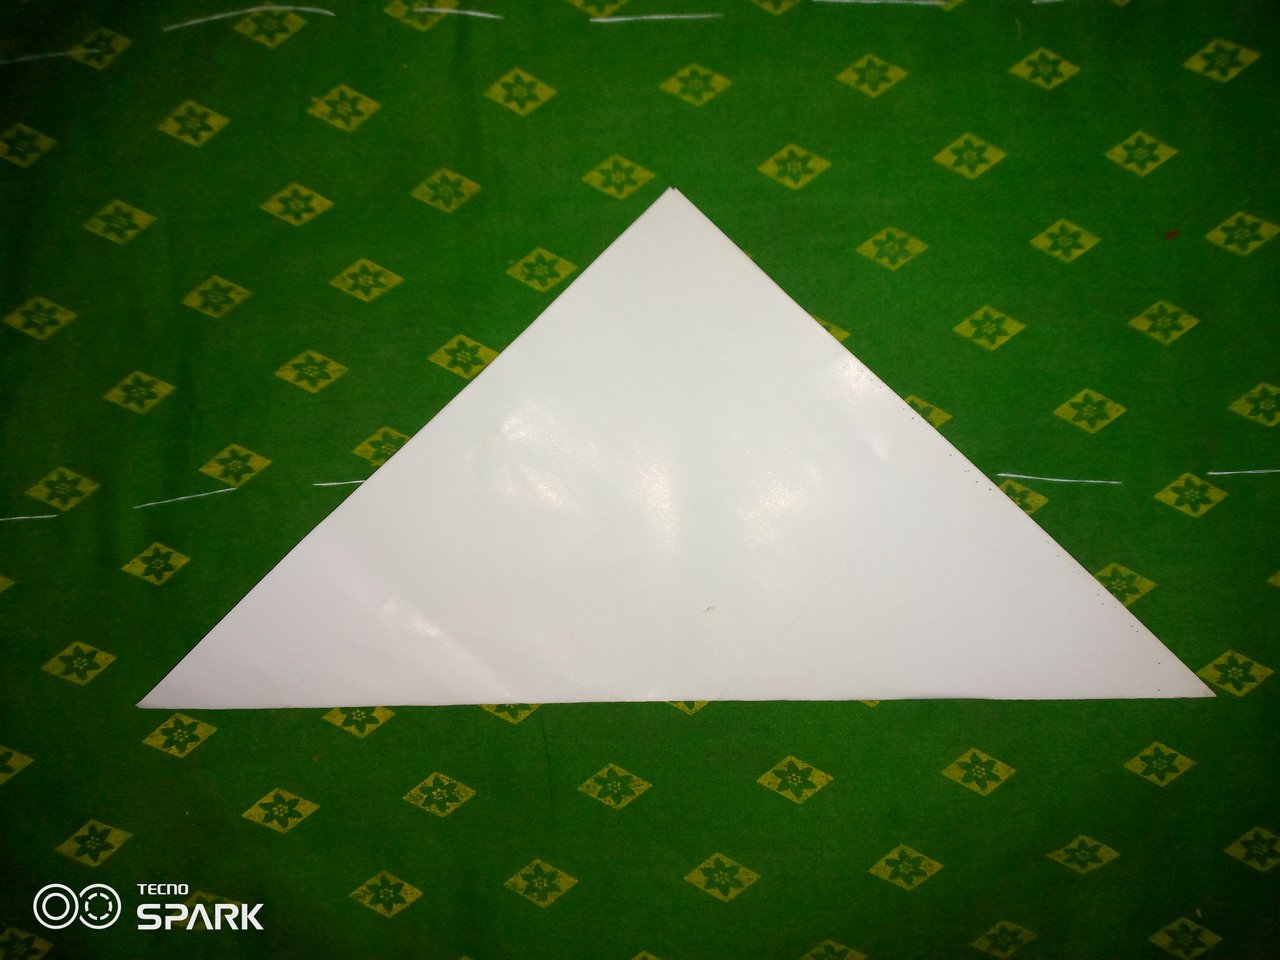
Step 1:
First, take an A4 size paper.
Now fold the paper in half. After folding, cut off the excess part of the paper with scissors. Cut the paper into a triangle shape as shown in the picture below.

Step 2:
Then, in the second step, fold the triangular-shaped paper again at the corners. This time, even after folding, the paper will look like a triangle.

Step 3:
Now at this stage, fold the triangular shaped paper in half. Then fold the paper again in the opposite direction of the fold you made in the middle. It will look exactly like the picture below.


Step 4:
In the fourth step, the two corners of the folded paper that have come out need to be cut evenly. For this, use a pair of scissors to cut the two corners of the paper evenly.

Step 5:
After cutting the corner of the paper, now you need to draw a design on the paper. For this, you need a pen. With a pen, draw a corner design on the paper like the picture below.

Step 6:
Once the entire design is drawn, at this stage the design needs to be cut out. For this, first use scissors and then slowly cut one by one over the design marks with scissors. As a result, one part after the other will be left blank. This is how the design needs to be cut out.


Step 7:
Finally, when the design is cut, at this stage, the design should be slowly opened. It should be opened in such a way that it does not tear while opening. Be careful and slowly open the design.

Selfi with my craft:

So friends, thank you all for reading the post. I hope you liked the post. I will come back to you with more such beautiful posts.
https://x.com/ShilpiAkte82798/status/1925575057679823063?t=OhkYOiRSMrMFm_1ylZ_Dag&s=19
Thank you for publishing an article in the Steem Kids & Parent community today. We have assessed your entry and we present the result of our assessment below.
MODs Comment/Recommendation:
Thanks for sharing this craft with us. It speaks a lot than I could ever imagine because of the creativity tied to it.
Remember to always share your post on Twitter. This POST LINK is a guide to that effect.