SLC-Home Repair Club |S23W5| Tutorial: DC torch light battery to IC connection repair.
Hello Everyone
This is @max-pro from, #Bangladesh
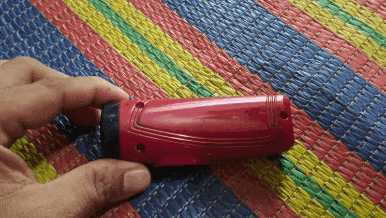
 Thumbnail image
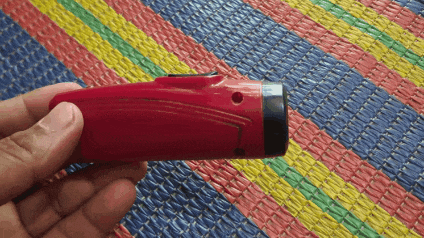
Assalamu Alaikum friends. Wishing everyone good health. Hope you all are well. By God's grace I am fine too. Today I am here to participate in a wonderful learning competition organized by our teacher We were guided by @imranhassan and @rmm31. They joined as a team as mentors of this repair club. Today I will be repairing the IC connection from my flashlight battery. So this is a very important competition where we can learn some important things. Below are some questions that I will answer correctly. So let's get started.
| What is the problem with torch light? |
|---|
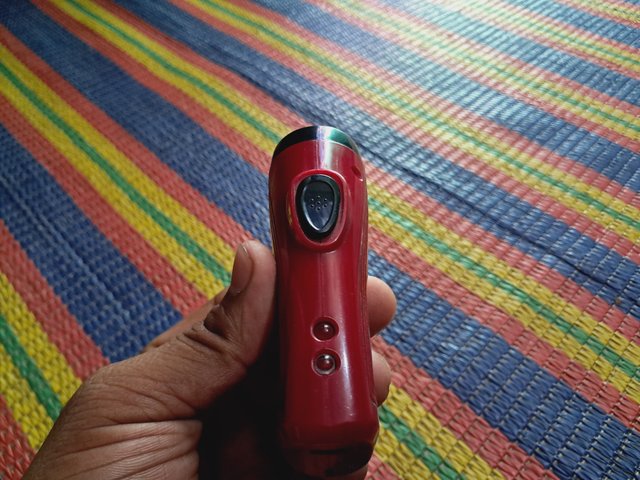
My personal favorite is a red flashlight. Which I purchased a few days ago. It is a very powerful small torch light. But nowadays I use my phone's flash light most of the time. So again this red torch light was not used for a long time. Yesterday I tried very hard to turn on this light but somehow the light was not turning on. I was surprised to see this. If you look at the pictures and video below you will see that it was not working at all after switching it on.

| How did I find the problem? |
|---|
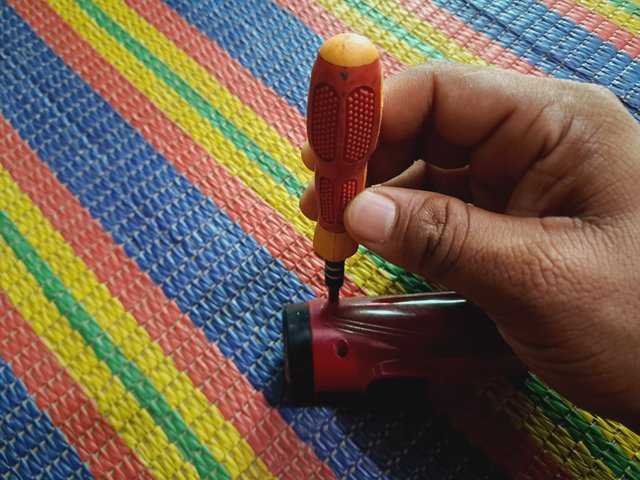
So now I have to decide to check where the problem is with this light. I am an electrical engineer so such small tasks do not matter to me. However, if you take it outside or to an electrician's shop, any electrician will fix it in no time. But I am an engineer so I like to experiment. So I took out my screwdriver box and started unscrewing them.
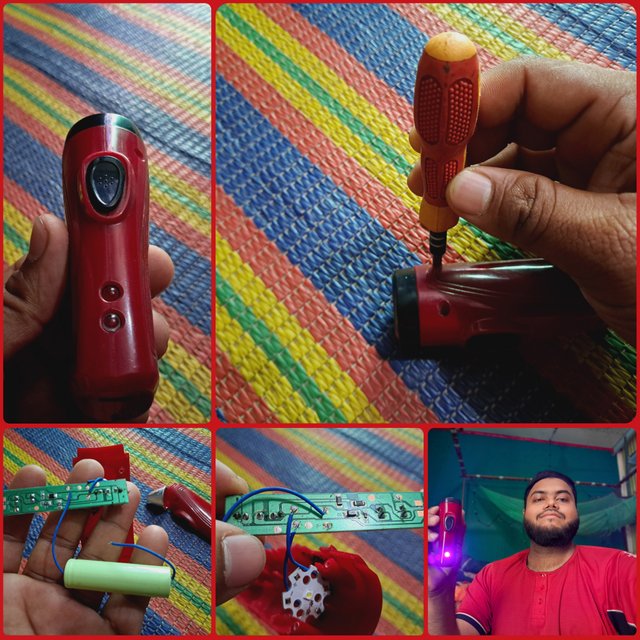
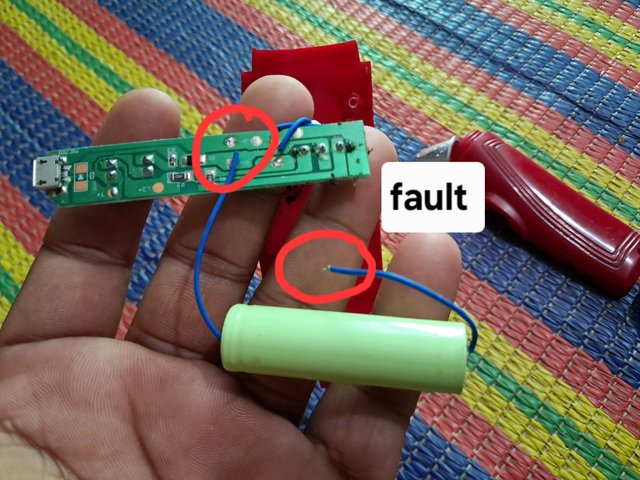
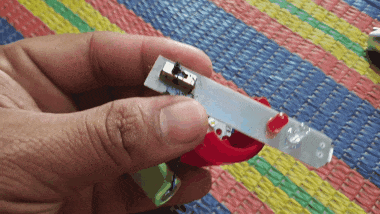
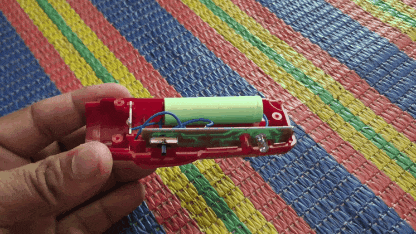
There is a rule to open this torch light. At first I unscrewed three screws. Then I opened the upper part of the round front light. Then I removed the top cover of this light. Then you can see here the battery and IC of the light.
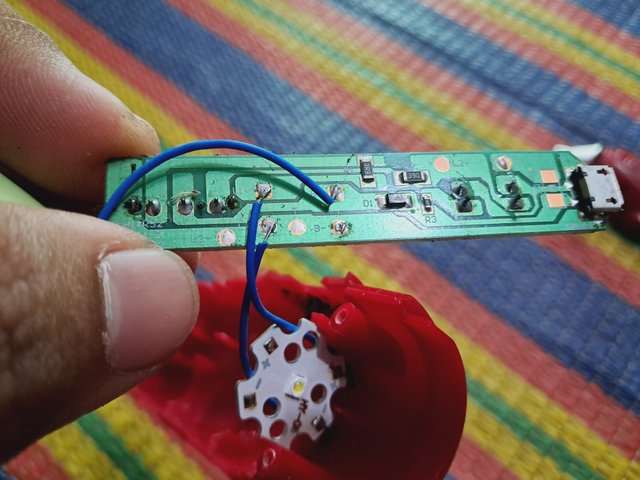
The switch was slightly dirty due to not being used for a long time. Then I noticed that the wire at one end of the light was torn. It is open from the car soldering in the IC. Please note in the image below where the wire fault is shown inside the red mark. A few days ago this light fell off my table. Maybe because of the shock at that time, this wire has come off from the weld. So I have to repair it now.
| How did I solve the problem? |
|---|
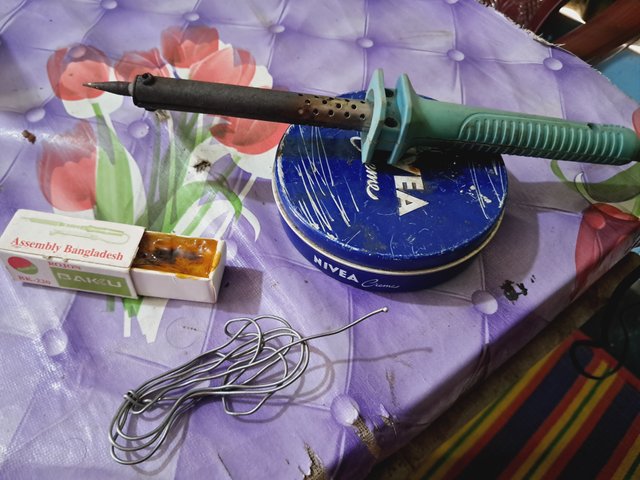
Step-1 :-
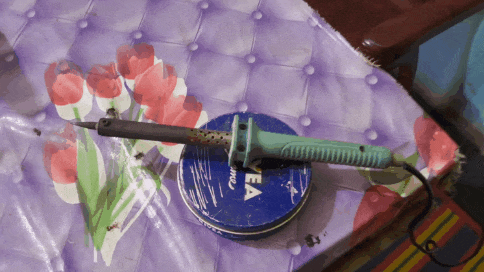
Now I have to solder it so I power up my soldering iron. It will heat up in no time. It will be activated after it is fully heated. Soldering iron has been with me for a long time as I understand the work of an electrician since childhood. It was accompanied by soldering lead, solder.
Step-2 :-
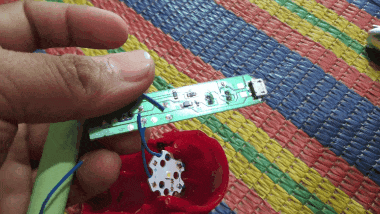
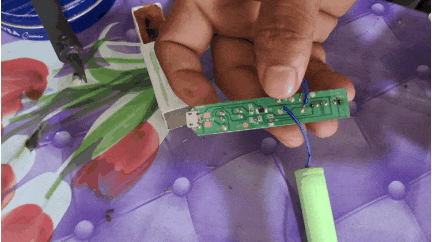
There was some carbon build-up on the switch and some dirt that could cause problems later. So I scrubbed them clean with my brush. It looked great after cleaning. Then I placed the disconnected wire on the solder and checked if the light was on. I saw that its lights were on at once.
Step-3 :-
Now my soldering iron is hot and ready to work. So you can see in the picture below that the wire needs to be re-attached in the same place where there is welding. So I soldered the wire very carefully with my soldering iron.
Step-4 :-
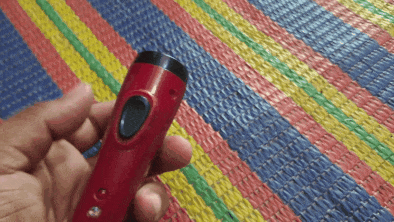
So now that the wire is soldered it needs to be tested. So I turned on my selfie camera video to show you all and turned on the light switch and showed you. As you can see the light has been repaired and I have put it back in place and put the bulbs, batteries and ICs back in place.
| Selfie video | 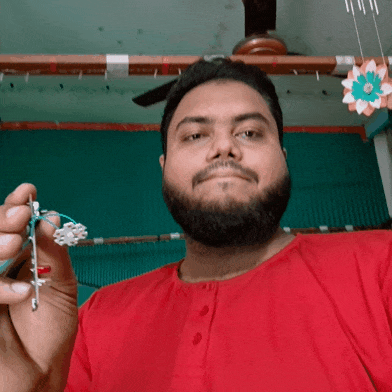 |
|---|
Step-5 :-
Now put the upper cover of the light. So I set the top cover nicely into place and put the black top cover on then put all the screws on the cover. Put the screws in the right place and tighten it with a screwdriver so that it does not come loose.
Final Test :-
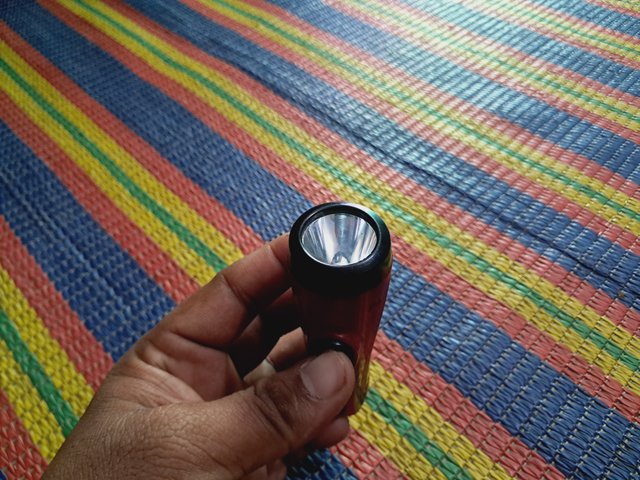
Now the final test has to be done. After installing the screws I turned on the camera nicely. Then I turned on my torch light. As you can see my torch light is fully lit and it gives a nice light. Then I realized that I had done my repair successfully. I turned on the lower part of the switch and saw that the lower indicator switch lit up. I took a selfie while it was working successfully.

| Some caution in this work |
|---|
- Several important precautions should be taken while soldering using a soldering iron.
For any welding you need to take a protected place more that is fire resistant. It is best to wear safety glasses and heat resistant gloves to protect eyes and hands. Soldering fumes are not healthy so work with windows open or fan on.
Do not place the soldering iron directly on the table or on flammable objects during use. Heat the wire and connection point sufficiently so that the solder melts well and makes the connection
Allow the solder to cool naturally after the connection is made, stirring can cause a poor connection. Check if the connection is solid after soldering. Following these precautions will allow you to weld wire safely and effectively. As I followed all the rules. So this is how I repaired my torch light.
- Here is the youtube link of the original video.

So I am Inviting my lovely Steemian friends @chant, @ulfatulrahmah, @alejos7ven, @anailuj1992, @karianaporras, @jyoti-thelight to Participate in this Competition.

- Twitter promotion link : https://x.com/maxpro1412/status/1903000469120880840?t=xrSDAQsdscwZemmjjGHLSw&s=19