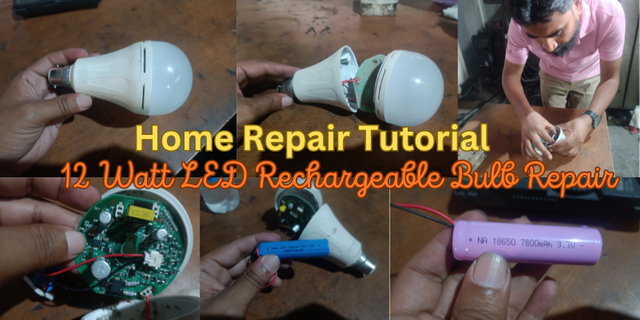
Tutorial: 12 Watt LED(AC/DC) Rechargeable Bulb Repair.
Steemian Friends,
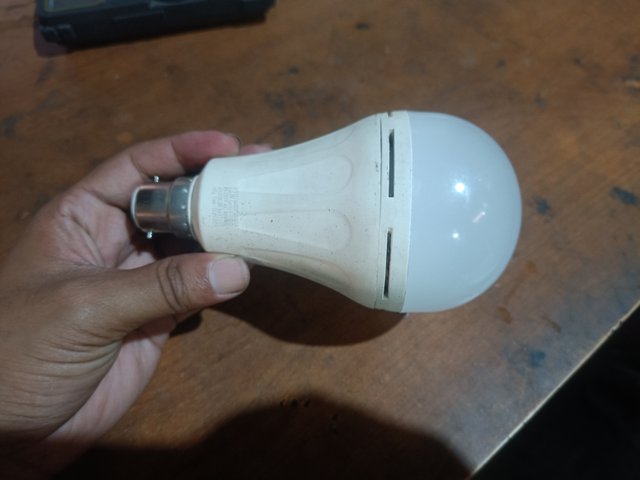
Today, I will show you how to repair my home's 12-watt rechargeable LED bulb. A rechargeable bulb from our country's best brand, Transtech company, suddenly broke in my house. In our country, there is a lot of electricity being shed during summer, so I have installed rechargeable bulbs in every room of my house. The problem with the bulb I repaired is that the bulb does not light as a backup when the power supply goes off. So, let's start repairing the bulb.
Design By Canva
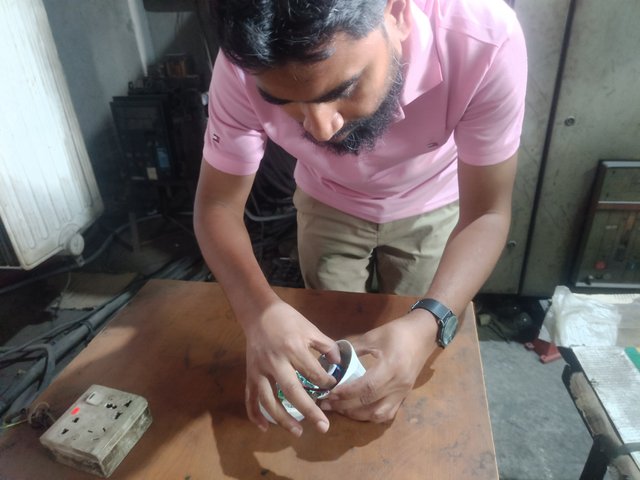
After I repaired a few LED bulbs at the last home repair club, my acquaintances and relatives gave me many electric lamps and home appliance repairs. I now have an income source through the Home Repair Club. I'm trying to experiment with LED bulbs; hopefully, I'll be successful. I will share my plans with LED bulbs in my next post.
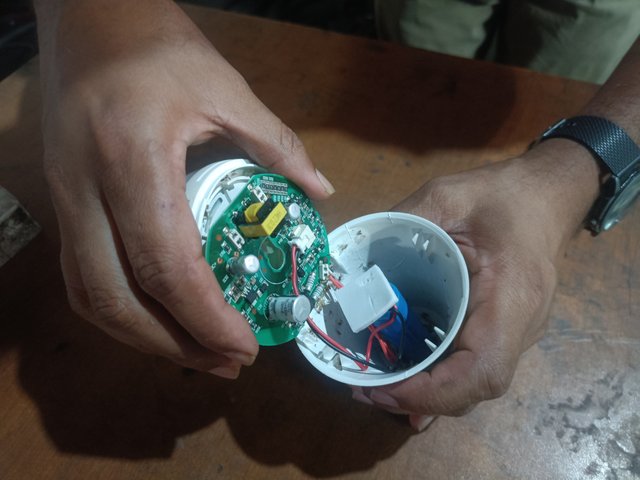
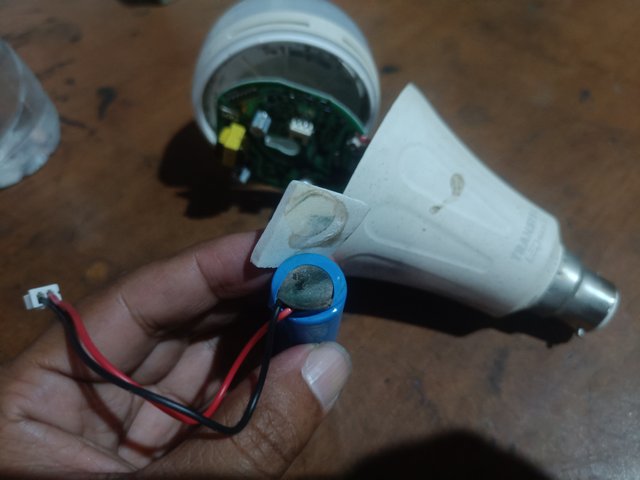
I first tried to open the front glass of the bulb. But the bulb was fitted with locks, as it was from a brand company. I turned with both hands and opened the lock on the front of the bulb. Then I saw an electronic circuit and a battery inside the bulb. Since the bulb had given light to the house for a long time, there was an insect inside the bulb.
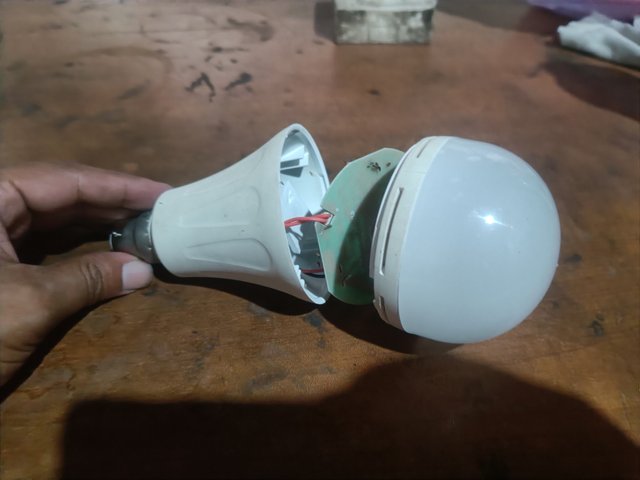
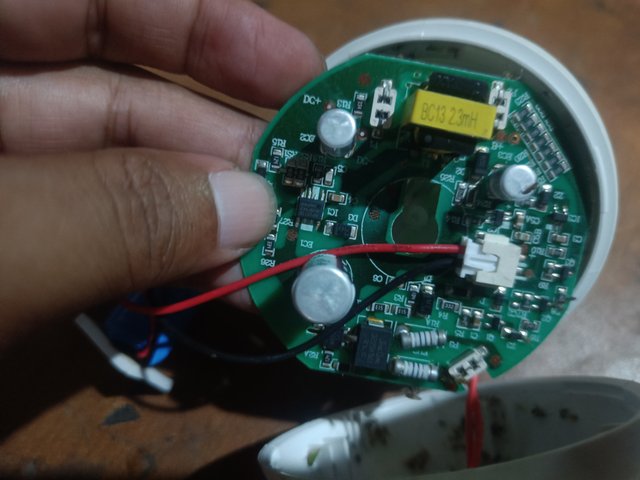
Then, I checked the electronic circuit's components. I can see the electronic components well. Since the light had bugs and dirt inside it, I cleaned the inside of the bulb. I haven't seen any of the electronic components blow through. This was my first phase test of the bulb.
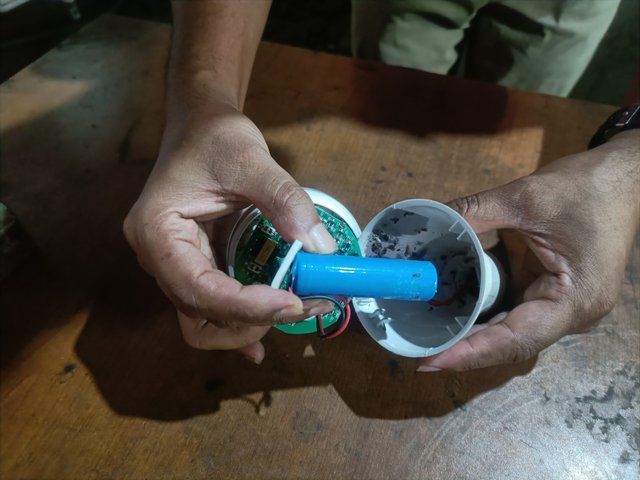
I opened the battery connection jack from the electronic circuit and separated the battery from the bulb. I checked the battery by separating it from the bulb. One end of the battery was swollen, and then I realized that it was dead. This is a battery drain test.
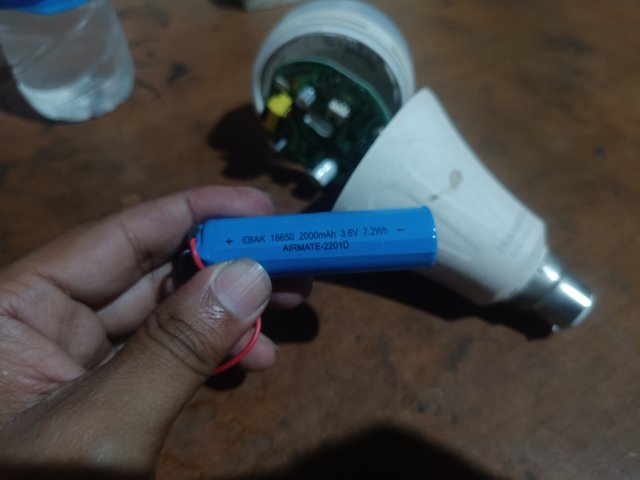
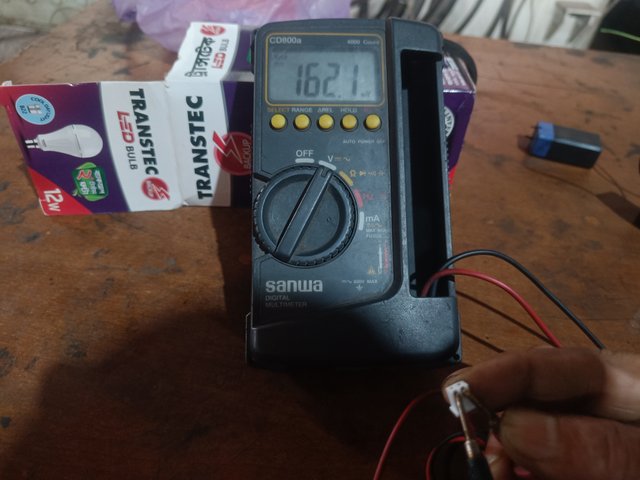
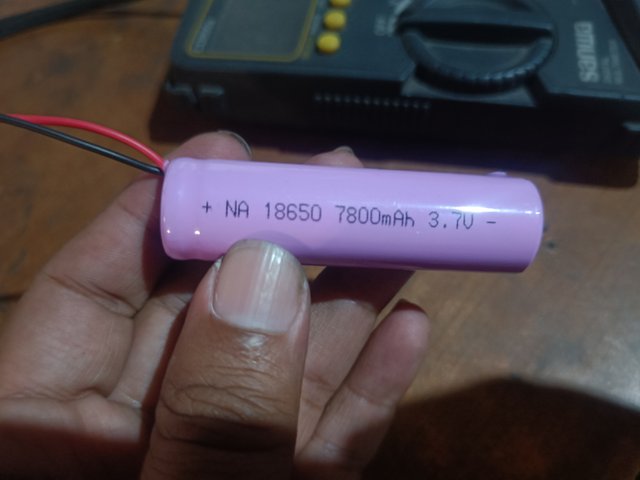
Then, I measured the battery with a multimeter. It's a DC battery, so I measured in the DC range. I saw the battery at 162.3 millivolts, which is 3.7 volts. After measuring the battery with a multimeter, I found it to be dead.
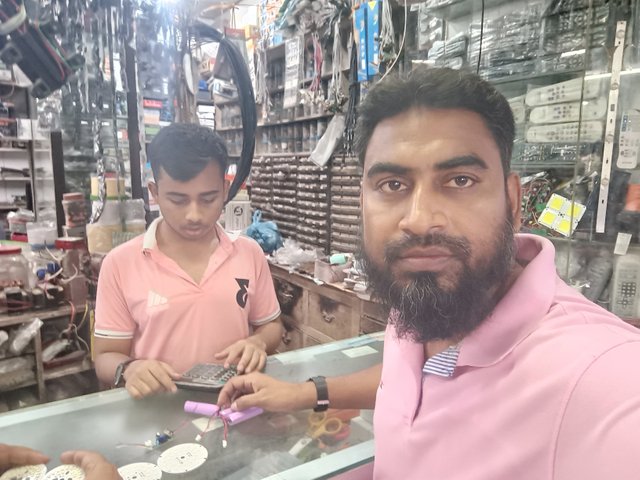
I went to the electronic shop about two kilometres from my office to purchase a DC battery of the same range. I bought a battery for 70/—local in our country, and then I came back to the office.
| DC Battery(3.7 Volt) | 1 pcs | 70 taka(Local) | 4.46 Steem |
|---|
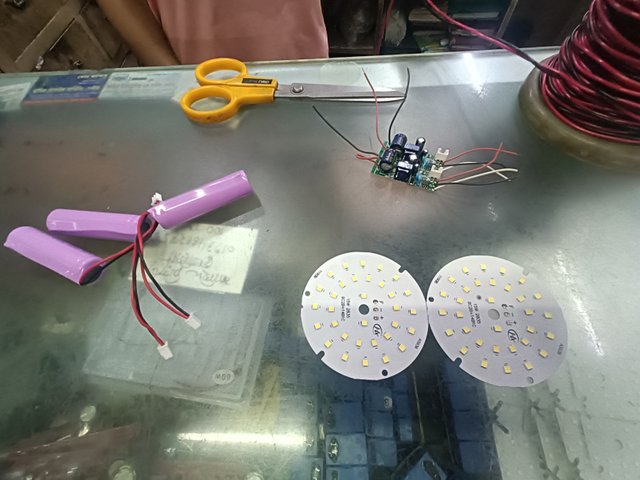
Then, I came to the office and measured the new battery using a multimeter. I get 3.8 volts on the multimeter. I measured the battery and found it good.

Then, I connect the battery connection jack to the electronic circuit and put the battery in place inside the bulb. Before setting up the bulb, I touch the socket end with my finger, and it lights up.
My Youtube link
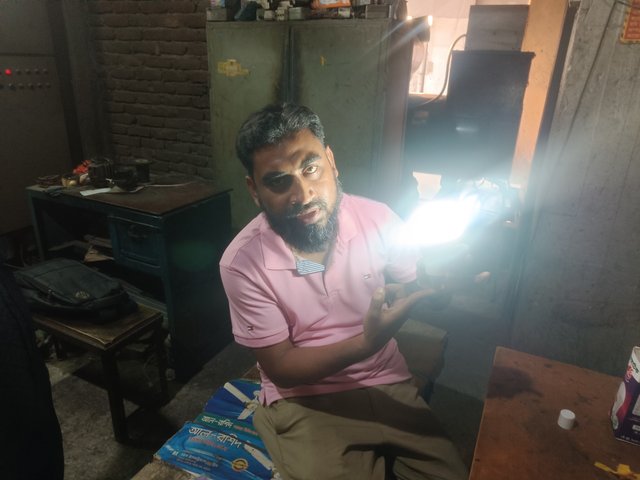
Then, I set up the whole bulb. I repaired a rechargeable bulb for only 70/- taka locally today. The price of this 12-watt bulb in our country is 790/- taka local. Today, I saved my cost by repairing the bulb. Below, I took a selfie after repairing the bulb.
| New LED Rechargeable Bulb | 1 pcs | (790-1000) Taka(Local) | 50.35 Steem |
|---|


This is my Twitter share link :
https://twitter.com/mahadih83660186/status/1911044012326469744?t=kgBXWN2Np_HXaSQngx15yw&s=19