SC-S26W1/Video Editing, Getting Started
Hello steemit family. US-ANDREW here.
Today , I made my entry entry for this CAPCUT Video Editing Contest ready.
I'll be giving a full tutorial too with my entry as well . So, if you follow and watch the video, you'll learn to make yours and join the contest as well.
This week is for starters or let's say beginners.
So, if you're not used to capcut, or finding it difficult to go about it, you can follow my steps. I've been using the application for a year now. And I can be of help to beginners.
Prompt for the week;
Create your first test project by importing at least two clips, two images, and one overlay. Export it.
New project
Exporting videos/Images
Timeline
Main buttons
Menu
Aspect ratio
Delete clip
Overlay
Export video
New Project |
|---|
When you enter your CapCut app, you'll see at the top center–the "New Project " button. You click it.
When you click it, you'll be ask for permission to allow the app access your files. You'll select "Allow".

Importing videos/Images |
|---|
A page will pop up , which you can then import images and video clips.
If your video is too long, you can crop it to be shorter before importing.
I made videos specially for this purpose, so they are short and I didn't need to crop them before importing.
I imported about nine clips including videos and images.
 |  |
|---|
Timeline |
|---|
In the timeline, you get to see your clips in display at their original form. Also arranged in the order you imported them.
Here , you can swipe left or right and choose a clip to amend.
Main Buttons |
|---|
The main button includes the ;
1–Portrait/Landscape view
2–Play and Pause button
3–Linked button;
The linked button indicates that if you delete a clip, the effects and other element linked with the club p would also be deleted.
So, you have to be careful when deleting clips.
4–Undo and redo button
Menu |
|---|
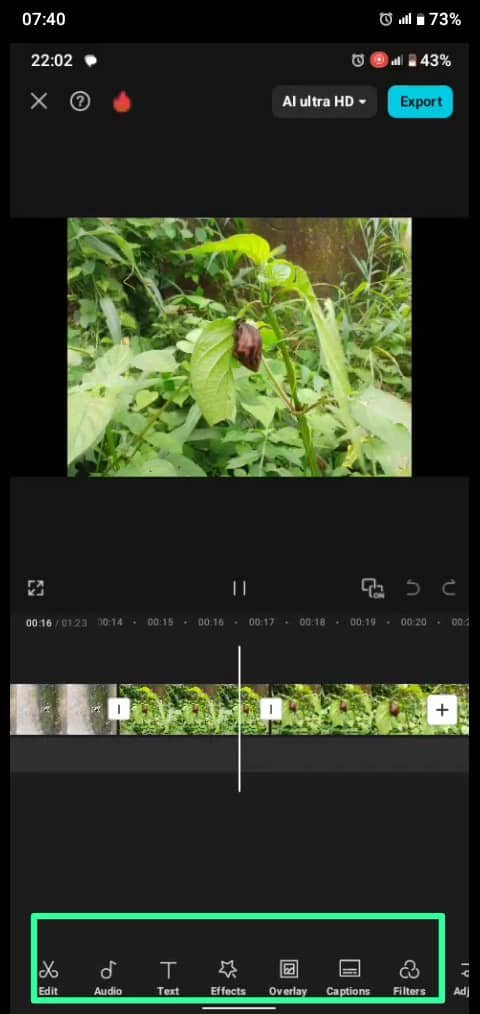
The menu is at the bottom end.
Where you have the options such as Edit, Audio, text, effect, overlay, caption , amongst others.
In this work , we only made use of the Edit and Overlay
Aspects Ratio |
|---|
The aspect ratio button comes up when you click on a clip, then select the edit button. You'll see another sub menu. And there, there's "aspects ratio", which you have to select the 16:9 as we're only making use of that in this context.
For my videos, they were already in the 16:9 ratio, so no need for Edits. But the Images, all had to be edited.
Like I said before, you click on the Image you want to edit, select "Edit" then "Aspects Ratio". After that, you select the 16:9 , then zoom in or out the image to fit in the ratio .
I did same for all the other images.
You can see two images depicting the before and after edit.
 |  |
|---|
Delete Clip |
|---|
To delete clip, click on the "Edit" button, and check for split. Hold on 😂. Don't split yet.
Make sure the the line that divides the timeline is placed in between the side you intend to keep and the side you want to delete.
Once it's set, you click on the side you want to delete and click on "delete". It's gone.
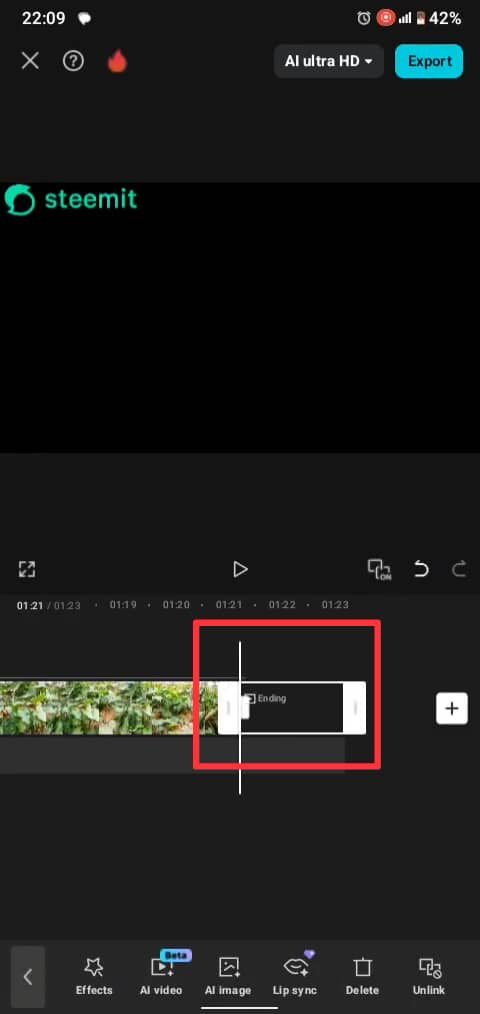
I deleted the CapCut logo and the end. Just like our instructor did.
Overlay |
|---|
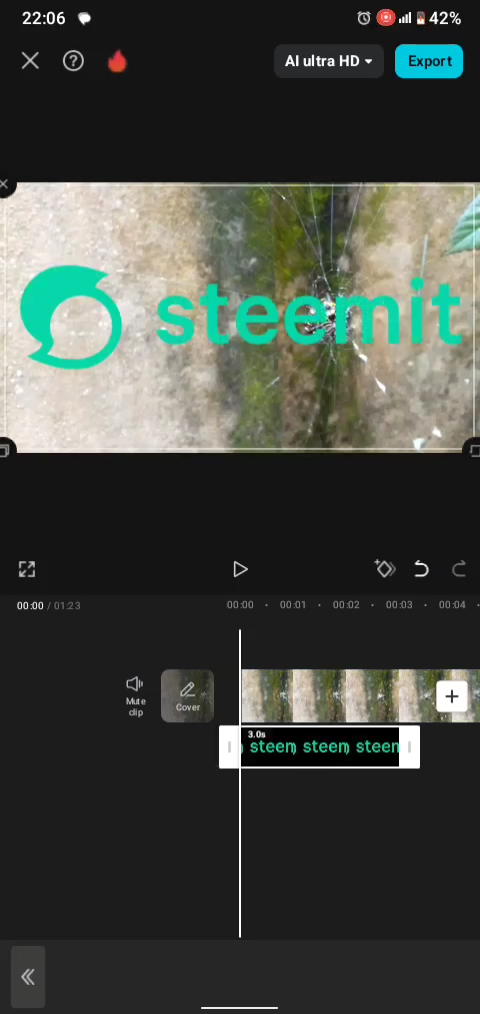
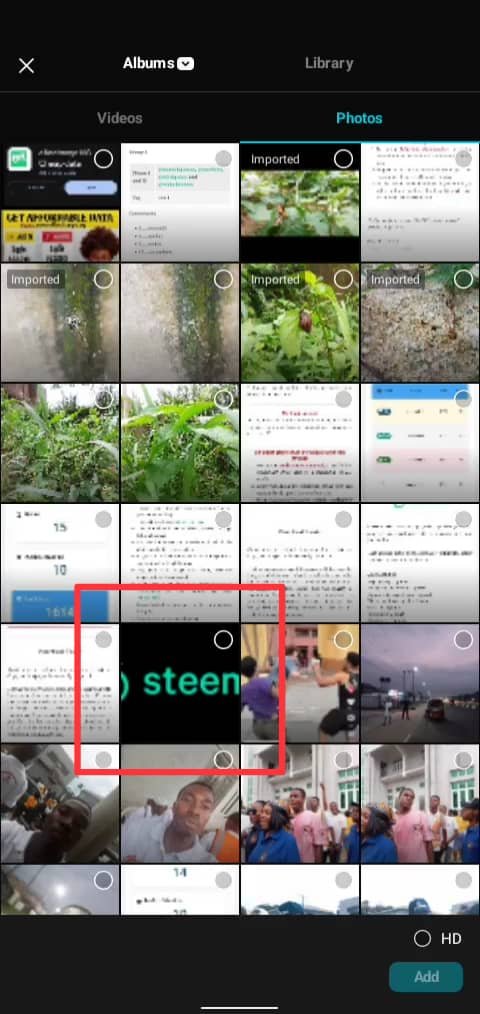
To add an Overlay, check the menu, and select "overlay". You'll see options to download them online. But I had downloaded the steemit logo from our instructors post. So if you did so too, you'll select it from your gallery.
It would appear full screen on your project. So you'll then use your fingers to minimize it to a reasonable sizes and drag it to any Corner of the clip.
Our instructor used right. I chose to put it left.
At least, do things differently, don't be a copycat🥹😂
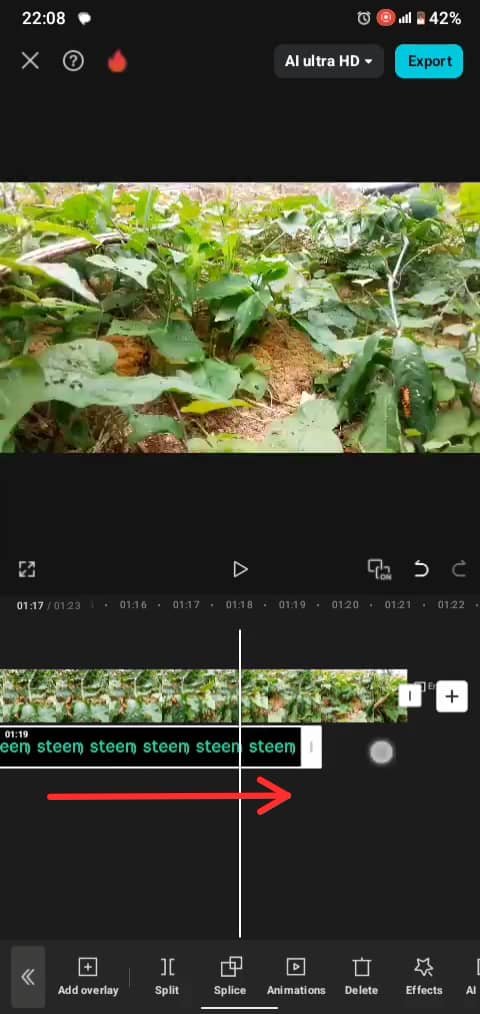
Check your timeline and make sure to drag the overlay to the end of the clip . If you don't do so, the overlay would disappear after some time. So you have to drag it to the end of the video.
 |  |
|---|
Export |
|---|
Before Exporting, you must have previewed the video to check if you're set and good to go.
My video doesn't really have sounds because of the condition of my environment.
And also, we've not been permitted to add external sounds.
If we were permitted to do so, I would have added it.
Nevertheless, I have added sounds and voice over in the Tutorial video I made.
The Export button is at the top right corner of the screen . So you just click on it, and it starts to load.
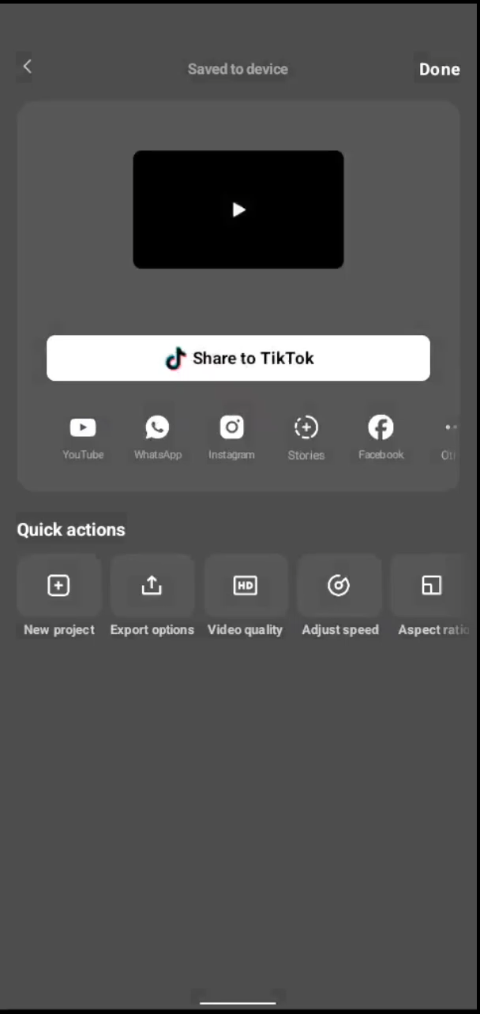
It might take a while, depending on the size of the video. Do exercise patience and wait till it completely loads and saves to your device.
If you minimize your screen or leave the app, or turn off your data/internet connection. It might interrupt the exportation.
 |  |
|---|
Finally, the work is done.
And you can now head over to your phone gallery to view your masterpiece.
Tutorial video;
Thanks for reading through and watching.
Cc;@anailuj1992
I'll like to invite @bossj23 @imohmitch and @sampson01 to participate in the contest.
😜 US-ANDREW
Posted with Speem




Twitter X promotion link
https://x.com/bobby_andrew01/status/1956086059600916561?t=3p8RsHSQx1RSIc2MNIsZ-Q&s=19
@tipu curate
;) Holisss...
--
This is a manual curation from the @tipU Curation Project.
Upvoted 👌 (Mana: 6/7) Get profit votes with @tipU :)
A well detailed entry..... It's informative. Thanks for sharing, I have been wondering how to get the Steemit logo.
I have to make my entry understandable. I hope you've downloaded the logo .
Thanks for the thoughtful comments
Please consider supporting Proposal #100 to boost the video on Steem.
"Type less, smile more"
Curated by @alejos7ven