The Beginning of Becoming a Youtuber by @imranhassan
Assalamu alaikum Everyone. I am @imranhassan From #Bangladesh
.png)
I have seen the introduction post of our mentor many times, and I have tried to understand what he wanted to say again and again and tried to learn it very well. Now I am sharing below, step by step, how I made my YouTube channel and how I set the cover photo and profile photo.
Step -01

First I selected a new Google account which I have not used before. Then I entered the Chrome browser and searched for YouTube there, and when the YouTube channel came up, I was asked to sign in and I entered the sign-in.
Step -02

After signing in, I am being asked to choose my Google account, so I have chosen an account here. I will open my YouTube channel with this account, so I will select it here.
Step -03

Then Google welcomes my Google account and asks me to enter the password, and I enter the password there and am ready to go to the next step.
Step -04

Then after entering the password, I am being asked to set the home address, so I have given the address according to my location here, and then I have to go to the next step.
Step -05

After setting up everything, I was taken to the YouTube homepage, and a default profile photo was set that was set in my Google account, and from there I clicked on YouTube Studio.
Step -06

After clicking on YouTube Studio, I was taken to the next step, and there I was shown a new interface that looked very nice, and there I was being told, 'Welcome to your YouTube Studio. Continue.' Then I clicked on the Continue button.
Step -07

After clicking on the continue button, I was taken to my channel dashboard, and from there I could see the content and various settings. From there, I decided to click on the 'Customise Create Channel' and make a profile photo and cover photo for my channel.
Step -08

Then I went to Canva software, and from there I designed all my pictures and logos for free, and here first you will be shown some options, and from there you have to select the custom size, so I will select the custom size here, and now I will select the size that our mentor gave me.
Step -09

After selecting the custom size, it took me to the next step and suggested how much quality banner and logo to design here, so I wrote 800 + 800 size here.
Step -10
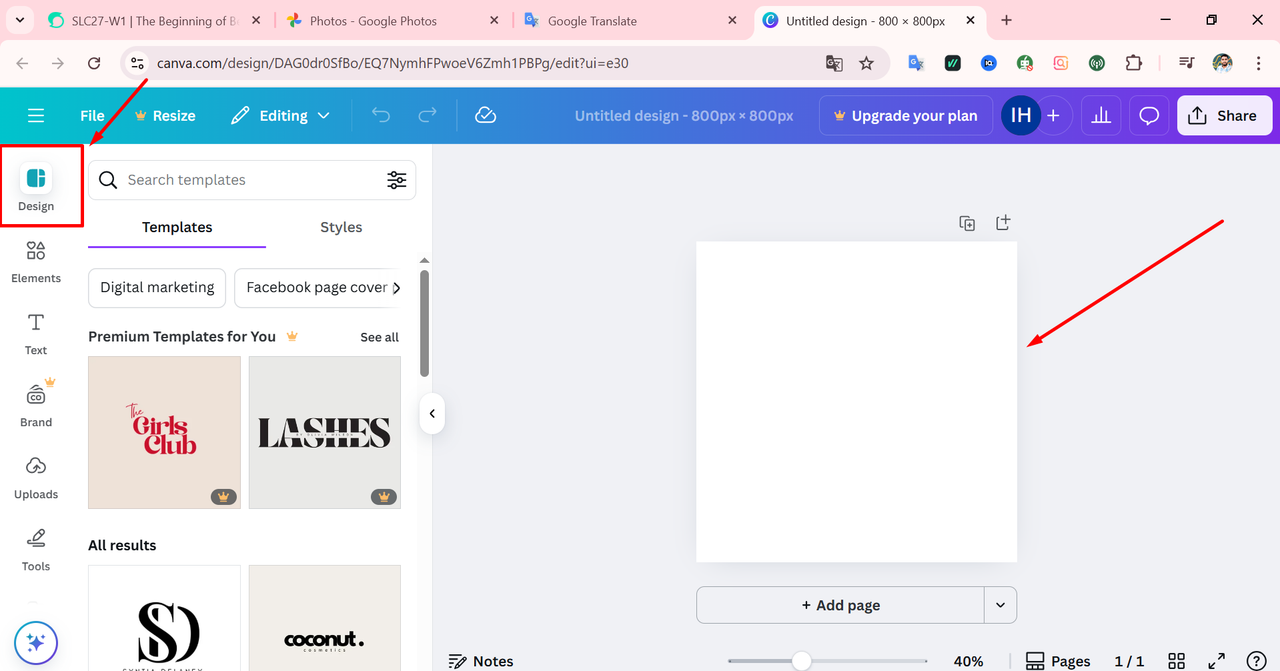
Now you can see that I was taken to a new page, and according to my size, a template has been given here, which is displayed, and on the left side, you can see some designed templates. From there, you have to customise it according to your liking.
Step -11

Now you can see that I have designed my logo. Here I have given a brand name in accordance with the colour of the Steemit writing, and I have given my username and the name of the YouTube channel.
Step -12
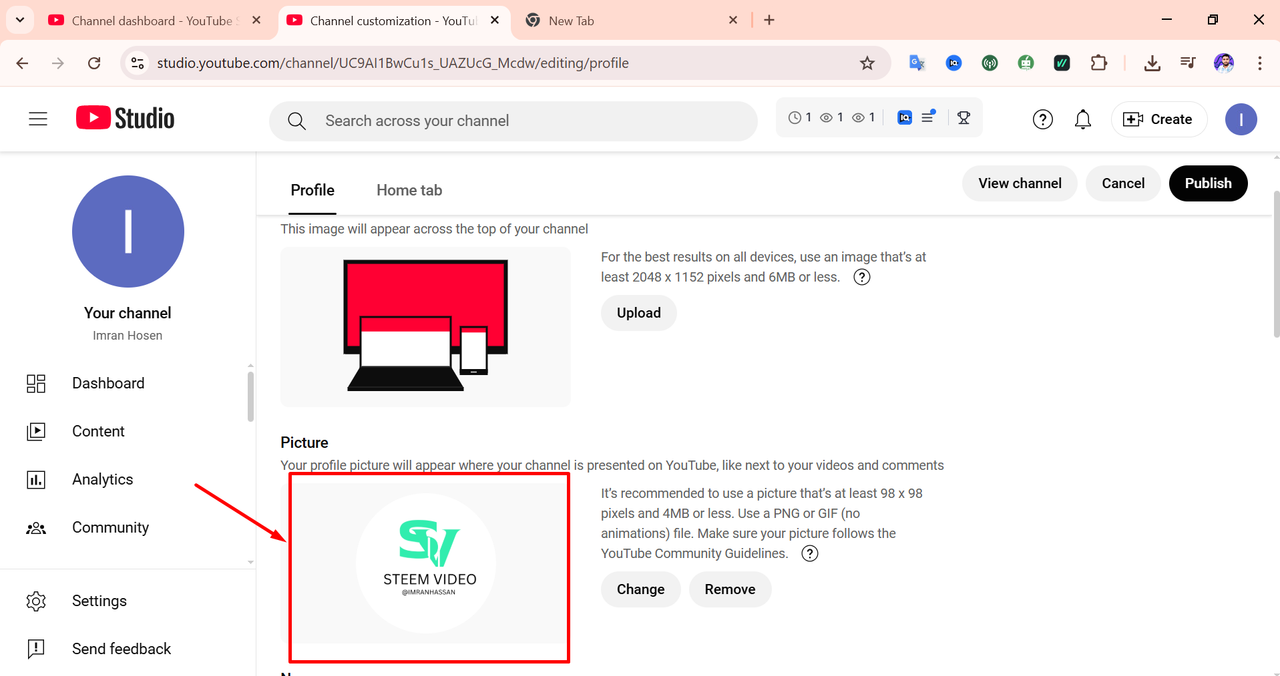
Then now I have downloaded that logo and uploaded it from my file as a YouTube profile picture, and you can see how beautifully it looks here.
Step -13

Then I have made another cover template in the same process, matching the size, and I have written my username and platform name here. That is enough; now I will download it and put it in the YouTube cover photo again.
Step -14

You can see that before uploading the cover photo, a size is shown here, which is the size of the mobile, the size of the laptop and the size of the TV. What you see here is the size of the mobile, but you have to organise your writings. I have organised my writings here like this.
Step -15

Now you can see that I have uploaded both my profile photo and cover photo here, and the work of customising the photo upload on my channel is already finished. Now I have to do some work.
Step -16

At this stage I went to the settings and put my YouTube channel name and handle name in the basic information, and you can see that there is a green tick next to the handle name, which means they have suggested this name for me.
Step -17

Then I have written a description according to my mind according to the work of my channel here, and my work is already completed, and when I scroll down, they say to give my Gmail ID here; I have also given my Gmail ID there.
Step -18


After all the work is complete, now you can see the dashboard icon of my YouTube channel. it looks very attractive to me; it looks good to me. now my work today is over
| Video Tutorial: Here I have uploaded an introduction video of myself.. |
|---|
| Video Tutorial: To better understand the practical part of this tutorial, you can watch the video below. |
|---|
.gif)
| Photography Details | 📱 Device: Walton Xanon90 | 📍 Location: Narayanganj, Bangladesh | 📷 Captured By: @imranhassan |
|---|
I have invited three active friends of mine.
Hello @imranhassan! 👋
Congratulations!! Your post has been upvoted through steemcurator07. We support quality posts and comments throughout the platform. We encourage you to publish creative and quality content.