A tutorial how to made a motor protection dol starter panel board for a 3-phase motor.
| Hello my dear steemian friends |
|---|
| Assalamu Alaikum |
|---|
I am @saifuddinmahmud from Bangladesh. I made an electrical panel board for a 3-phase motor today. I will share with my Steemit friends in the form of a diary. I am going to write my diarygame. I hope everyone will like my post.
We need a panel board for a 3 phase fan. So I am making a panel board for it. If you run the motor through this panel board, there is less chance of the motor being damaged. You can avoid accidents caused by excess electricity.
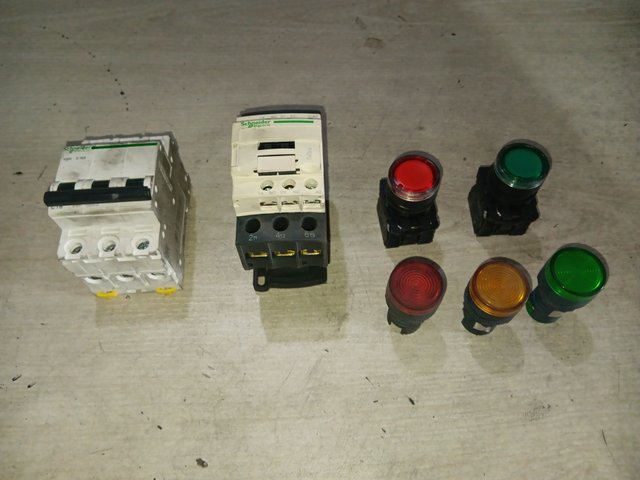
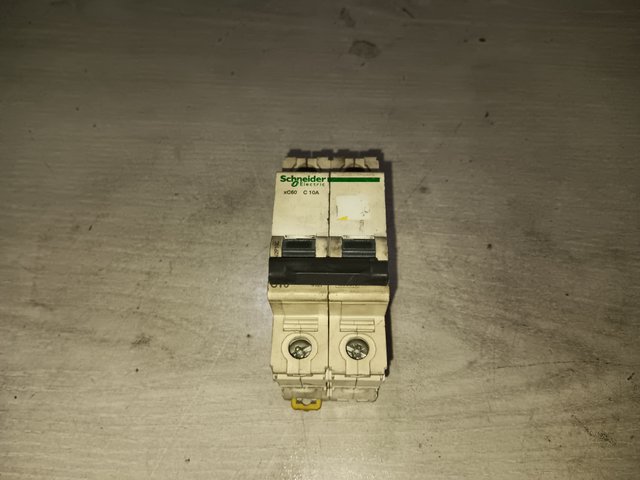
I need some of important things that are-
 |  |
|---|
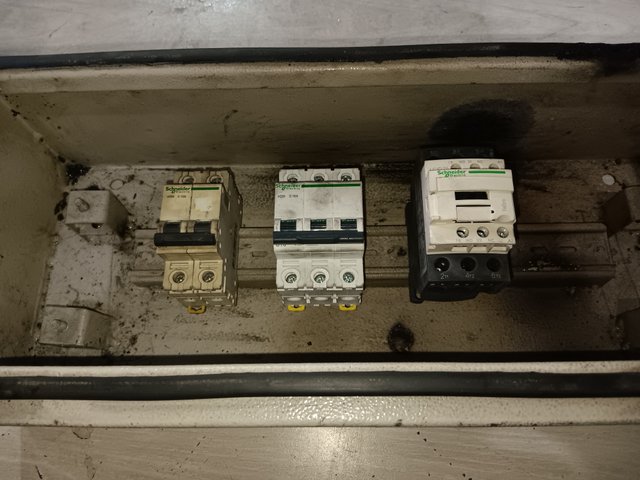
- 3 pole MCB
- 2 pole MCB
- Magnetic Contactor
- Push button switch
- Indicator lamp
- Panel board
| Step-01 |
|---|
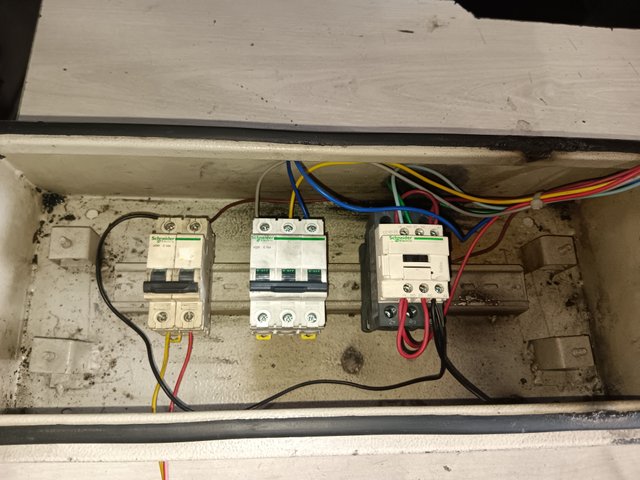
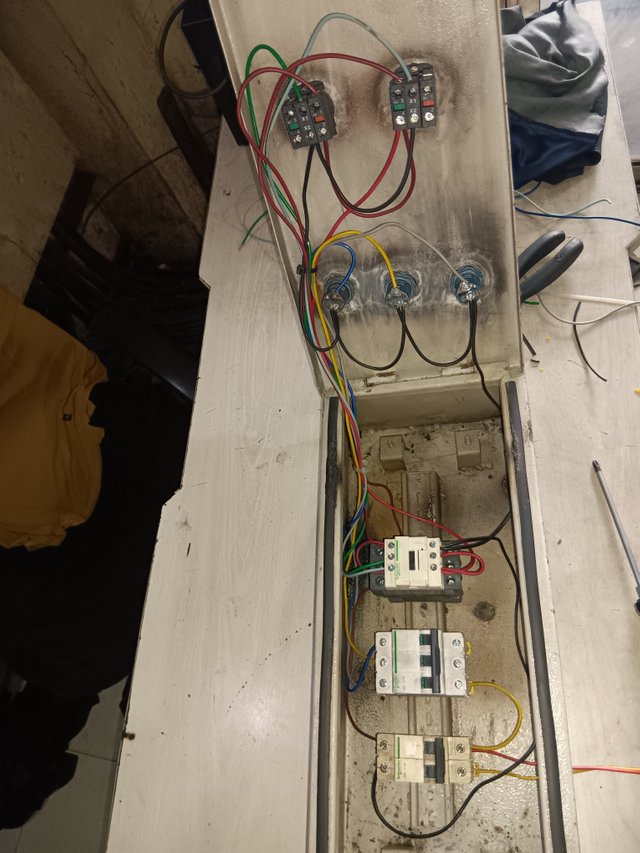
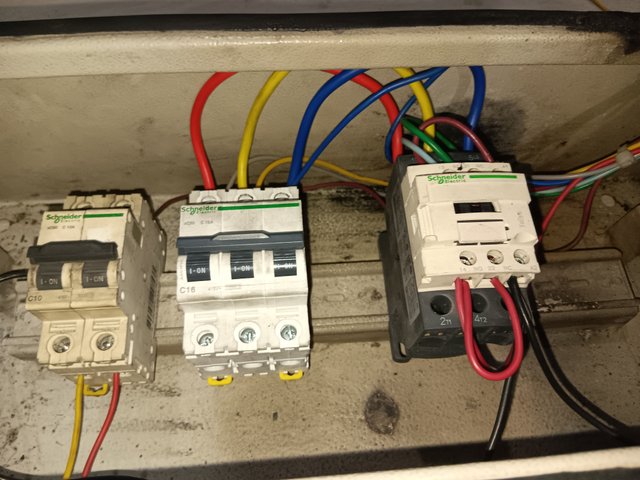
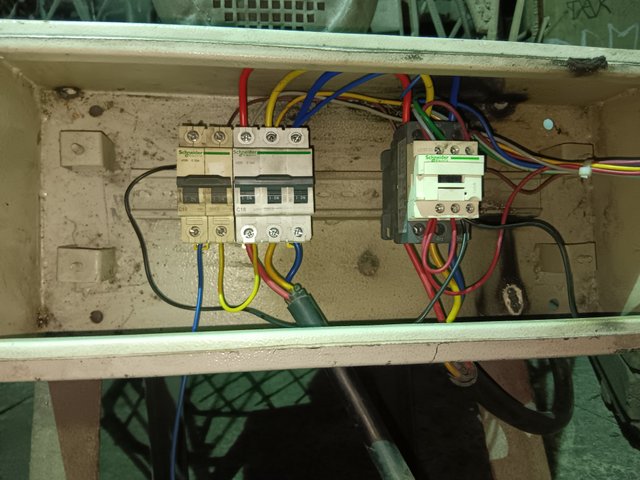
I will first install 2 circuit breakers and a contactor inside the panel. I will install it close together so that it is convenient for me to make connections. I first installed the 2-phase breaker, then the 3-phase breaker, then the contactor.
| Step-02 |
|---|
 |  |
|---|
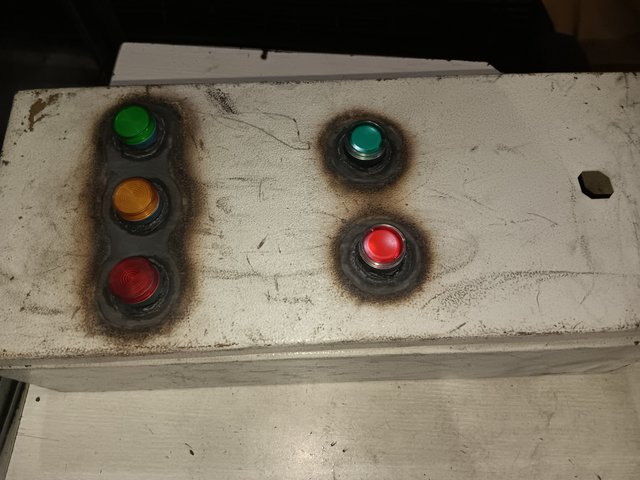
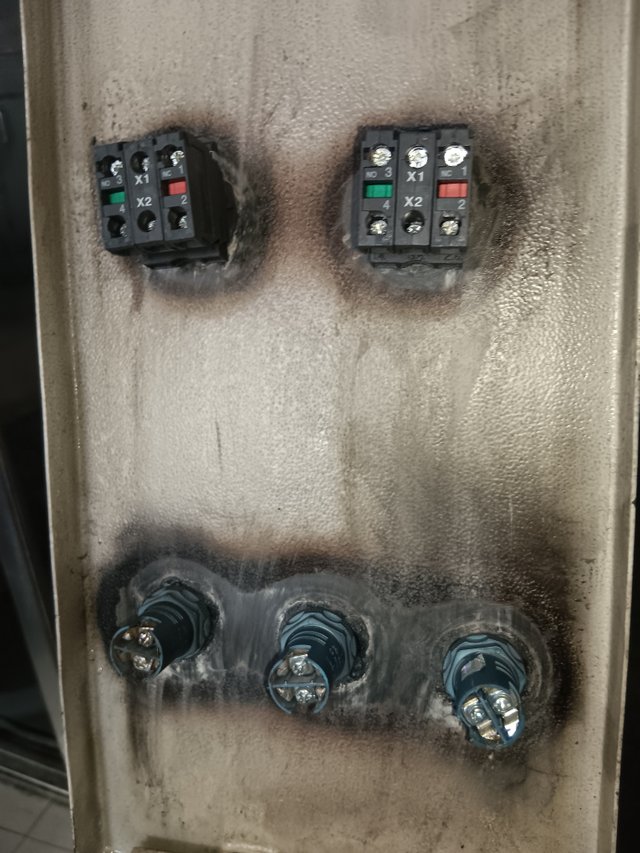
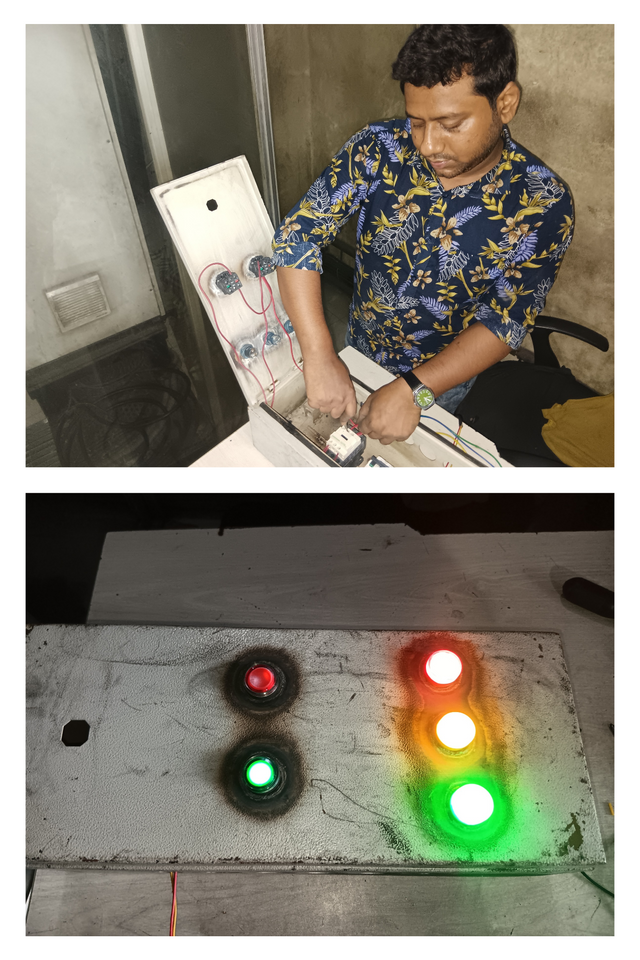
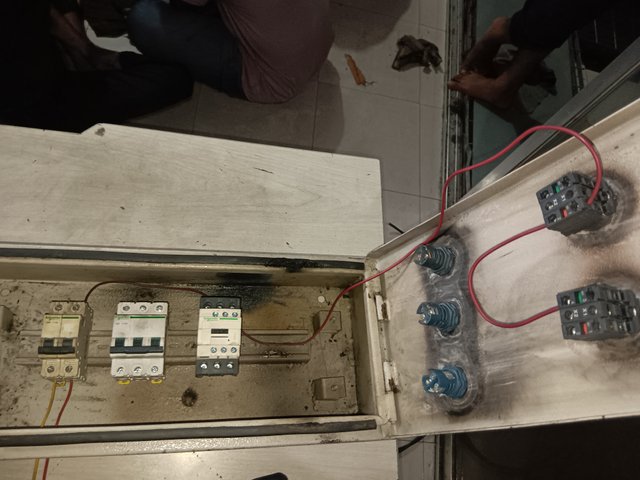
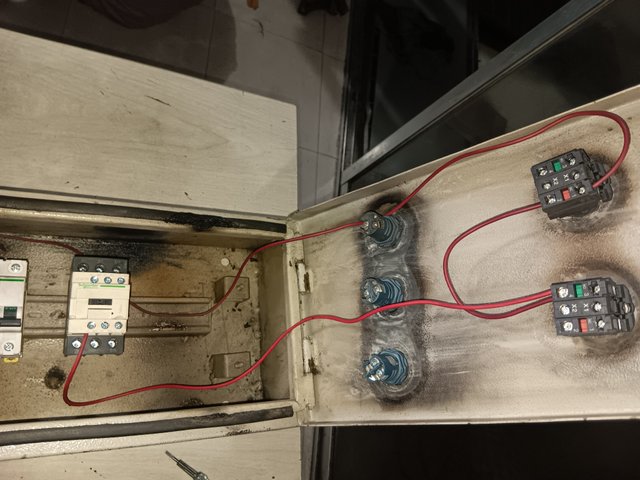
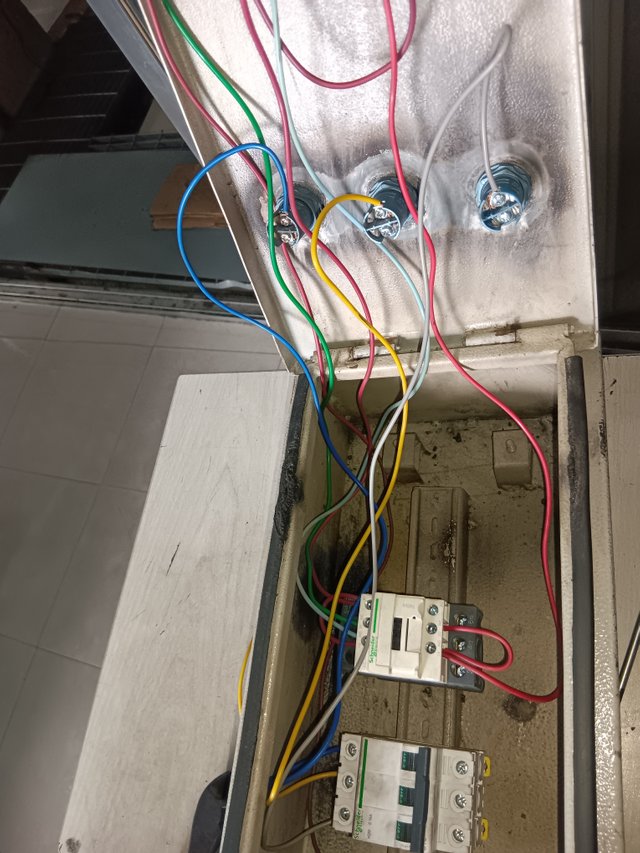
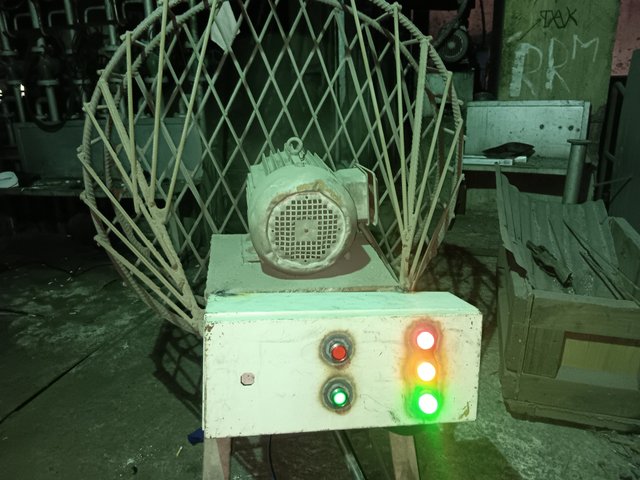
I installed the indicator lamp and push button switches on the door of the panel board. I will install them on the door so that it is convenient to operate. The push part will be outside and the connecting part will be inside.
| Step-03 |
|---|
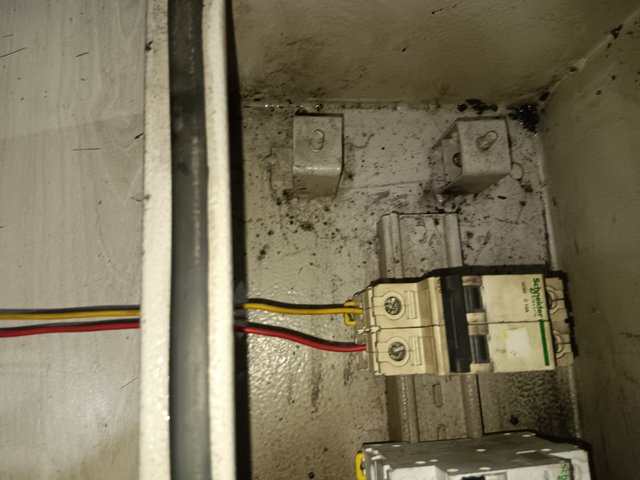
I connected a phase and neutral to the input line of the 2-phase breaker. I took out 1 phase wire from the output. I will connect all the instruments to this line from this phase wire.
| Step-04 |
|---|
I will connect the phase wire to terminal 1 of the button's NC auxiliary. I will connect a wire from terminal 2 to terminal 4 of the green button's NO auxiliary.
| Step-05 |
|---|
I will connect another wire from terminal number 4 and attach it to terminal number 14 of the magnetic contactor.
| Step-06 |
|---|
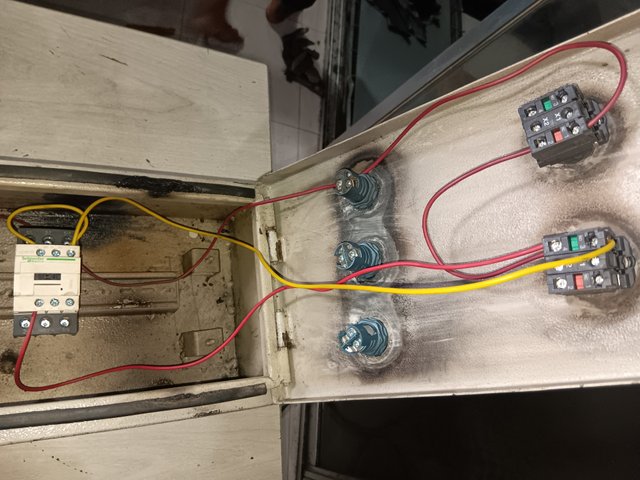
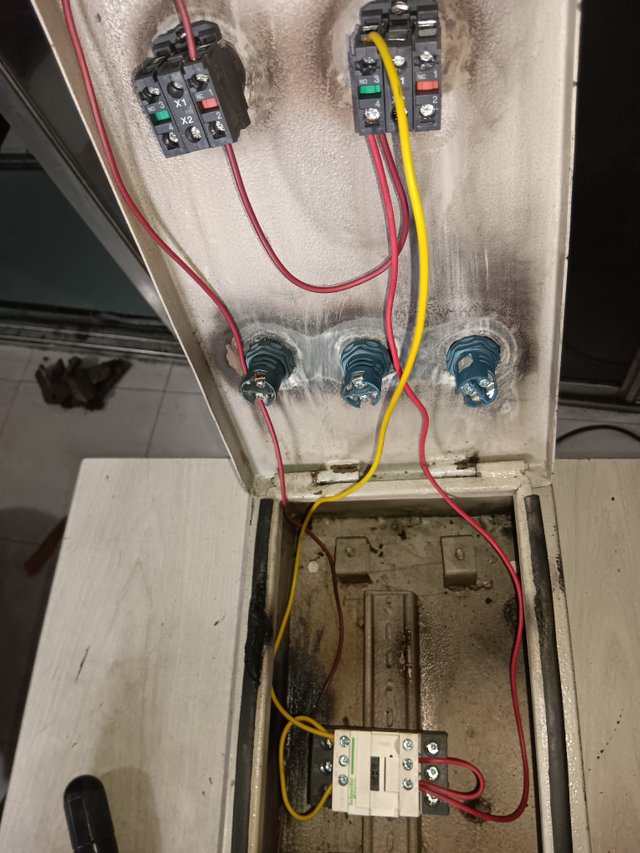
I will take a yellow wire from terminal 3 of the green button and connect it to terminal A1 of the contactor, which will act as the phase line.
| Step-07 |
|---|
Now I will take a wire from A1 of the contactor and connect it to the 13th NO terminal. I will take a wire from the 14th NO terminal and connect it to the 22nd NC terminal.
| Step-08 |
|---|
I will take a wire from terminal 21 and connect it to the X1 terminal of the indicator lamp of the red button (off button). I will take another a wire from terminal 13 of the contactor and connect it to the X1 terminal of the green button (on button).
| Step-09 |
|---|
Now, to connect the indicator lamps, I will take 3 wires from the 3 outputs of the 3-phase breaker and connect them to the X1 terminals of the 3 indicator lamps.
| Step-10 |
|---|
The phase connections to each contactor push button and indicator lamp are complete. Now I will make the neutral connection. I will take a black wire from the output of the 2-phase breaker as the neutral and connect it to the A2 terminal of the contactor.
| Step-11 |
|---|
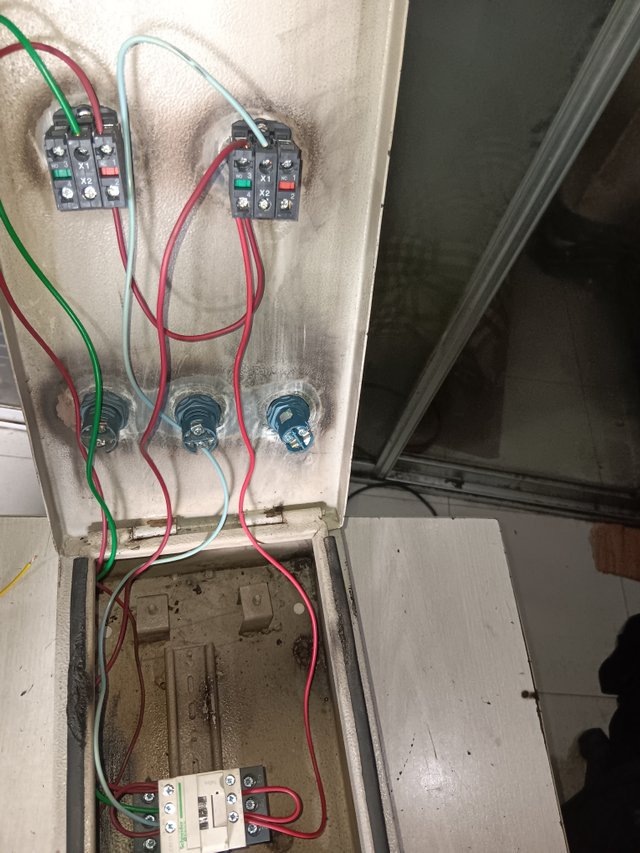
I will connect all the indicators and push button indicators to the X2 terminal of the contactor. I will make a neutral connection from one indicator to another in the form of a loop. This completes the connection of all my devices.
| Step-12 |
|---|
I will connect 3 wires of red, yellow, and blue from the output of the 3-phase breaker to the output terminal of the contactor. By this the contactor gets the 3 phase line.
| Step-13 |
|---|
Now I will connect the power cable. I connected the 3-phase power to the input line of the 3-phase breaker. Then I connected the motor to the 3-phase line from the output of the contactor. In this way, I completed my entire circuit and connection.
| Step-14 |
|---|
My work is complete. Now I will connect the electricity. After connecting, I turned on the fan. The indicator lamps of the 3-phase line lit up. Along with this, the indicator lamps of the pushbutton lit up. The fan is running.
Thanks to everyone who read my post.

This is a great tutorial for setting up a starter panel board for a 3-phase motor. Many people are looking for tutorials like this, and I hope they will definitely benefit from it. I encourage you to share such tutorials on a regular basis. Friend, try to use your full voting power and increase your voting CSI.