How are you all? I hope everyone is well by the grace of Allah. I am also well with your prayers.
Today I will share with you the real experience of repairing a 12-volt mini IPS. This was a customer's IPS whose 220-volt AC input card (AC cord) was burnt, due to which the device was not receiving power.
A customer sent his used 12-volt Mini IPS to my home for repair. The problem was, the IPS was not receiving power at all. I opened the device and found that the 220-volt AC line connection (AC cord) was completely burnt and no power was entering in any way.
How I solved it:
First, I opened the IPS and observed it carefully. I made sure that the problem was limited to the AC input card only. Then I bought a two-pin plug from the Super Star company from the store. I made a new AC card using a new AC cable. Then I connected it to the IPS properly. Finally, I checked the connections and turned on the IPS — and Alhamdulillah, it is working as before.
I am going to start my tutorial post. The first step in repairing a mini IPS
First, a 12-volt mini IPS, which is mainly used to run 12-volt light fans, came to me in a broken condition. It was not getting any power at all; that is, it was not turning on. So I brought the IPS to my work table and first tested it using a series board so that there would be no damage in case of a short circuit. As you can see, no power was coming during the test. Then I prepared to open the upper casing of the IPS with a screwdriver.
Internal testing and troubleshooting of the IPS
After opening the casing of the IPS, I first looked inside to see whether any wire was burnt or short-circuited. Since there was no power coming to the device, I was seriously monitoring the issue. First, I checked the input line of the transformer, especially the part before the 220-volt AC input. I saw that there was no problem with the internal circuit or transformer part — everything was safe and sound. Then I paid attention to the outside, i.e., the AC input connection part. There, I noticed that some parts were bent and clearly starting to melt, which is a sign of overheating.
Removing the old AC cord and details of the problem
Then I tried to pull out the 220-volt AC cord. Then I saw that it was completely burnt and had a short circuit inside, due to which the cord broke and came out in my hand. As you can see in the picture, the burnt cord is twisted in my hand, which clearly shows that it is no longer usable. It is completely damaged, and there is no other way but to replace it with a new one.
Selection and Preparation of New AC Cord
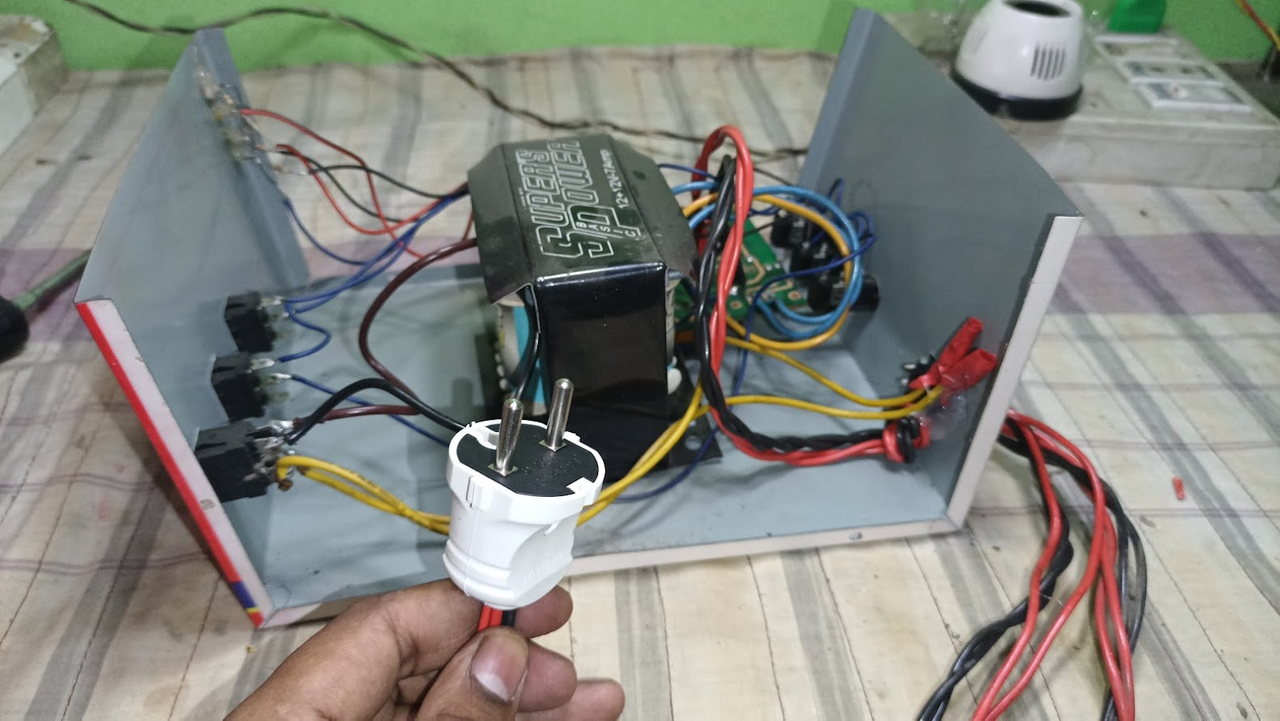
After the old AC cord was completely damaged, I decided not to use a low-quality cord here. So I went to the market and bought a two-pin plug from a trusted and good brand, namely Superstar Company. Along with this, I also bought some high-quality wires so that when making a new connection, it fits smoothly and is durable. This cord from Superstar Company is not only beautiful and neat to look at but also very strong and safe—which is expected to last for a long time.
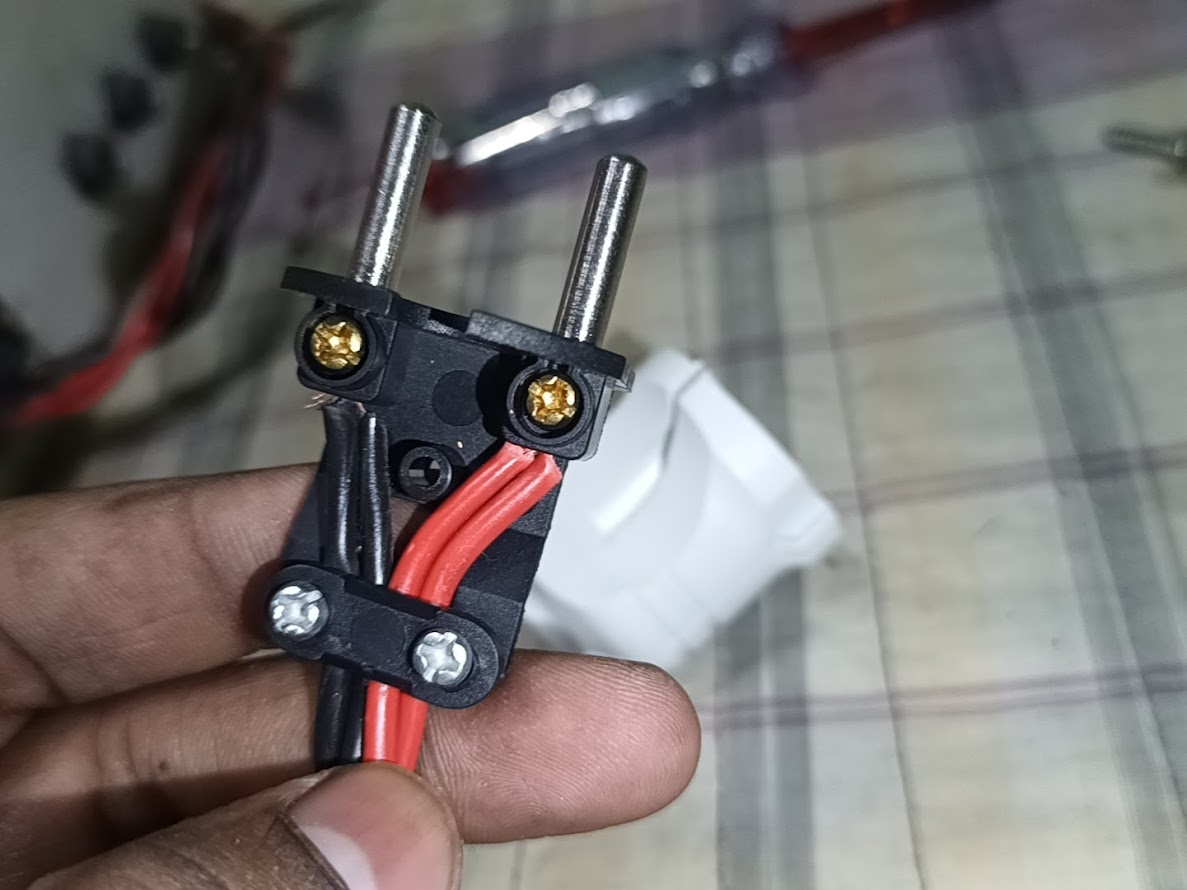
New two-pin plug connection and AC cord modification
Then I remove the cover of the two-pin plug with the help of a screwdriver. Then I cut the insulation of the wires and set them neatly inside the plug so that the connection is secure and works properly. As you can see in the picture, there is a special locking system behind the plug, which I really like. As a result, the wires do not slip easily but rather are firmly stuck. Finally, when the joining is finished, I have a beautifully modified AC cord in my hands, which is not only good-looking but also efficient and safe.
Removing the burnt socket and connecting the new AC cord
Then I unscrew the screws from the IPS casing so that the burnt old AC 220-volt input socket can be easily removed. From that socket, I carefully remove the soldering of the old wires so that the circuit board is not damaged. Then I join the new AC cord that I made with my own hands neatly. Finally, I solder the connections well with a soldering iron so that the joints are strong and do not come loose in any way.
Final Testing and Success
After all the connections are completed properly, I decided to test it on the series board now so that it can be verified without any short circuit or danger. I provide 220 volts of input voltage through the series board, and immediately I see that the power light of the IPST is on. This means that my modified new AC cord and input connection are working properly and the entire device is back to normal.
Using a glue gun to ensure safety
After successfully connecting, I take the glue gun (glue machine). Because the place from where I took out the 220-volt AC input voltage wire, the insulation may be damaged due to friction with the casing. If the insulation is cut, then there may be a risk of a short circuit or current leakage in the future. So I seal the area nicely with a glue gun so that the wire stays in one place and is safe.
Last minute confidence and security assurance
Finally, to verify the authenticity and perfection of the work, I take a happy picture with my repair so that the memory and success of the work can be preserved. As you can clearly see in the picture, I have glued the input voltage part with a glue gun, which has now completely dried and turned into a plastic coating. As a result, the wires will no longer move. There will be no risk of short circuits in the future. This is how I have given a new life to a broken 12-volt mini IPS and made it usable again.
Last minute, check the output with the input voltage.
Then, after applying the glue gun nicely on both sides, it dried and became a plastic coating and looks very nice. Now I will attach the upper casing. After attaching the upper casing, I gave 220 volts of input voltage, and my IPS got a lot of nice power. Next, I measured its output voltage with a digital multimeter. It was 15.40 volts at no load, which is within the expected range.
Video Tutorial: To better understand the practical part of this tutorial, you can watch the video below.
Last Note:
I try to repair every device carefully and get it working properly. By sharing this experience, I can learn and share with others. I hope this post is helpful to someone.
🟩 Thank you for reading my post and giving your valuable time. Stay well and stay healthy. God bless you.
🟩
Thank you very much for sharing a nice article with us. Hope you stay active and keep engaging with everyone. If need any help then join our discord https://discord.gg/ksmVErs5.


.gif)
https://x.com/ImranHosen98536/status/1910019924824842744
Hi, Greetings, Good to see you Here:)