"SC-S26W1/Video Editing, Getting Started"
Today I am going to participate in a "SC-S26W1/Video Editing, Getting Started" competition among you. First of all I want to thank @anailuj1992 mam for organizing such a beautiful and interesting competition.

I really like video editing, so today I decided to participate in this beautiful competition. First of all, I downloaded a video editing app called CapCut from the Google Play Store.
| I clicked on the capcut app plus icon New Project |  |
|---|
After downloading, when I saw that it was installed, I clicked on the app. After entering the app, I clicked on New Project.


After clicking on New Project, my mobile's gallery interface came up and showed the gallery. And there were two options: one is Photos, and the other is Videos. Then first I selected two pictures from my gallery. Then I selected the two pictures by clicking on them. After selecting, I came to the video interface. Then I selected another 12-second video. Then a total of three files were shown in the Add option, so I clicked on the Add option.
| After clicking on the add option |  |
|---|


When the video photo was selected, I noticed one thing: I had muted the extraneous noise in the video while editing. And I have mentioned very well how I did it.

To make a video in a very beautiful way with pictures and videos, it will usually take a few seconds, usually 1.6 seconds, to make a video. The photo that has been clicked is made into a video.

| Crop |  |
|---|
| I selected aspect ratio 16.9 |  |
|---|
The image was large in size, so I clicked on crop tools to reduce the size a bit. After that, I saw that there were many sizes available. After getting there, I first chose the aspect ratio of 16:9 and selected it in the photo, using the check mark above, which I indicated with a signal using a circle symbol.


| Speed Better Quality |  |
|---|
| Video Speed Smooth Better Quality |  |
|---|
After clicking on the video, I first saw that the video was originally 12 seconds long, and to increase the seconds a little, I first went to Speed Tools. After entering Speed Tools. I clicked on the place where it says "Normal." After clicking, I saw a large interface for increasing or decreasing the duration. Where the video duration decreases and increases by dragging on the right and left sides.
I made the video a little longer in seconds. Then I increased the video by a few seconds. After that, I clicked on Smooth Better Quality so that the video would be good at once. Then I clicked on the check mark. The video became completely smooth. When I saw it, it was running well.


| I put the steemit logo on photos and videos | 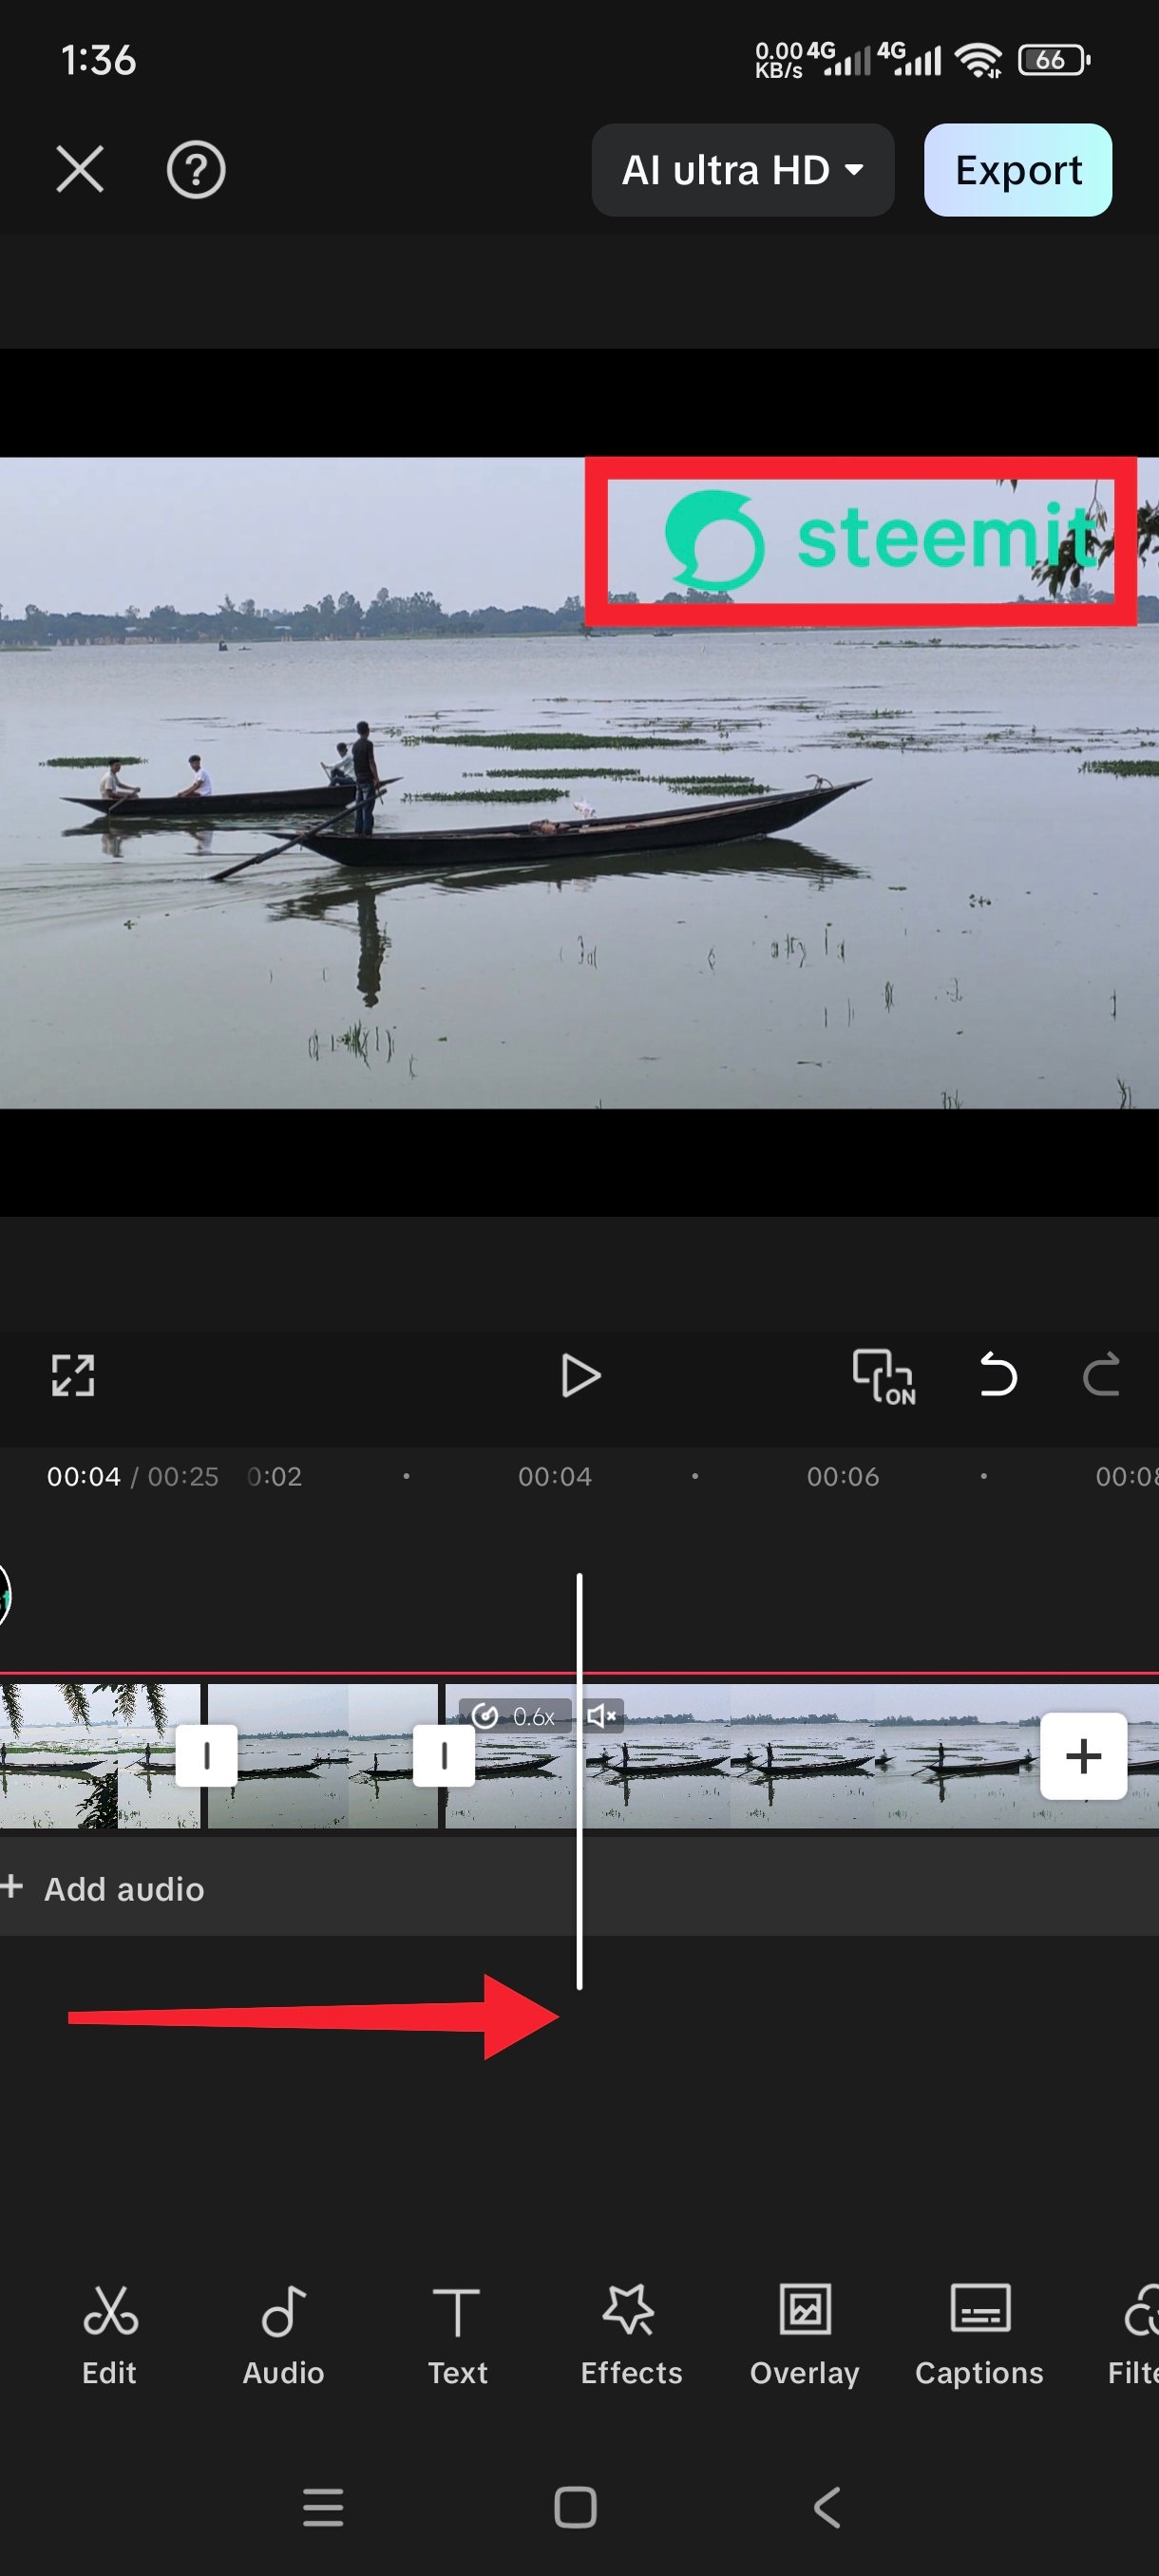 |
|---|
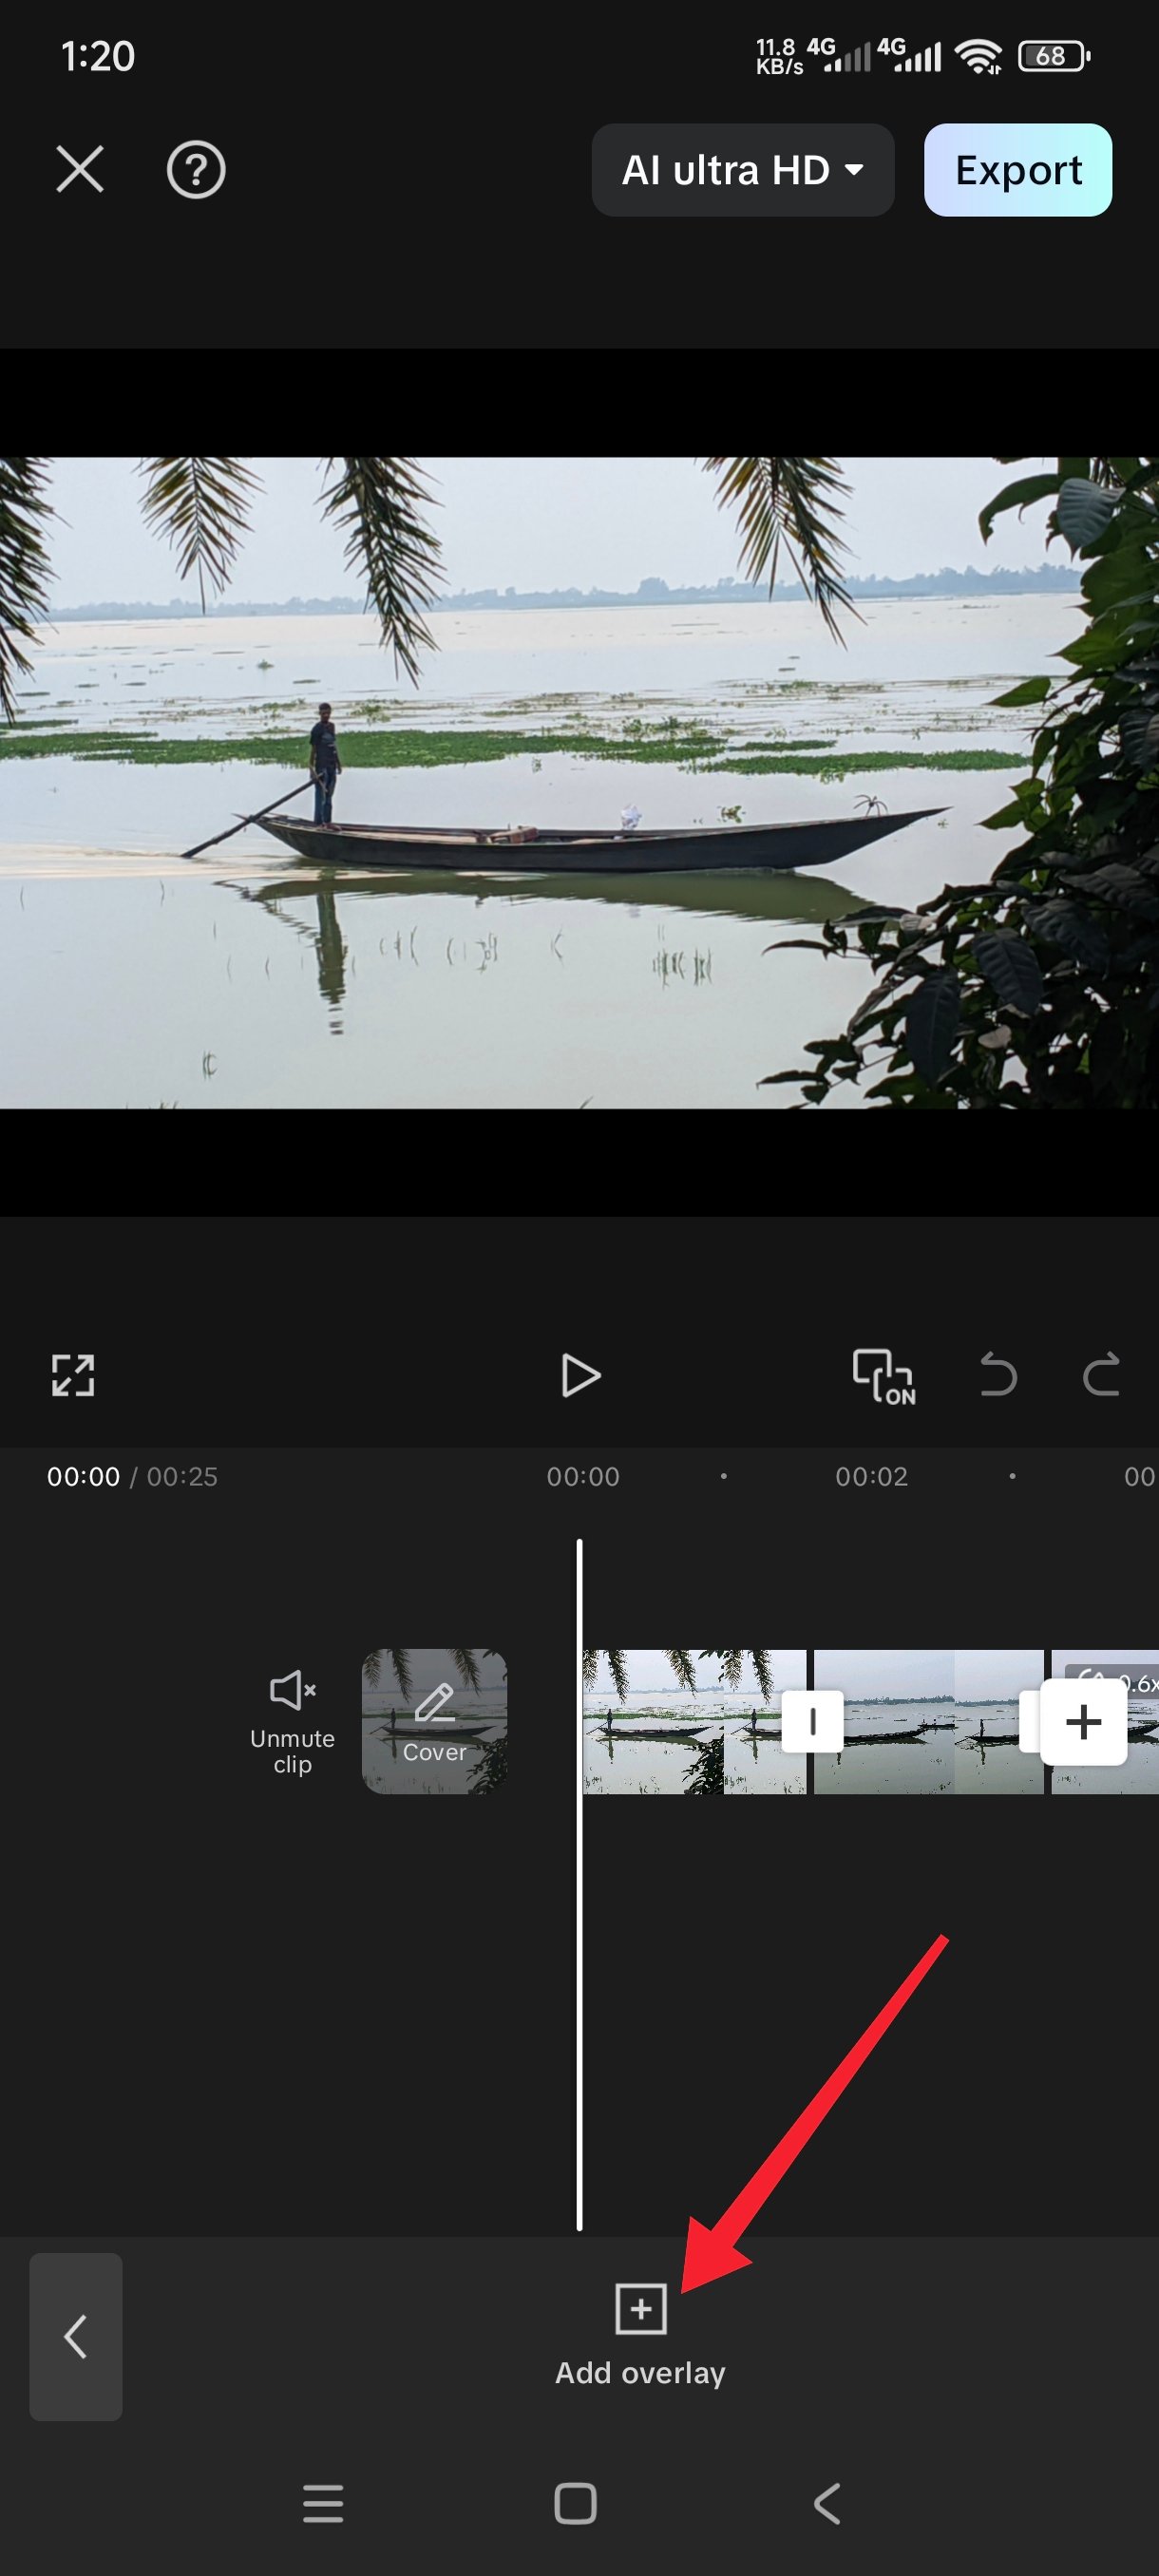
To select the Steemit logo, the first thing you need is a logo that says "Steemit," which I had downloaded in advance. Now, during editing, to add the logo to the video, there is a tool called Overlay in the Edit Tools, which you have to click on. After clicking, you will enter the overlay.
Then, by clicking on Overlay, you will enter the gallery for the second time, and you will have to add the Steemit logo from where it is. I have explained how to add it using more symbols above. And if you click on Add at the more symbols below, the logo will be added to the video. When it is added, you will have to drag the Steemit logo to the side to enlarge it.
And you will have to add it with the video in the same order. After adding, the logo will always be in the middle of the video, from there, crop it and make it smaller, select the Steemit logo on the top right side, and then it will be done.


When the final stage of video editing is being done, one thing to keep in mind is that there is a logo written in the middle of the video called capcut, which is visible in the last. You have to take care of that and delete it. Otherwise, it will remain in the video. And to delete it, you have to click on the logo first, then the delete option will appear in the editing tools below; click there and delete it. Then the logo will be deleted.
| Video export option |  |
|---|
| Exporting |  |
|---|
| Video Exporting complete |  |
|---|
When all the video editing work is completed, then everything should be viewed properly. After viewing, click on the option called Export on the top right of the CapCut app. After clicking, the video will be exported within a few moments. I have mentioned how I exported the video very nicely above.
The video I participated in this competition. I went to the riverside to do this photography and videography. And then I edited the video just to participate in this competition. This video here shows a man sailing through the river in a very beautiful boat. It looked quite beautiful to me. I made the video from a fascinating environment. You can see what I edited below.
Thank you all for reading my post.I wish you all enjoy my post. I hope you all are inspire me in this platform #steemit.I want I do my best in this platform.stay safe stay happy.

-01.jpg)
X share link:
https://x.com/arroise89/status/1955228733419458659?t=odrqMOdQaGpOQAWhoQXlFQ&s=19
Thank you.
Saludos amigo
Con su explicación sencilla , de cada paso para elaborar el vídeo, me dan ganas de participar aunque de edición no se nada pero este es el propósito del concurso de que todos aprendamos y mejor emos nuestras publicaciones
Le deseo éxitos
Thanks.
Congratulations, my friend! I found your video very relaxing and wanted to watch it repeatedly. You demonstrated that you followed the instructions, and the result was great.
I understood a lot about using the app on my phone.
Thank you for reading my post.
Realmente me encanta el entorno en el que grabaste tu vídeo, es un lugar muy apacible.
Realizaste las actividades sugeridas para esta primera clase y además explicaste otras opciones como el silencio, la velocidad del video.
Éxitos
The clips you selected for this contest are very good, the river is very calm, and the boat makes it cool, in fact, your editing made it look even more captivating. Keep it up.
Thank you for reading my post.