SC-S26W5/ Texts and Subtitles

It's been a long ride, no doubt. We're currently in week 4, and I love the fact that concepts are given to us to practise the video editing. This makes it even more appealing. Last week, it was the use of audio, and this week is transitions, animations and effects. I'll be sharing a diary of how my day went in videos and pictures with the above tools and previous ones.
Starting Materials |
|---|
- Capcut
- 5 GB Free Space
- Pixabay for audio download Pixabay free music
- Video Compressor for compressing MB size
- YouTube for uploading video after editing
Tools I made use of in the Process |
|---|
- Overlay
- Audio
- Speed
- Freeze
- Text and Animations
- Stickers
- Volume
- Split
- Aspect Ratio
| Cut | Voiceovers | Adjust |
|---|
Pictures and videos used |
|---|
| Pictures of the tools I used in working | Pictures of the extractor fan in carton |
|---|---|
| Pictures of the extractor fan parts | Video of the toilet |
| Video of fitting | Video of finishing touches |
Steps of the tools used |
|---|
Step 1:
To start my text video editing, my videos needed to be arranged. Since it's a tutorial, it have to follow a certain pattern or stage so that viewers can learn without being confused. And there must be an alignment in video pattern. So I made use of the ASPECT RATIO tool to give my videos and pictures a good alignment and format.
I choose 16.9 as the standard landscape format. After applying this tool, my pictures couldn't adjust the way I wanted since they were in portraits. So I decided to use the overlay tool to add those portraits together so it can attain the 16.9 ratio. This prevents my video from being overlapped.
 | Aspect Ratio |
|---|
I had to adjust the pictures by pinching the pictures out to fill the blank spaced. After doing that, I aligned the videos and pictures together. My pictures were placed after each picture and video that features them.
 | Aspect Ratio tool | 16.9 |
|---|
Step 2: Duration minimisation, speed and split usage
After aligning my videos perfectly, I decided to work on my duration as I added a couple of videos and pictures which made it 7 minutes. My duration was almost 8 minutes. Since there's no distinct duration for the video, I had to use my discretion in determining how long it should be. Not everyone loves it when tutorials are long and boring. I decided to use the Split - Cut - Delete — Adjust tool. This tool helped me to remove parts that are not necessarily needed in a video and to adjust my pictures too, in cases where they are too long. This is shown in the video where I had to fit the wires into their terminals to. The process was damn long though.
I did both splitting and adjusting for videos and pictures. But another tool which is part of the split helped me. It's the speed feature. This helped me reduce the duration by making a video move faster. The medias I made fast were...
- my voiceovers
- the terminal connection
- exploring the toilet and removing blockage medias
 | Split, speed and delete tools |
|---|---|
 | Tools |
Step 3: Volume on video
I did silence the sound in all my videos as I used voiceovers to explain everything. Allowing these sounds would make the video lousy and repulsive to viewers. I added audio which the source is indicated below.
Step 4: Audio and Voiceovers addition
After silencing a few clips, I decided to put audio from this site in my videos so they can act as accompaniment. This is the link to the song I downloaded for my audio. From audio — Sounds — Device — Search button — Add.
This was how I added my music after downloading it from the site below.
 | Audio |
|---|
I made use of the volume and split too for my audio to make the sound balance with , voiceovers . My voiceovers were 1000 while the sound was 100. For the voiceovers, I was intentional about some parts so as not to rush my viewers. I ensured my volume and pitch balanced with the music in the video. These two sounds had to be balanced. I added voiceovers in major clips and then used the SPEED tool to rhyme with my clips. Afterwards, was addition of overlays and what was taught this week which is texts and subtitles.
Step 5: Overlays
Adding overlays was a big part of my video. 60% of the video was mostly overlay. I thought to myself, most of my videos and pictures are in portraits because of how my phone was set. I couldn't hold it in landscape and at the same time work. To make every clip rhyme with the 16.9 landscape ratio, I used overlays to fill in the blank spaces. To avoid eyes rolling in the videos, I made use of the Freeze tool so that the major video can be the center of focus.
 |  |
|---|
I added the freeze tool to allow my viewers concentrate in a particular thing. I also added the background removal tool which helped me place pictures in-between pictures or videos without making the edges obvious. Aside from the background removal tool, I made use of the adjust tool where I had to improve the clarity of my video. Since I'm using the pro version of the app, I could improve the HD quality of my video to make it sharp but I didn't have the patience to wait for it to load.
 |  |
|---|---|
 | Background removal |
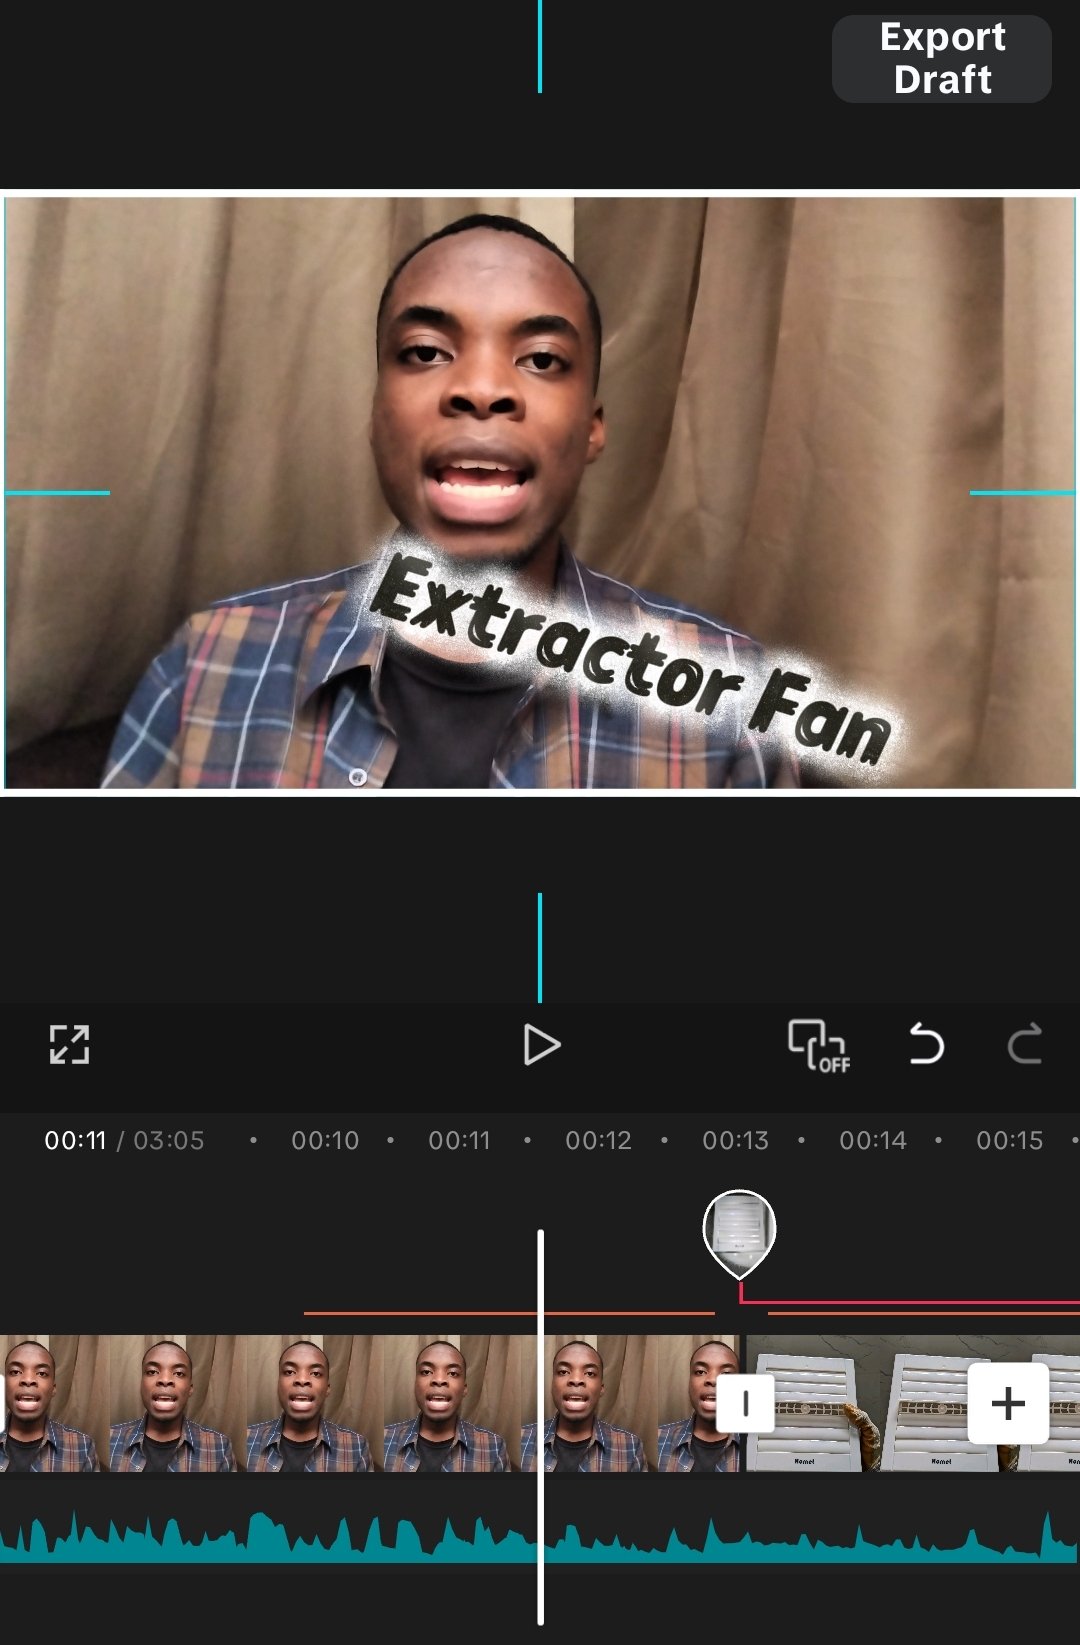
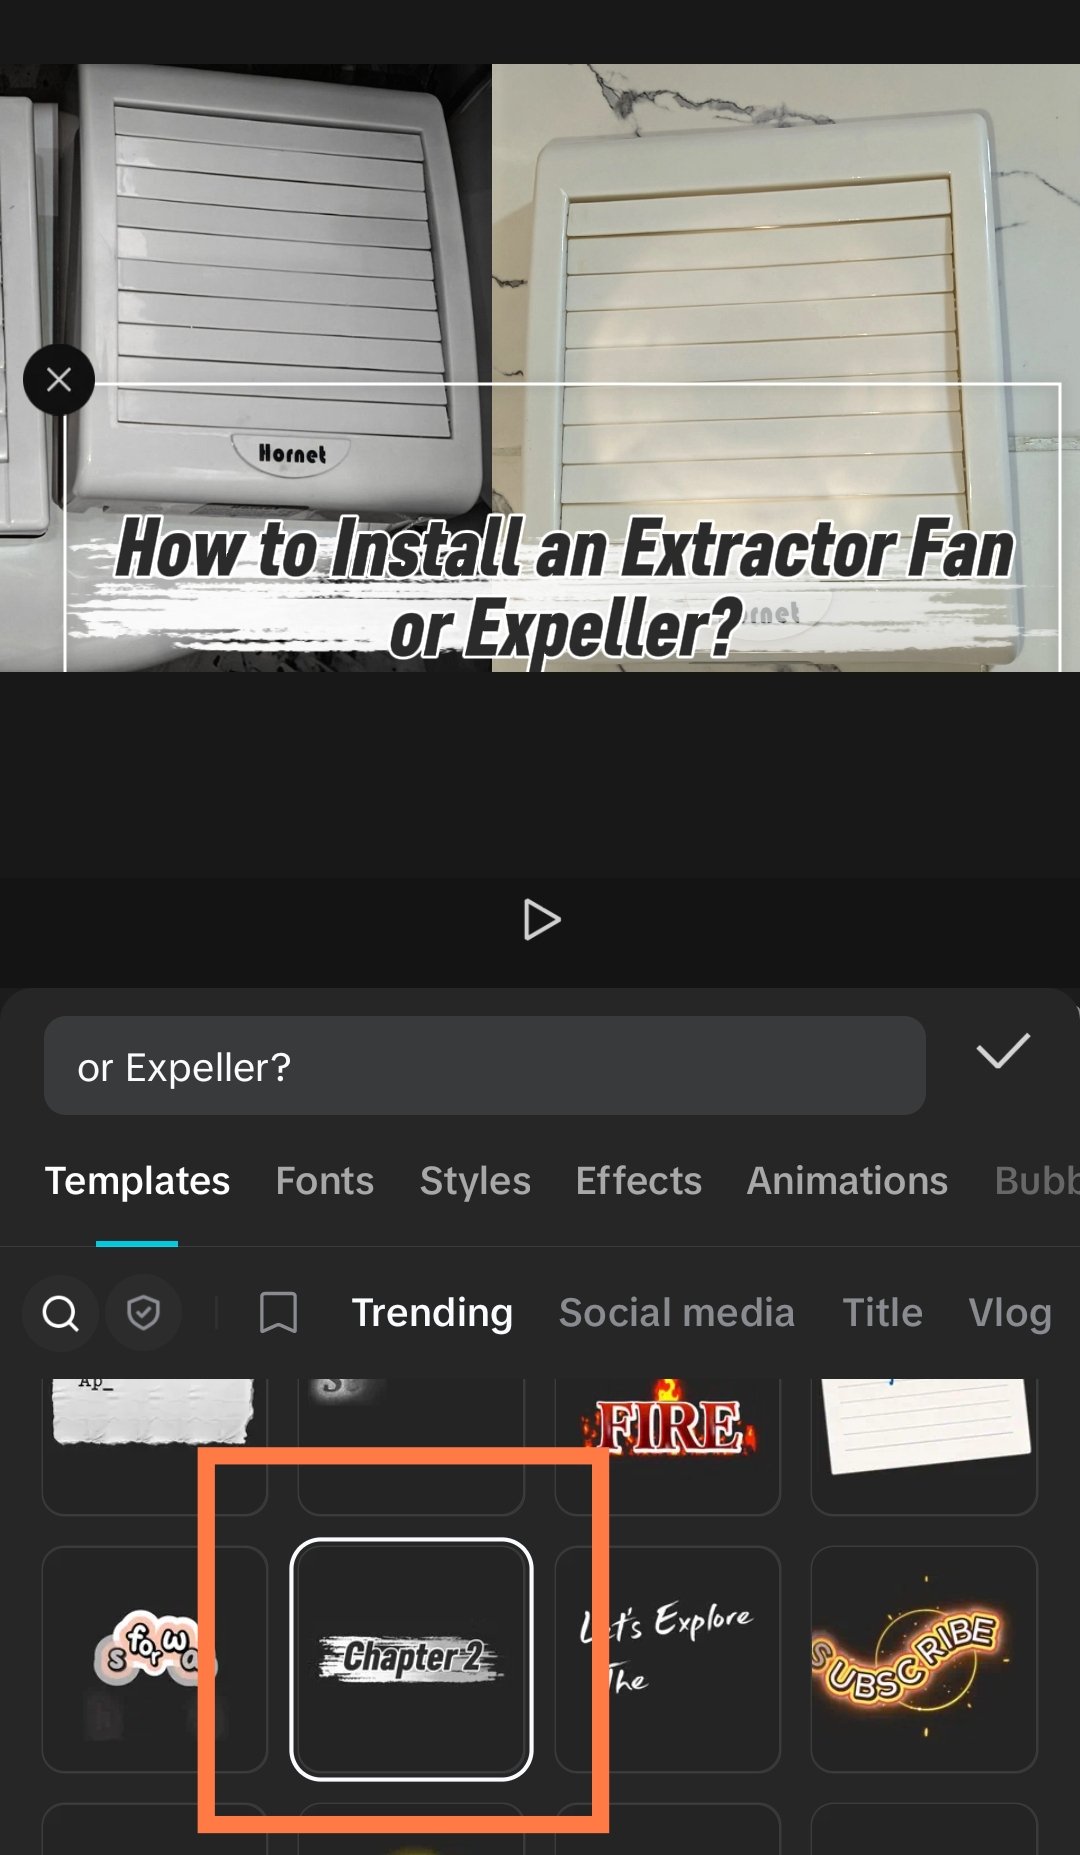
Step 6: Texts and Subtitles
Before and after the edits, texts were used to beautify the videos and pictures. I made use of stickers which is under the text icon to place as a guide to viewers so that they'll know what I'm talking about. I also made use of the Effects and Animations in the text tool. This helped darken the text and gave it this lemon and orange colours seen in the video and pictures. I made use of a few templates in the text section too.
 |  |
|---|---|
 |  |
This is the final result of my video editing on the Installation of an Extractor Fan.
I invite @sahmie, @lhorgic and @kouba01
Feedback |
|---|
| Device name | Redmi Note 13 pro |
|---|---|
| Model |  |
| Link to music | Pixabay music |
| Voiceover Effect | @bossj23 |
| Duration of video | 3:03minutes |
| Video Editing App | CapCut |
https://x.com/bossj23Mod/status/1967409864948523264?t=mWZxrwQRbuv9RRq_dRgNUQ&s=19
Nice one, you did a great work in editing your video, your tutorial was great as well.
With this video one can freely fix an extractor fan easily as you mentioned the tools, procedures, cautions and steps in fixing it. Your video was really detailed.
Wishing you success 👍
I really appreciate ma. Thank you
By improving the marked items you could get Higher Votes!
Curated by @marvinvelasquez
You did a great job brother...so detailed, educative and entertaining. I wish you the very best.
Thanks brotherly
What the essence of an extractor fan in a toilet because this toilet looks very classical and it's my first time hearing of it, and also your video is a nice one and the bilingual subtitle is cool too, did you use capcut pro?
It helps remove stall air from the toilet and it's mostly used in big homes, estates and big business places. Even small homes do use it, though, we tend to see the exterior pipe as an improvised method.
Okay I would have preferred this extractor over exterior pipe, did you watch my video please do and comment on it..
Ohkay, on this