Papercraft : A nice paper tree💗
Greetings friends!!
This is @urmilanath650 from @bangladesh
How are you everyone?? Hope all of my dear steemian friends are very well by the mercy of Almighty Krishna. I am also well by His mercy. Today I am here in this nice community to share a beautiful paper craft with you. I have made a beautiful art of a tree using color papers and now I am going to share the full process of this beautiful tree preparation with you. So let's see the required tools and procedure to make this nice tree...

- White paper
- Pencil
- Black color pen
- Red color paper
- Orange color paper
- Yellow color paper
- Slender wooden stick
- Scissors
- Glue
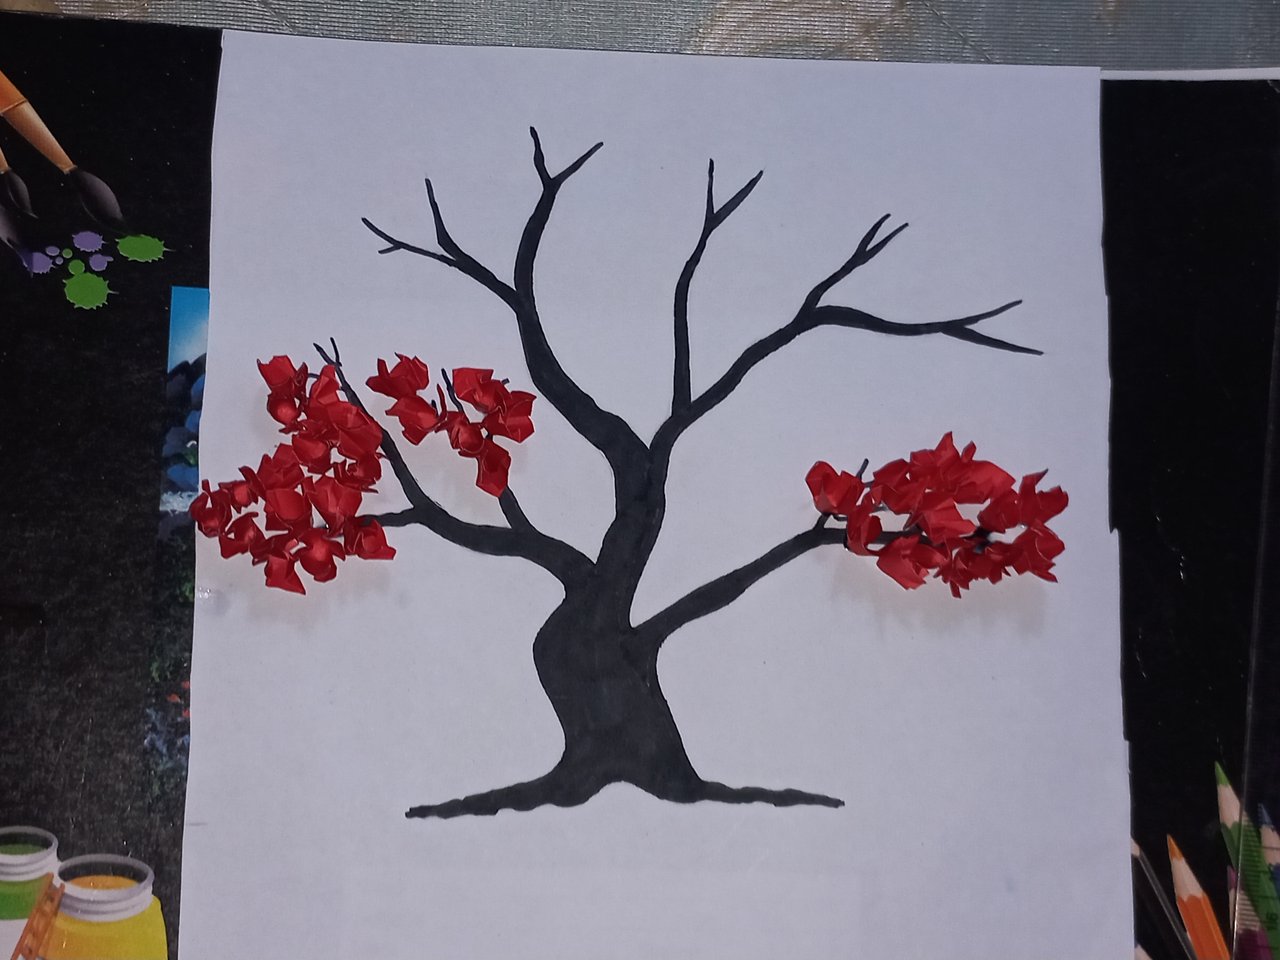
Cut a large and slightly rectangular shape from a white color paper. Draw a large tree trunk shape from the lower position of the paper using pencil. Paint it with black color pen.


Now draw several curved branches at the right side of the tree trunk and paint these with black color paper. Also draw some branches at the left side of the tree trunk and paint these with black color paper.


Cut several long rectangular shapes from a orange color paper and cut these into many small squares using scissors. Attach several red papers at two side's lower branches.


Also cut many red square shapes as like as orange squares. Then take a slender wooden stick. Twist a small red square on the tip of the stick and place a little glue on it from a glue tube. Attach this paper on the lower branch of the tree by gently pressing the stick.


Next attach the orange square shapes at different positions of the right and left side's of tree branches. After that cut many yellow color small squares from a yellow color paper.Place these squares at different positions of the upper side tree branches in the same way. Also place red and orange squares on different positions among the yellow papers. At last place some red, orange and yellow color squares on the base position and lower position of the root of the tree.


My beautiful paper tree preparation is done now. I have explained the details in the above five steps. Hope you all understand and enjoy this nice tree art so much. Keep me in prayers. Goodbye for today...
x share https://x.com/urmilanath55/status/1915948409204445289
Congratulations, your post has been upvoted by @scilwa, which is a curating account for @R2cornell's Discord Community. We can also be found on our hive community & peakd as well as on my Discord Server
Felicitaciones, su publication ha sido votado por @scilwa. También puedo ser encontrado en nuestra comunidad de colmena y Peakd así como en mi servidor de discordia
Many thanks 💗
Congratulations
This post has been curated by
Team #5
@damithudaya
Thank you so much for this nice support...