SC S24W6 || Portraits
Assalam-o-Alaikum! |
|---|
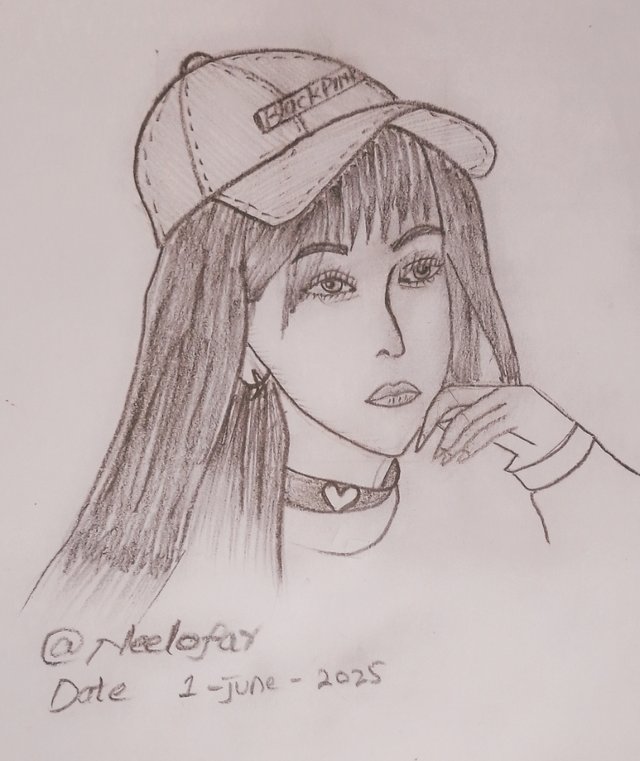
Step 1:
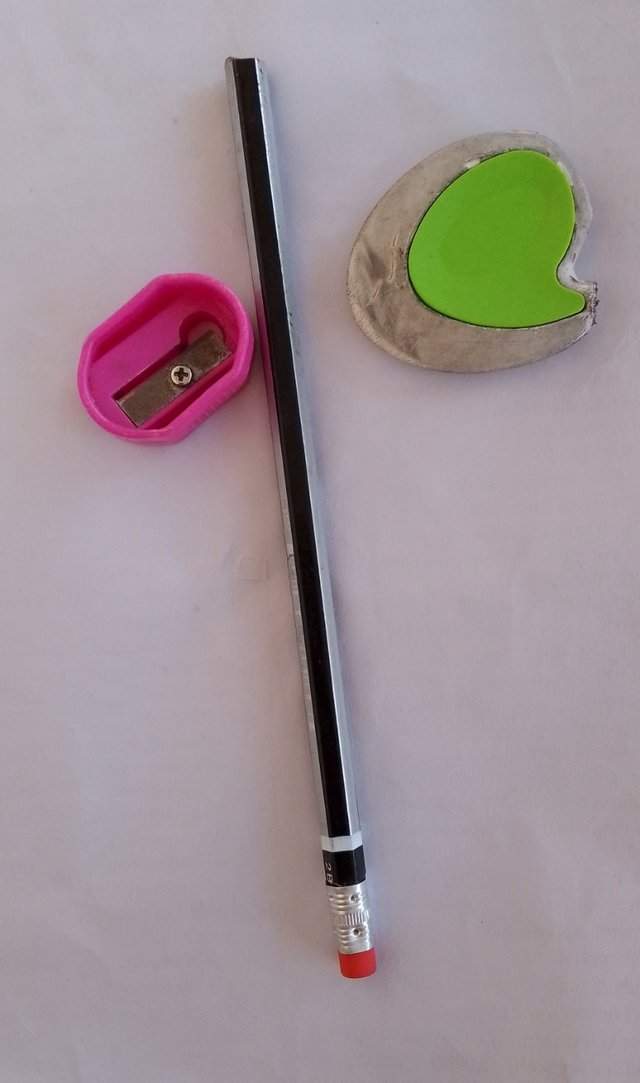
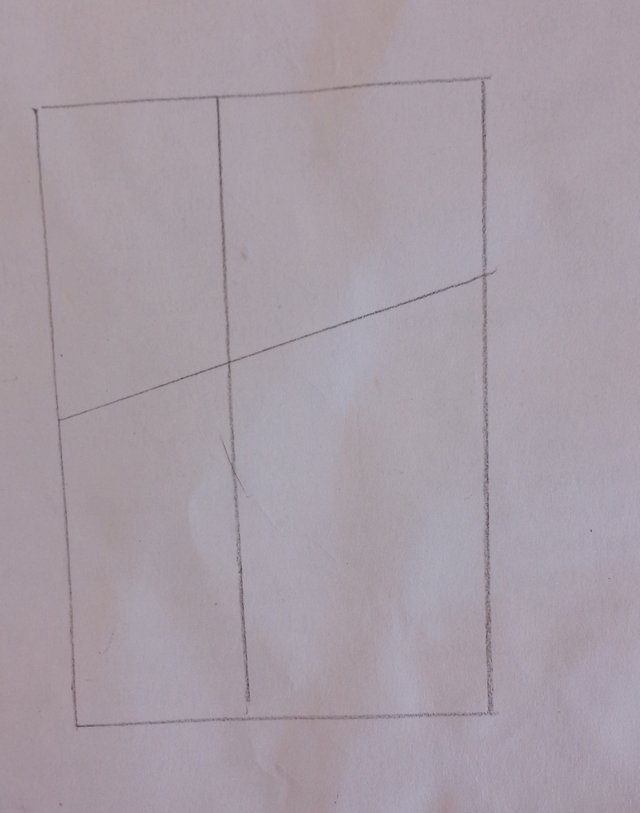
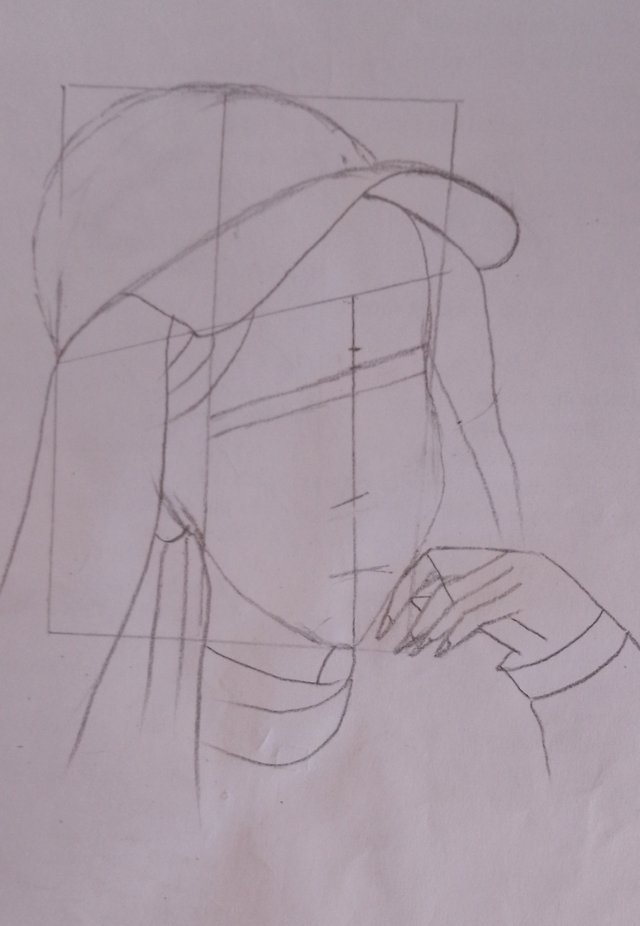
First I took a plain paper a pencil an eraser and a plastic shopper to keep things neat. Then I drew a straight line in the middle of the paper to help me keep the girl’s sketch in proper shape and level. This line works like a guide so everything comes out balanced on both sides.
 |  |
|---|
Step 2:
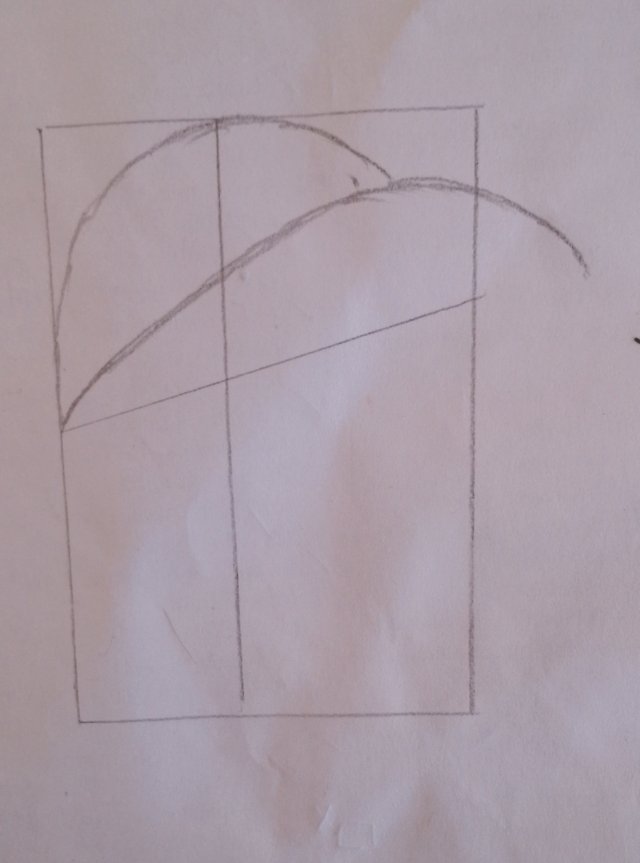
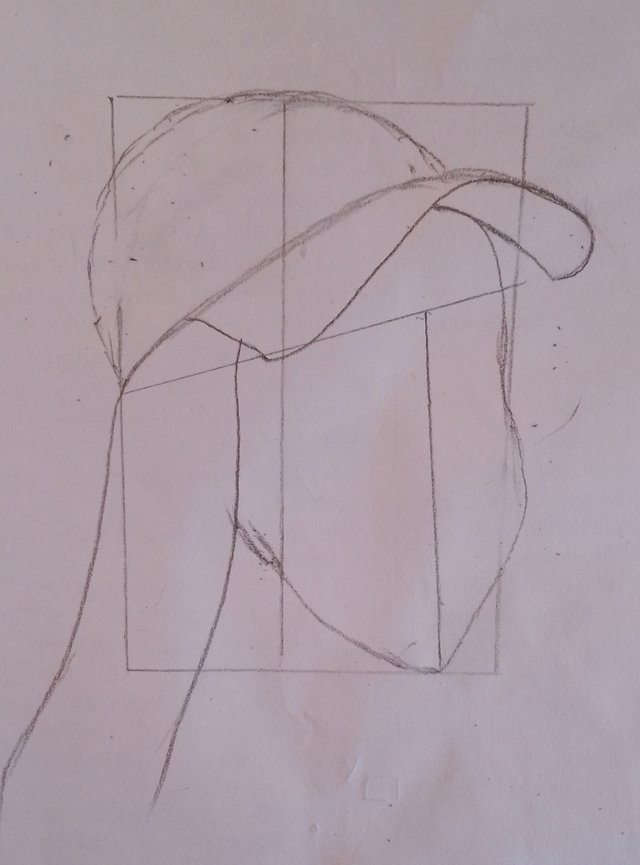
Now I started drawing the girl’s cap. I carefully made its shape first. After finishing the cap I moved down and began to draw her face and hair. I made sure the face and hair stayed on the line I drew earlier so her face looks even and in the right place—not too high or too low.
 |  |  |
|---|
Step 3:
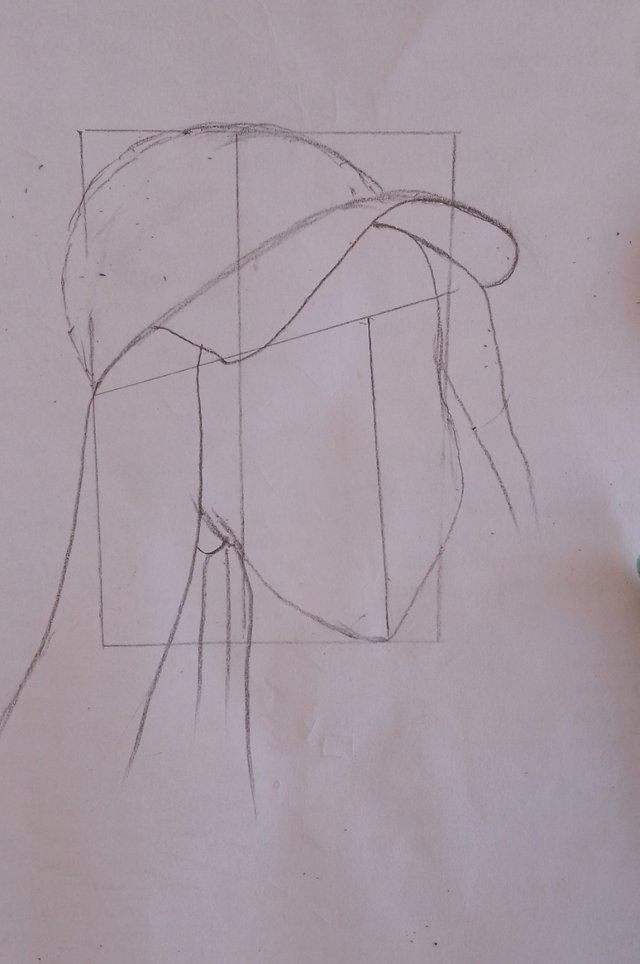
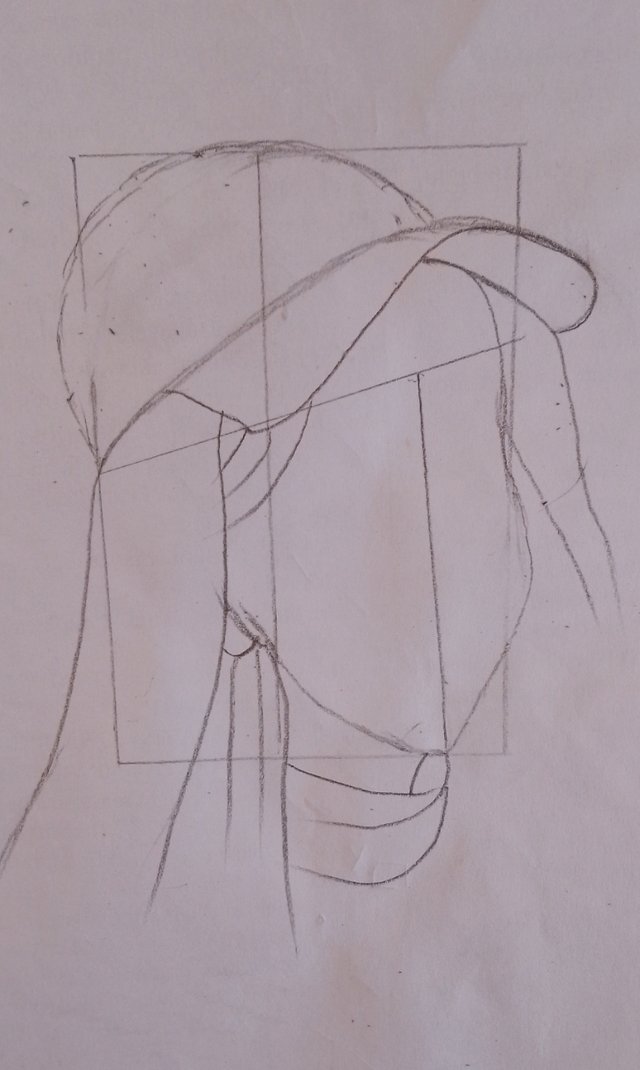
After completing the cap I made her front hair carefully so they look soft and neat. Then I drew her throat and added a line around the neck to show where the necklace will go. I made sure everything was shaped properly and gently so it looks like a real girl face and neck.
 |  |
|---|
Step 4:
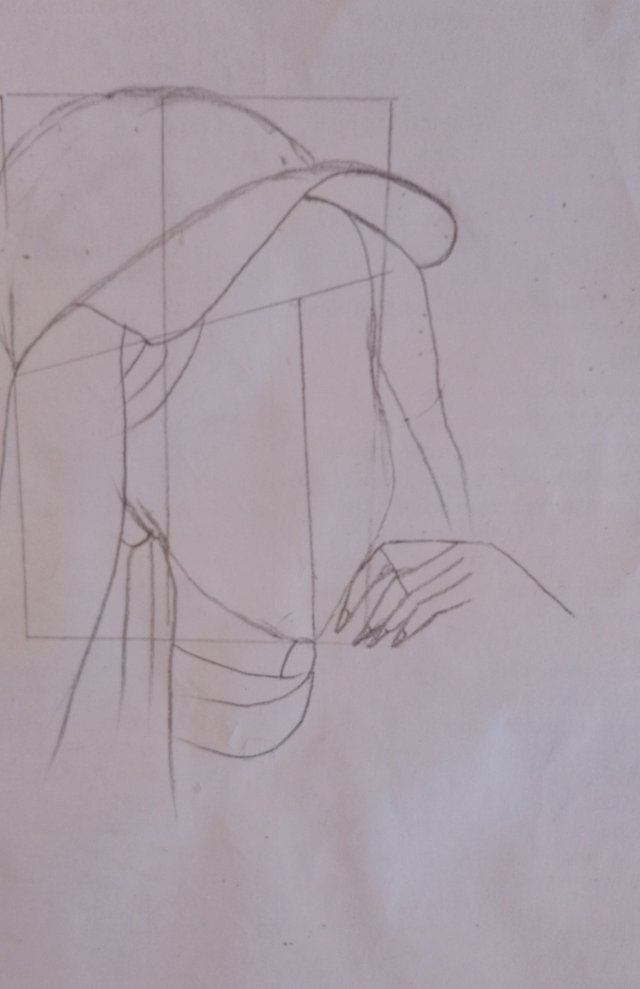
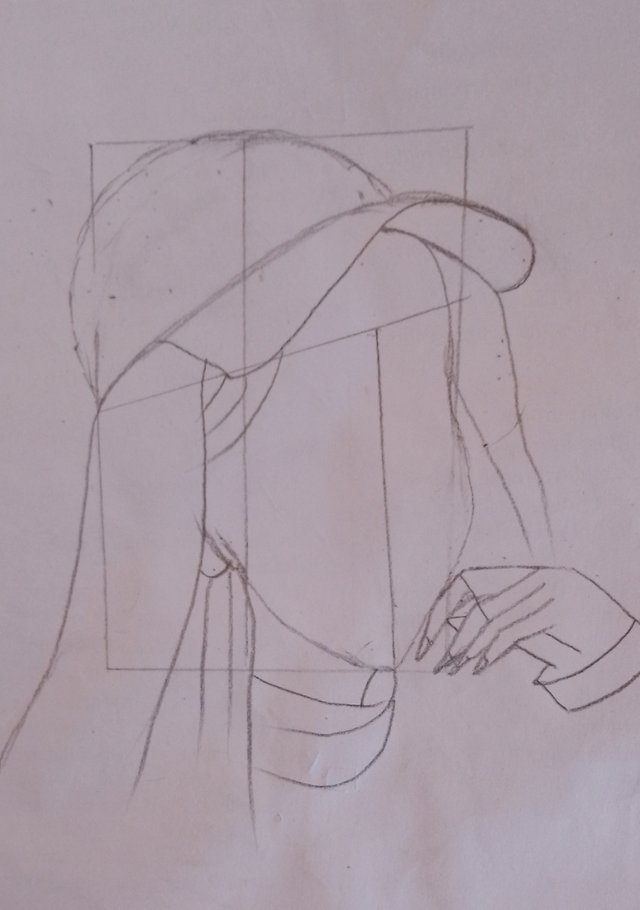
Now I drew her hand having beautiful fingers touching her chin. she is holding her hand near her neck. I made the shape slowly so it looks natural. I gave attention to how she beautifuy keep her hand tuch her chin. This step made her posture more graceful and ladylike.
 |  |
|---|
Step 5:
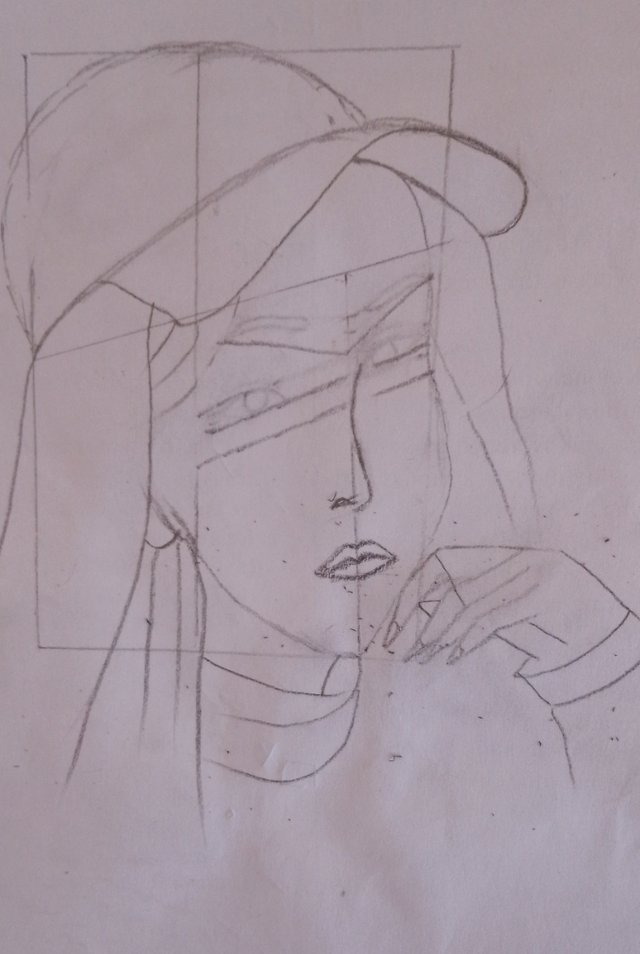
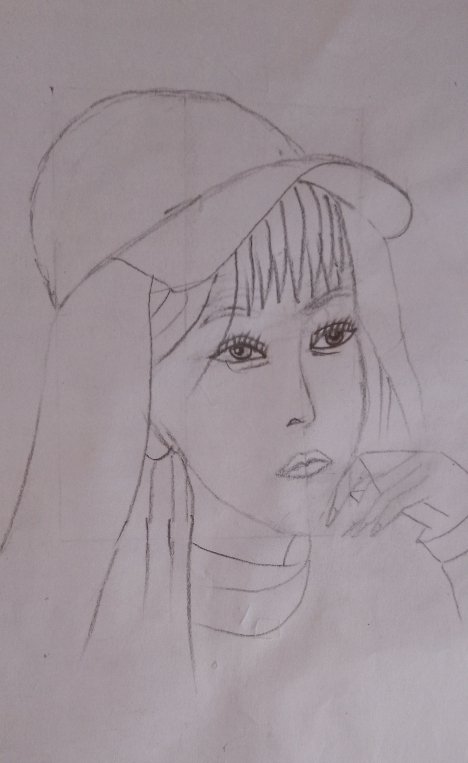
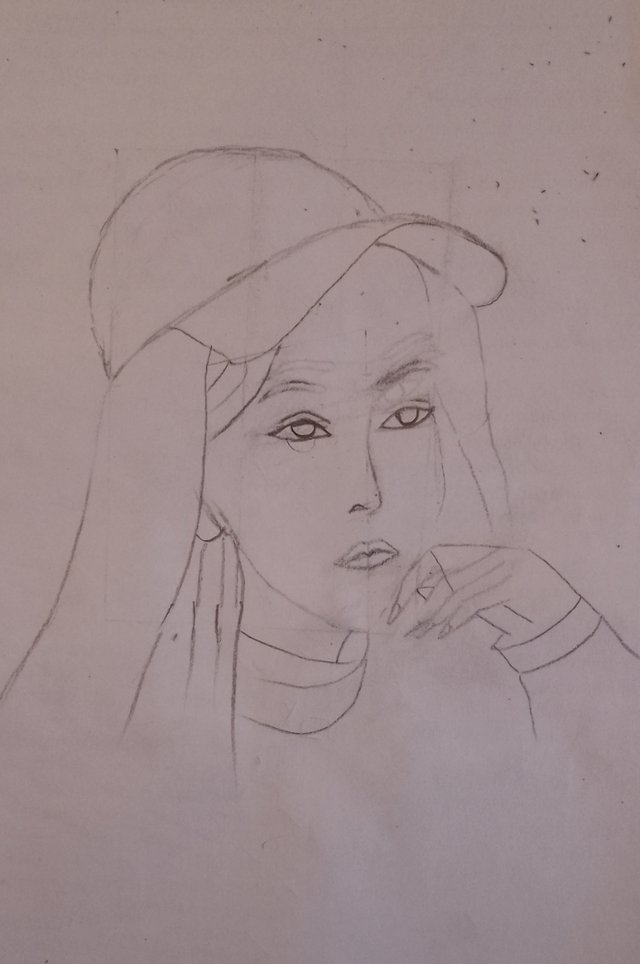
Once I finished making her hands I drew two light lines across her face to help me place her eyes at the same level. Then I added two tiny short lines to mark where her nose and mouth would go. This made it easier to draw her face parts correctly without any mistake.
Step 6:
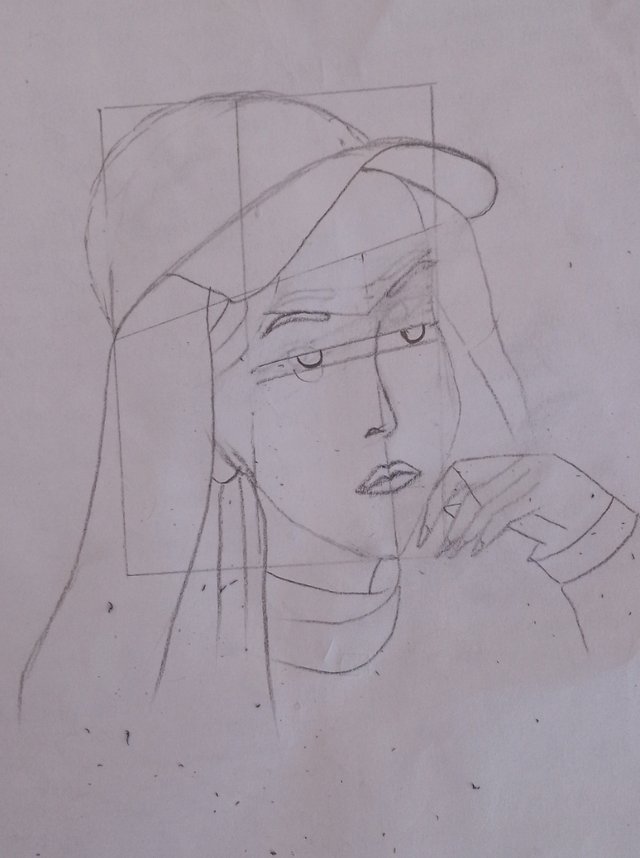
Now I carefully shaped her nose and drew a soft lips for her mouth. After that I made a thin line where I wanted to draw her eyebrows. These lines helped guide me so the eyebrows and other features stayed in the right place and looked neat and matching on both sides of the face.
Step 7:
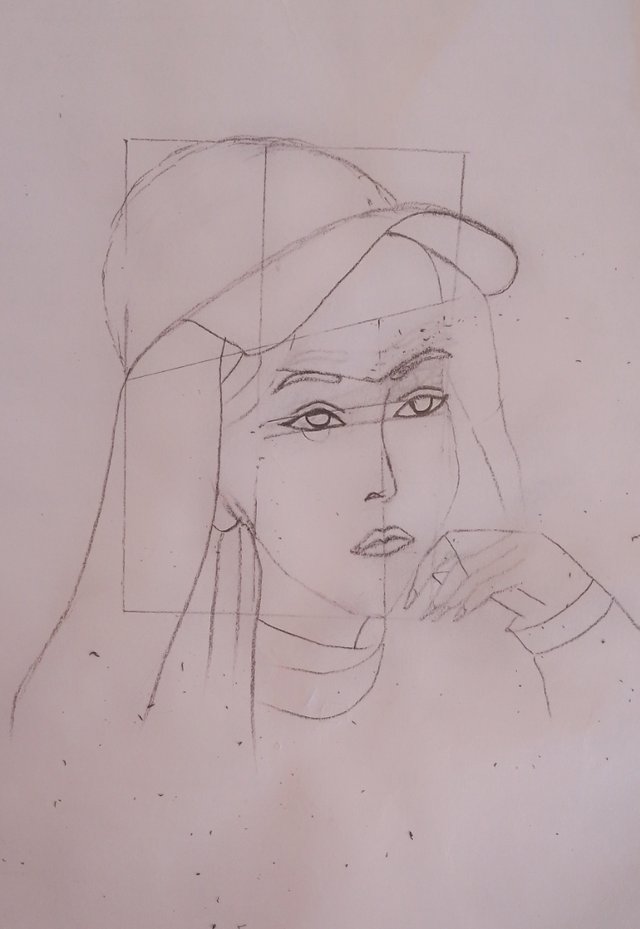
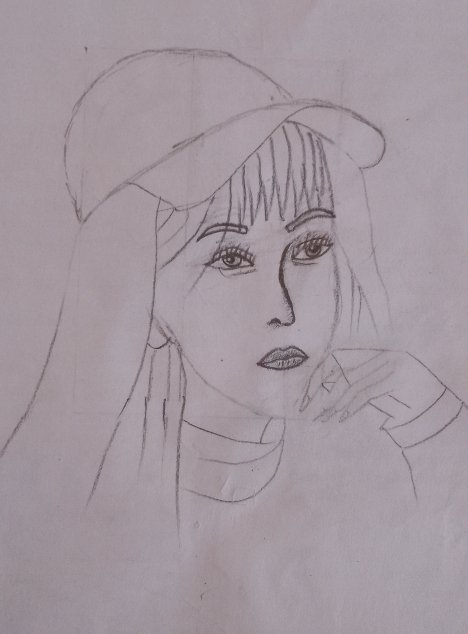
Then I made her eyebrows in a proper and neat shape. I tried to make them look natural not too thick or too thin. After that I drew her eyes in the space between the guiding lines. I made sure both eyes looked even and soft which added a sweet expression to her face.
 |  |  |
|---|
Step 8:
Once the main features were drawn I used an eraser to gently clean up all the extra lines and rough pencil marks I had made earlier. This helped the sketch look neat clean and clear. The girl face and neck shape became more visible and fresh after removing all the unwanted pencil lines.
Step 9:
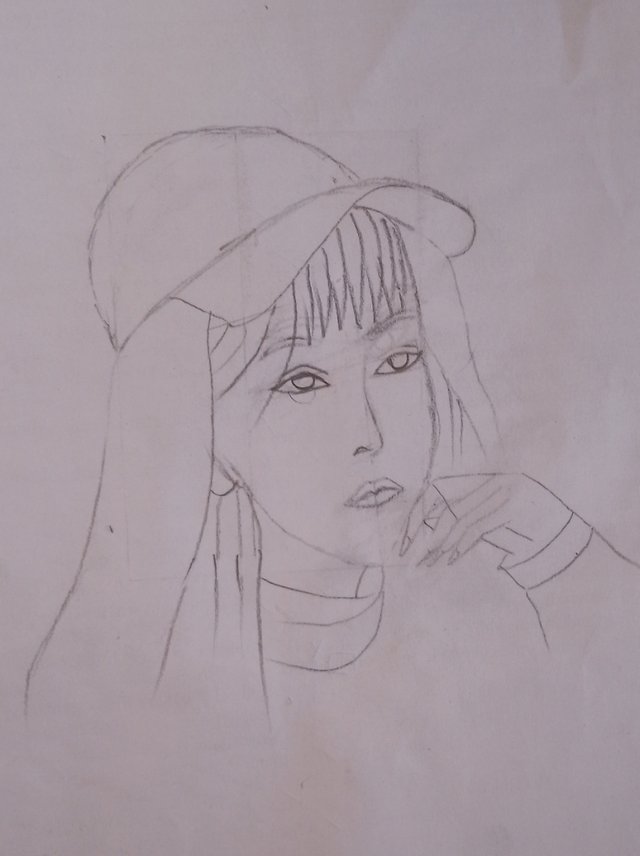
Now I added some hair falling on her forehead from under the cap. I made the hair soft and a little wavy to give a natural look. This added more beauty to her face and made the sketch look realistic. The hair under the cap gave the drawing a finished and graceful look.
Step 10:
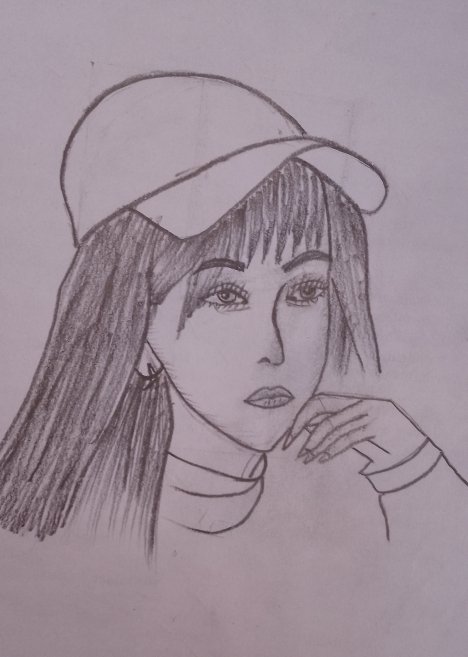
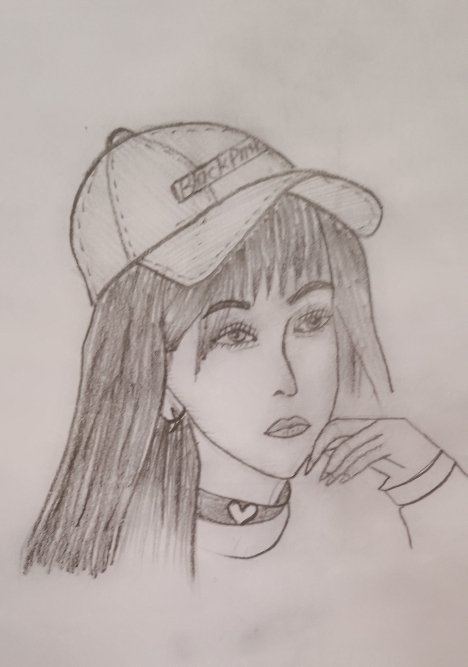
Now I started shading. First I darkened her eyebrows and then added eyelashes to her eyes. I gently shaded her hair to show depth and shine.
 |  |
|---|
I shaded the necklace around her neck and finally drew earrings to complete the sketch. The shading brought life into the drawing and made it look more beautiful.
 |  |
|---|

I invite @shano49 @malikusman1 and @saboohi to take participate in this contest

Thank you

https://steemit.com/hive-172186/@neelofar/achievement1-my-introduction-to-steemit
WRITER:
@neelofar from Pakistan

@neelofar from Pakistan


Hola amigo, buen dibujo se ve muy impecable y con buenos trazos.
Exitos en el concurso.
¡Hola! Que gusto que te hayas animado a participar en el Steemit Challenge: Explora tu creatividad con el dibujo artístico, en su semana 6.
Observaciones y recomendaciones:
Realizaste un boceto el cual te permitió recrear tu retrato de forma sencilla, logrando respetar las proporciones y obteniendo las formas correctas.
Para un resultado más natural y realista, fuese sido positivo que agregaras zonas de oscuridad e iluminación, que difuminaras progresivamente y evitaras marcar los contornos en tu dibujo. Sin embargo, en términos generales fue un buen trabajo.
Libre de plagio ✅ | Libre de IA ✅